Guide
How to Sprout Legumes? (Perfect Every Time!)
Discover how to sprout legumes with my simple step-by-step guide. Unleash the full potential of legumes for a healthier, fiber-rich diet. Try it today!
 By April21 min read
In this guide
- How to Sprout Legumes
- How to Sprout Legumes - Key Takeaways:
- Why Sprout Legumes?
- Choosing the Right Legumes
- Sprouting Vessels and Equipment
- The Sprouting Process
- Storing Sprouted Legumes
- Legumes to Avoid Sprouting
- Soaking and Drying Nuts: Unlocking Nutritional Value and Flavor
- Sprouting Greens
- Creative Ways to Use Sprouted Legumes
- In Conclusion - How to Sprout Legumes
- Source Links
- FAQ
How to Sprout Legumes
Sprouting legumes is a simple and nutritious process that allows you to unlock the full potential of these fiber-rich wonders. Whether you choose sprouting seeds or regular dried legumes, the sprouting process is easy and rewarding. By sprouting legumes, you not only enhance their digestibility but also boost their nutritional content, including iron, folate, and vitamin C. Ready to get started? Let's dive into the sprouting process and discover the techniques to achieve perfect sprouts every time.
How to Sprout Legumes - Key Takeaways:
- Sprouting legumes is a cost-effective way to enjoy plant-based protein.
- Sprouted legumes are more digestible and packed with nutrients.
- Soak the legumes overnight and rinse them well to kick-start the sprouting process.
- Choose a suitable sprouting vessel, such as a mason jar with a sprouting lid or cheesecloth.
- Rinse and drain the legumes 2-3 times per day until the sprouts reach 1-1 ½ inches long.
- Store the sprouts in the refrigerator, wrapped in a clean cloth or paper towel.
- Use sprouted legumes in salads, soups, and stir-fries for added texture and nutrition.
- Some legumes, like kidney beans, should not be sprouted due to potentially toxic compounds.
- Soaking and drying nuts can enhance their nutrient content and flavor.
- Sprouted greens, such as chive, alfalfa, and broccoli, require special sprouting seeds.
- Sprouted greens are highly nutritious and can be used to add a touch of green to meals.
https://www.youtube.com/watch?v=Eh_nQULPjGo
Why Sprout Legumes?
Sprouting legumes offers a myriad of benefits, both in terms of improved digestion and increased nutritional value. When you sprout legumes, you are essentially awakening their dormant potential. The process of sprouting breaks down complex carbohydrates and proteins, making them easier to digest. This can be especially beneficial for individuals with digestive issues or those following a plant-based diet.
But it's not just improved digestion that makes sprouted legumes a nutritional powerhouse. Once sprouted, legumes undergo a transformation, increasing their nutrient content. Sprouted legumes are richer in essential vitamins, minerals, and enzymes. They are a great source of iron, folate, and vitamin C, which are important for overall health and well-being. Incorporating sprouted legumes into your diet can help boost your immune system and promote healthy blood circulation.
To get started with sprouting legumes, you have two options: sprouting seeds or regular dried legumes. Both methods yield excellent results, and it ultimately comes down to personal preference and convenience. Whichever method you choose, the first step is soaking the legumes overnight and rinsing them well. This process not only softens the legumes but also removes any dirt or debris.
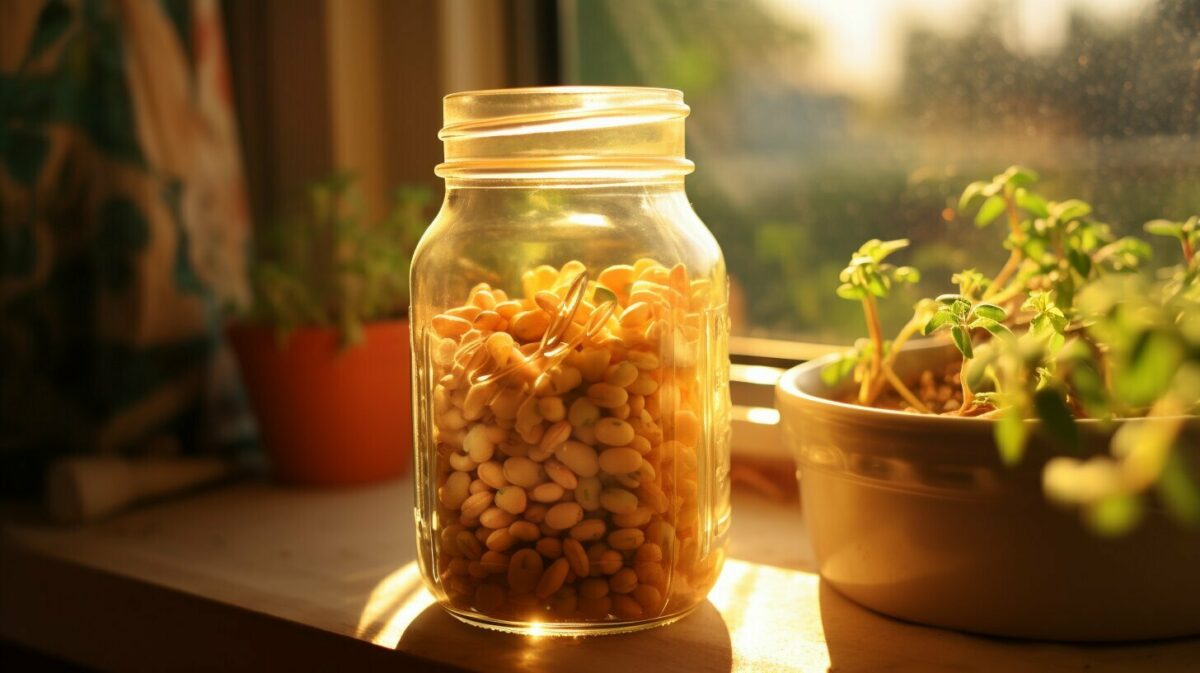
After soaking, it's time to transfer the legumes to a sprouting vessel. A mason jar with a sprouting lid or cheesecloth works well for this purpose. Place the soaked legumes in the jar, ensuring that they have enough room to expand. Rinse and drain the legumes 2-3 times per day for 2-3 days, or until sprouts have reached 1-1 ½ inches long. During this time, make sure to keep the legumes in a well-ventilated area away from direct sunlight.
Once the legumes have sprouted to your desired length, it's time to store them. Wrap the sprouts in a clean cloth or paper towel and store them in the fridge. This will help maintain their freshness and extend their shelf life. Sprouted legumes such as chickpeas, lentils, and navy beans can be used in a variety of dishes, from salads and soups to stir-fries and wraps.
It's important to note that while sprouting legumes offers numerous benefits, not all legumes are suitable for sprouting. Kidney beans, for example, should not be sprouted due to potentially toxic compounds. Always research and ensure that the legume you are considering sprouting is safe to consume in its sprouted form.
Choosing the Right Legumes
When it comes to sprouting legumes, there are a variety of options to choose from, including beans, lentils, chickpeas, peas, and mung beans. These legumes are versatile, packed with nutrients, and make excellent additions to a healthy diet.
Sprouted beans are a popular choice for sprouting due to their affordable price and wide availability. They come in different varieties such as black beans, kidney beans, and navy beans, each offering a unique flavor and texture. Lentils, on the other hand, are quick to sprout and provide a hearty and earthy taste. They are commonly used in salads, soups, and stews. Chickpeas, also known as garbanzo beans, have a nutty flavor and can be sprouted to add a delightful crunch to dishes. Peas and mung beans, with their sweet and delicate taste, are excellent options for sprouting and can be used in a variety of recipes.
| Legume | Taste | Common Uses |
|---|---|---|
| Beans | Varies (e.g., nutty, earthy) | Salads, soups, stews |
| Lentils | Earthy, hearty | Salads, soups, stews |
| Chickpeas | Nutty | Roasted snacks, salads |
| Peas | Sweet | Stir-fries, salads, soups |
| Mung Beans | Delicate | Stir-fries, curries, salads |
When selecting legumes for sprouting, it is important to choose high-quality, organic options. This ensures that you are starting with legumes that are free from chemicals and pesticides, which can affect both the sprouting process and the final taste of the sprouts.
To get started, try experimenting with different legumes to find your favorites. Whether you prefer the heartiness of lentils, the crunch of sprouted chickpeas, or the delicate sweetness of mung beans, sprouted legumes can add a nutritious and flavorful touch to your meals.
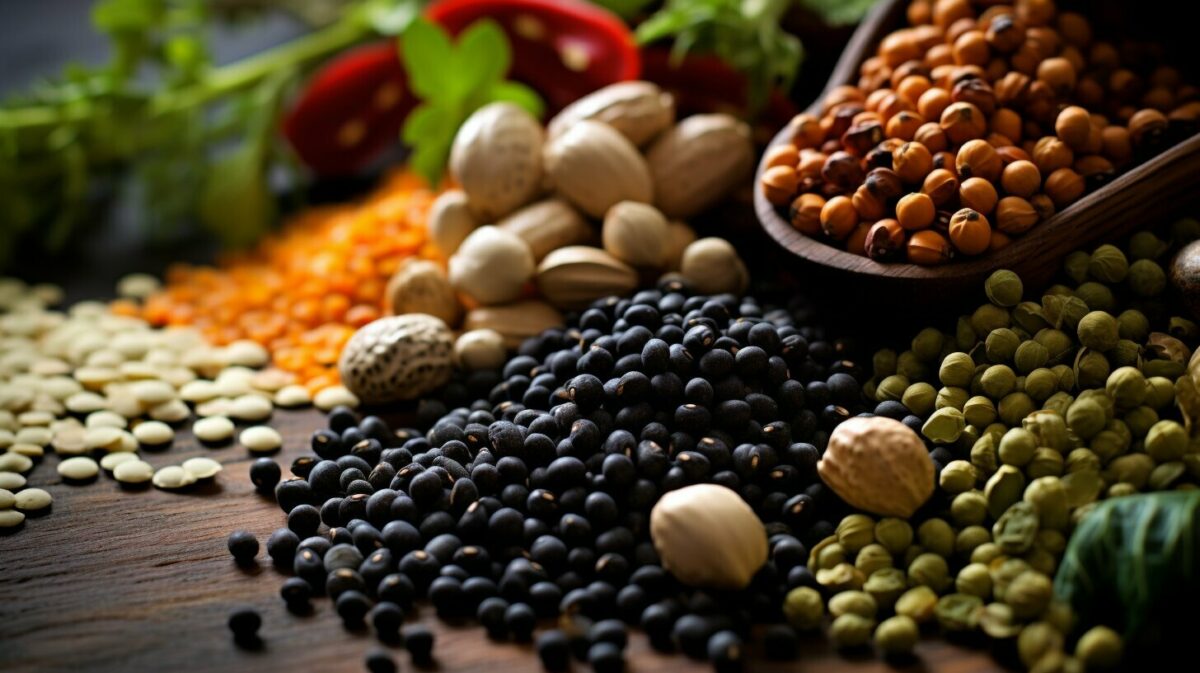
Soaking legumes is a crucial step in the sprouting process as it helps soften the legumes and kickstart the germination process. Whether you are using sprouting seeds or regular dried legumes, soaking overnight is recommended. This allows the legumes to rehydrate and prepares them for sprouting.
To soak the legumes, simply place them in a bowl or container and cover them with water. The water should be at least double the volume of the legumes as they will expand during soaking. Let the legumes soak for 8-12 hours, or overnight.
After soaking, be sure to rinse the legumes well. This helps remove any dirt or debris that may have accumulated during the soaking process. Rinse the legumes under cool, running water until the water runs clear.
Once rinsed, the legumes are ready to be placed in a sprouting vessel. A mason jar with a sprouting lid or cheesecloth works well for this purpose. The vessel should allow for proper air circulation and drainage. Place the legumes in the vessel, ensuring they are spread out evenly and not overcrowded.

| Legume | Soaking Time |
|---|---|
| Chickpeas | 8-12 hours |
| Lentils | 4-6 hours |
| Mung Beans | 4-6 hours |
| Black Beans | 8-12 hours |
After soaking, it's important to rinse and drain the legumes 2-3 times a day. This helps prevent the growth of mold or bacteria and promotes healthy sprout development. Simply rinse the legumes under cool, running water, and then allow them to drain completely. Repeat this process for 2-3 days, or until the sprouts have reached a length of 1-1 ½ inches.
Once the legumes have sprouted, store them in the refrigerator to maintain freshness. Wrap the sprouts in a clean cloth or paper towel and place them in a sealed container. This will help keep them crisp and extend their shelf life.
With the soaking process complete, you can now enjoy the nutritious and delicious benefits of sprouted legumes in your meals. From salads to soups and stir-fries, sprouted legumes add a delightful crunch and boost of plant-based protein to your dishes. Just remember to avoid sprouting legumes like kidney beans, as they contain potentially toxic compounds when eaten raw.
Sprouting Vessels and Equipment
To ensure successful sprouting, you'll need the right vessels and equipment to create the perfect sprouting environment. There are various options available, but two popular choices are mason jars with sprouting lids and other suitable containers. Let's take a closer look at these options and their benefits.
Mason Jars with Sprouting Lids
Mason jars are a classic choice for sprouting legumes. Their wide mouths make it easy to add and remove the legumes, and their glass material allows you to monitor the sprouting progress. To sprout in a mason jar, you can either use a sprouting lid or a piece of cheesecloth secured with a rubber band.
Sprouting lids are specifically designed for mason jars and have built-in drainage holes. These lids make rinsing and draining the legumes effortless, ensuring proper ventilation and preventing the formation of mold or mildew. They are a convenient option for hassle-free sprouting.
Other Suitable Containers
If you don't have a mason jar, don't worry! There are plenty of other containers that can be used for sprouting legumes. Just make sure the container is made of food-grade material and has proper drainage. Containers with mesh or perforated bottoms work well, as they allow excess water to drain while keeping the legumes secure.
Some examples of suitable containers include sprouting trays, sprouting bags, and colanders. Sprouting trays are stackable and provide ample space for sprouting multiple batches of legumes. Sprouting bags are convenient for hanging and allow for easy rinsing and draining. Colanders with small holes are another option for sprouting larger quantities of legumes.
| Vessel | Benefits |
|---|---|
| Mason Jars with Sprouting Lids | - Wide mouth for easy access - Glass material allows monitoring - Sprouting lids ensure proper drainage and ventilation |
| Other Suitable Containers | - Various options available - Food-grade material - Proper drainage |
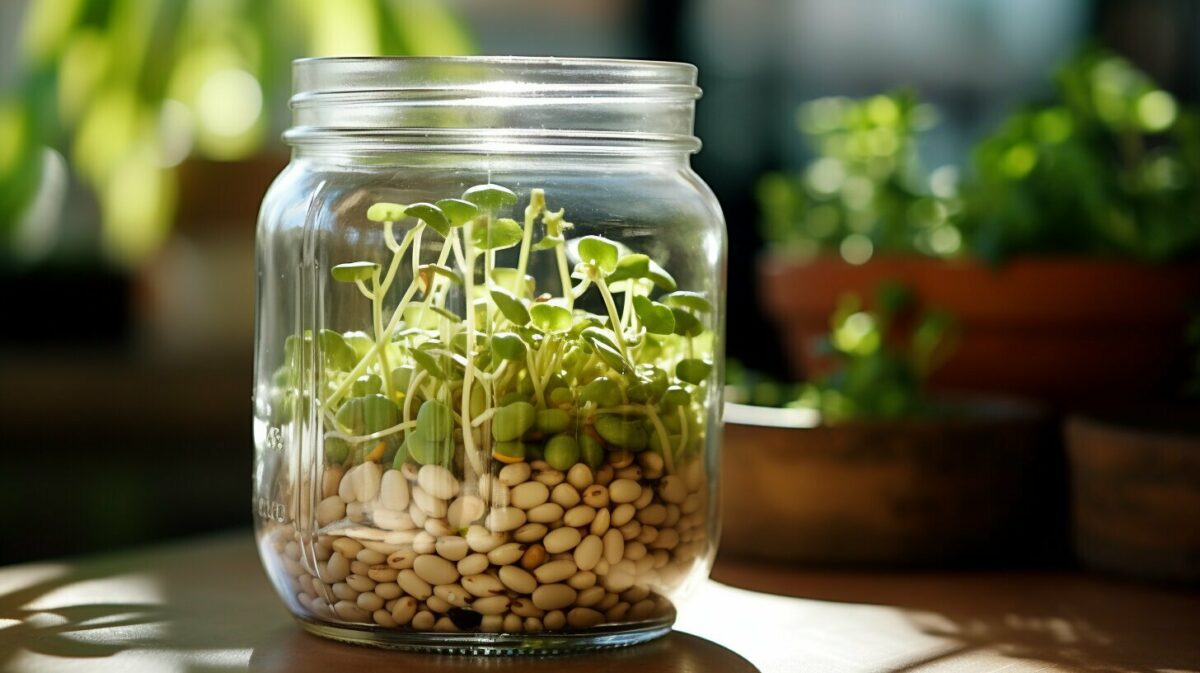
In conclusion, having the right vessels and equipment is essential for successful sprouting. Whether you choose mason jars with sprouting lids or other suitable containers, ensure they provide proper drainage, ventilation, and convenience throughout the sprouting process. With the right tools at your disposal, you'll be able to enjoy the benefits of sprouted legumes in no time!
The Sprouting Process
Now that your legumes are soaked, it's time to move on to the actual sprouting process. Get ready to unleash their full potential! Sprouting legumes is an incredibly simple and rewarding process that will provide you with fresh and nutritious sprouts to enjoy in your meals.
To start, place your soaked legumes in a sprouting vessel such as a mason jar with a sprouting lid or cheesecloth. These containers allow for proper drainage and air circulation, essential for successful sprouting. Make sure to secure the lid or cheesecloth with a rubber band.
For the next 2-3 days, you'll need to rinse and drain your legumes 2-3 times a day. This step is crucial to keep the legumes clean and prevent any mold or bacterial growth. Simply fill the jar with water, gently swish the legumes around, and then drain the water through the lid or cheesecloth.
As you continue rinsing and draining, you'll notice tiny sprouts emerging from the legumes. It's a delightful sight to see your legumes transform into vibrant sprouts! Once the sprouts have reached a length of about 1-1 ½ inches, they are ready to be harvested and enjoyed. You can store the sprouts in the refrigerator wrapped in a clean cloth or paper towel to keep them fresh for longer.
| Sprouting Time | Sprouting Temperature |
|---|---|
| 2-3 days | 70-85°F |
Remember, each type of legume may have slightly different sprouting times and temperature requirements. Some legumes might sprout faster, while others may take a bit longer. It's essential to observe and adjust accordingly to achieve the best results.
Now that you know how to sprout legumes, it's time to get started! Soak, rinse, and watch in amazement as your legumes transform into nutritious sprouts. Get creative with how you incorporate sprouted legumes into your meals and enjoy the added freshness and nutritional benefits they bring.

To ensure healthy sprouts, regular rinsing and draining of the legumes are essential. Let's dive into the details!
After soaking the legumes overnight, it's time to start the rinsing and draining process. This step helps remove any impurities, activates the sprouting process, and prevents the growth of harmful bacteria. Start by placing the soaked legumes in a sprouting vessel, such as a mason jar with a sprouting lid or cheesecloth secured with a rubber band.
For optimal sprout growth, rinse the legumes 2-3 times per day. To do this, fill the sprouting jar with fresh water, swirl it around, and then drain the water. Repeat this process a few times, ensuring all the legumes are thoroughly rinsed. This will help keep the legumes moist without leaving them waterlogged.
Draining the legumes is just as important as rinsing. After each rinse, make sure to drain out all the water completely. This prevents excess moisture and allows air circulation, which is crucial for proper sprout development. You can achieve this by placing the sprouting vessel at a slight angle, allowing any excess water to drain out completely.
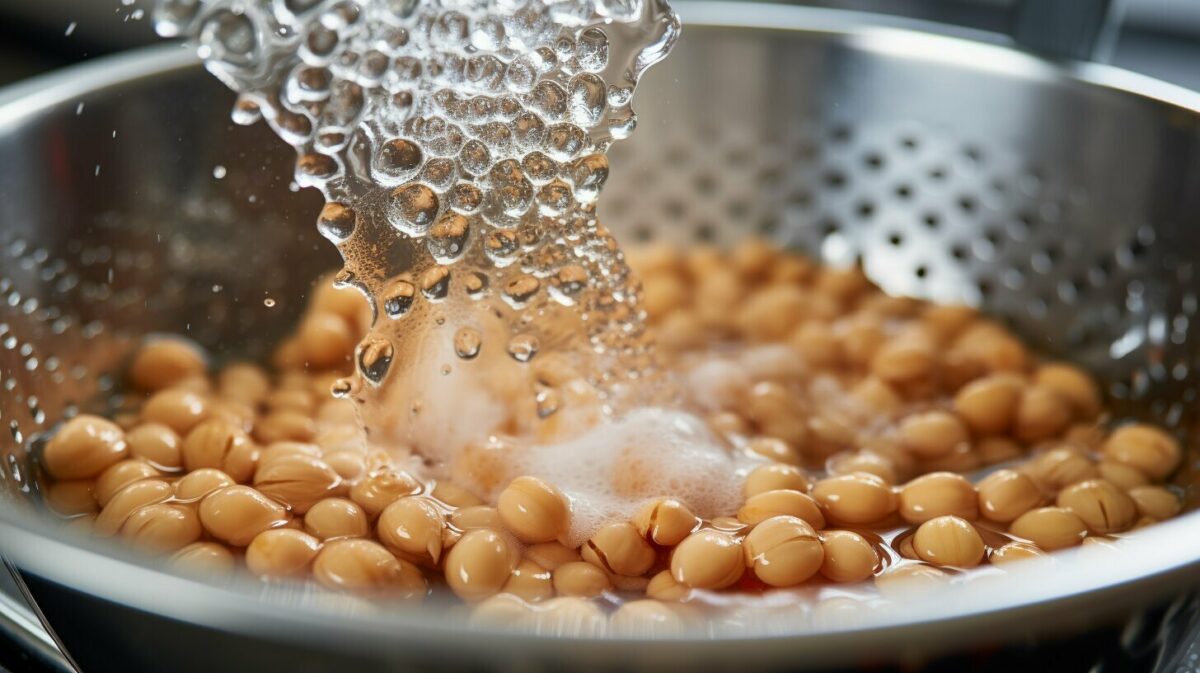
In summary, rinsing and draining legumes during the sprouting process is vital for healthy and successful sprout growth. By following these steps, you can ensure that your sprouts develop well and are free from any potential contaminants. So, keep those legumes rinsed and drained for the best results!
Storing Sprouted Legumes
Congratulations on successfully sprouting your legumes! Now, let's explore the best methods for storing those precious sprouts. Proper storage is essential to maintain their freshness and maximize their shelf life. Here are some tips to help you keep your sprouted legumes in optimal condition.
1. Wrap and refrigerate: After sprouting, gently pat dry your legumes with a clean cloth or paper towel. Then, wrap them loosely in a clean cloth or paper towel to absorb excess moisture. Place the wrapped sprouts in an airtight container or a resealable plastic bag. Refrigerate them to slow down the growth of bacteria and extend their lifespan.
2. Regularly check for moisture: Moisture is the enemy of sprouts as it can promote the growth of bacteria and mold. Regularly inspect your stored sprouted legumes and discard any that appear slimy, have an off odor, or show signs of discoloration. Ensure the cloth or paper towel used for wrapping remains dry and replace it if necessary.
3. Consume within a week: While sprouted legumes can be stored for a period of time, they are best enjoyed when fresh. Aim to consume your sprouts within a week of sprouting for the best flavor and nutritional benefits. The longer they are stored, the more their texture and taste may change.
Remember, the key to storing sprouted legumes is to keep them cool and dry. By following these guidelines, you can enjoy your sprouts in salads, stir-fries, sandwiches, or any dish of your choice while preserving their quality.
| Sprouted Legume | Refrigeration Shelf Life |
|---|---|
| Chickpeas | 5-7 days |
| Lentils | 5-7 days |
| Navy Beans | 5-7 days |
Quote:
"Storing sprouted legumes is all about maintaining a cool and dry environment to preserve their freshness. With proper refrigeration and regular moisture checks, you can savor these nutrient-packed sprouts for up to a week!"
Get ready to elevate your culinary creations with the addition of sprouted legumes. Here are some delightful recipes to try!
Sprouted Legume Salad
Ingredients:
- 1 cup sprouted chickpeas
- 1 cup sprouted lentils
- 1 cup sprouted mung beans
- 1 cucumber, diced
- 1 bell pepper, diced
- 1 small red onion, thinly sliced
- 1 cup cherry tomatoes, halved
- ¼ cup fresh parsley, chopped
- For dressing: 2 tablespoons olive oil, 1 tablespoon lemon juice, salt, and pepper to taste
Instructions:
- In a large bowl, combine the sprouted legumes, cucumber, bell pepper, red onion, cherry tomatoes, and fresh parsley.
- In a small bowl, whisk together the olive oil, lemon juice, salt, and pepper to make the dressing.
- Pour the dressing over the salad and toss until well coated.
- Let the salad marinate in the refrigerator for at least 30 minutes before serving to allow the flavors to meld together.
- Enjoy as a light and refreshing meal on its own or as a side dish.
Sprouted Legume Stir-Fry
Ingredients:
- 1 cup sprouted chickpeas
- 1 cup sprouted lentils
- 1 cup sprouted mung beans
- 2 tablespoons sesame oil
- 3 cloves garlic, minced
- 1-inch piece ginger, grated
- 1 red bell pepper, thinly sliced
- 1 carrot, julienned
- 2 cups broccoli florets
- ½ cup soy sauce
- 1 tablespoon honey or maple syrup
- 2 tablespoons sesame seeds
Instructions:
- In a large wok or skillet, heat the sesame oil over medium heat.
- Add the garlic and ginger and sauté for 1-2 minutes until fragrant.
- Add the sprouted legumes, red bell pepper, carrot, and broccoli to the pan and stir-fry for 5-6 minutes until the vegetables are crisp-tender.
- In a small bowl, whisk together the soy sauce and honey/maple syrup to make the sauce.
- Pour the sauce over the stir-fry and toss to coat evenly.
- Sprinkle with sesame seeds and cook for an additional 1-2 minutes.
- Serve hot over steamed rice or noodles for a satisfying and nutritious meal.
| Recipe | Image |
|---|---|
| Sprouted Legume Salad | 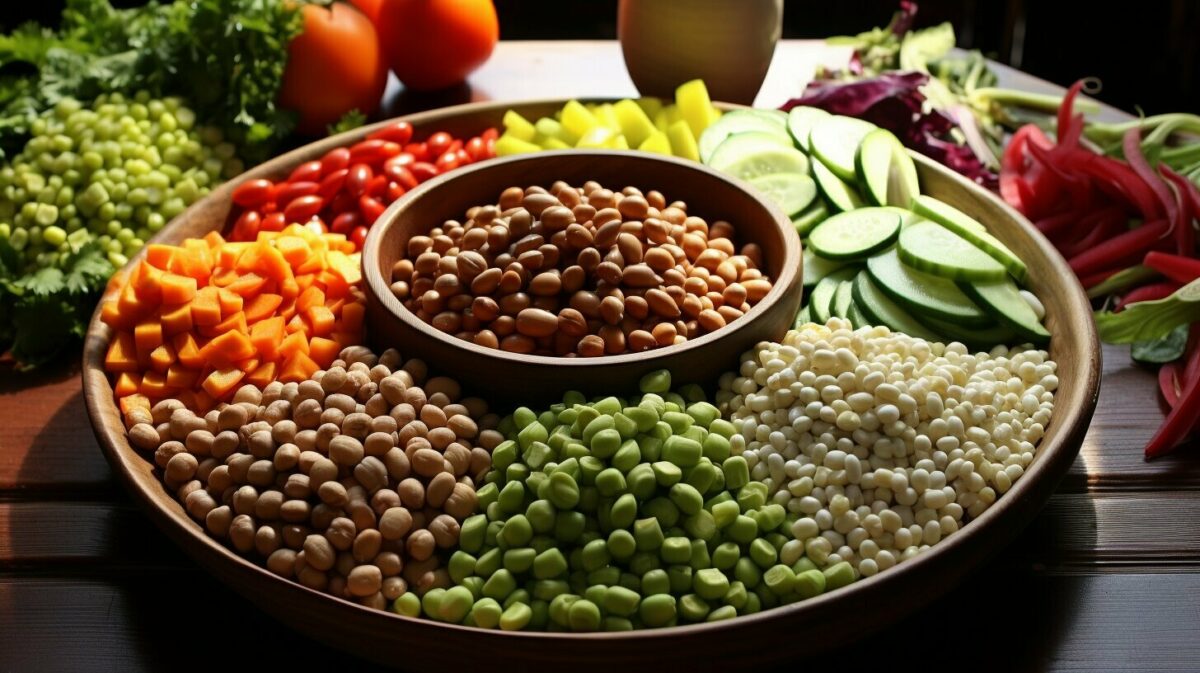 |
| Sprouted Legume Stir-Fry |  |
These recipes are just the tip of the iceberg when it comes to cooking with sprouted legumes. Get creative and experiment with different flavors and cuisines to suit your taste. Sprouted legumes add a nutritious and flavorful twist to any dish, making them a versatile ingredient to have in your kitchen.
Legumes to Avoid Sprouting
While sprouting legumes is generally safe and beneficial, it's important to be aware of a few exceptions. Let's talk about legumes that should not be sprouted. One such legume is kidney beans. Kidney beans contain potentially toxic compounds called lectins, which can cause severe gastrointestinal issues if consumed raw or sprouted. These lectins can be deactivated by cooking the beans at high temperatures, so it is best to avoid sprouting kidney beans altogether.
It's important to note that other legumes, such as black beans, pinto beans, and white beans, can be safely sprouted and consumed. However, it's always a good idea to cook sprouted legumes before consuming them to ensure they are fully cooked and safe to eat.
When sprouting legumes, it's essential to prioritize safety and be aware of any potential risks. If you are unsure about whether a particular legume can be sprouted, it's best to err on the side of caution and avoid sprouting it. Remember, sprouting is a fun and nutritious way to enjoy legumes, but it's crucial to follow best practices and be aware of any potential exceptions.
| Legume | Suitable for Sprouting? |
|---|---|
| Chickpeas | Yes |
| Lentils | Yes |
| Navy Beans | Yes |
| Black Beans | Yes |
| Pinto Beans | Yes |
| White Beans | Yes |
| Kidney Beans | No |
Sprouting legumes is an excellent way to enhance their nutritional value and enjoy their unique flavors and textures. However, it's essential to make informed decisions and be aware of any legumes that should not be sprouted, such as kidney beans. By following proper sprouting techniques and being mindful of any exceptions, you can safely enjoy the benefits of sprouted legumes in your diet.
Soaking and Drying Nuts: Unlocking Nutritional Value and Flavor
Did you know that soaking and drying nuts can significantly enhance both their nutritional value and taste? Let's explore this simple technique.
When you soak nuts in water, you activate enzymes that neutralize phytic acid, a compound that can interfere with the absorption of important minerals like zinc and iron. Soaking also breaks down complex proteins, making nuts easier to digest. Additionally, soaking can increase the bioavailability of nutrients, allowing your body to better absorb the goodness locked within each nut.
To soak nuts, start by placing them in a bowl and covering them with filtered water. Add a pinch of salt to help improve the flavor. Let the nuts soak for at least 6 hours or overnight. The soaking time may vary depending on the type of nut, so it's a good idea to follow a specific recipe or guidelines to ensure optimal results.
After soaking, drain the water and rinse the nuts thoroughly to remove any residual phytic acid. Now it's time to dry them. Spread the nuts on a baking sheet lined with parchment paper and place them in a preheated oven at a low temperature, around 150°F (65°C). Leave the oven door slightly open to allow moisture to escape. Stir the nuts occasionally to ensure even drying.
| Nut | Soaking Time | Drying Time |
|---|---|---|
| Almonds | 8-12 hours | 12-24 hours |
| Walnuts | 4-8 hours | 12-24 hours |
| Cashews | 2-4 hours | 8-12 hours |
Once the nuts are completely dry and crisp, remove them from the oven and let them cool before storing them in an airtight container. Properly stored soaked and dried nuts can last for several weeks, allowing you to enjoy their enhanced flavor and nutritional benefits whenever the craving strikes.
So, whether you're planning to snack on nuts or incorporate them into your favorite recipes, taking the time to soak and dry them can elevate your culinary experience to new heights. Give it a try and savor the rich flavors and improved nutrient content that soaked and dried nuts have to offer.
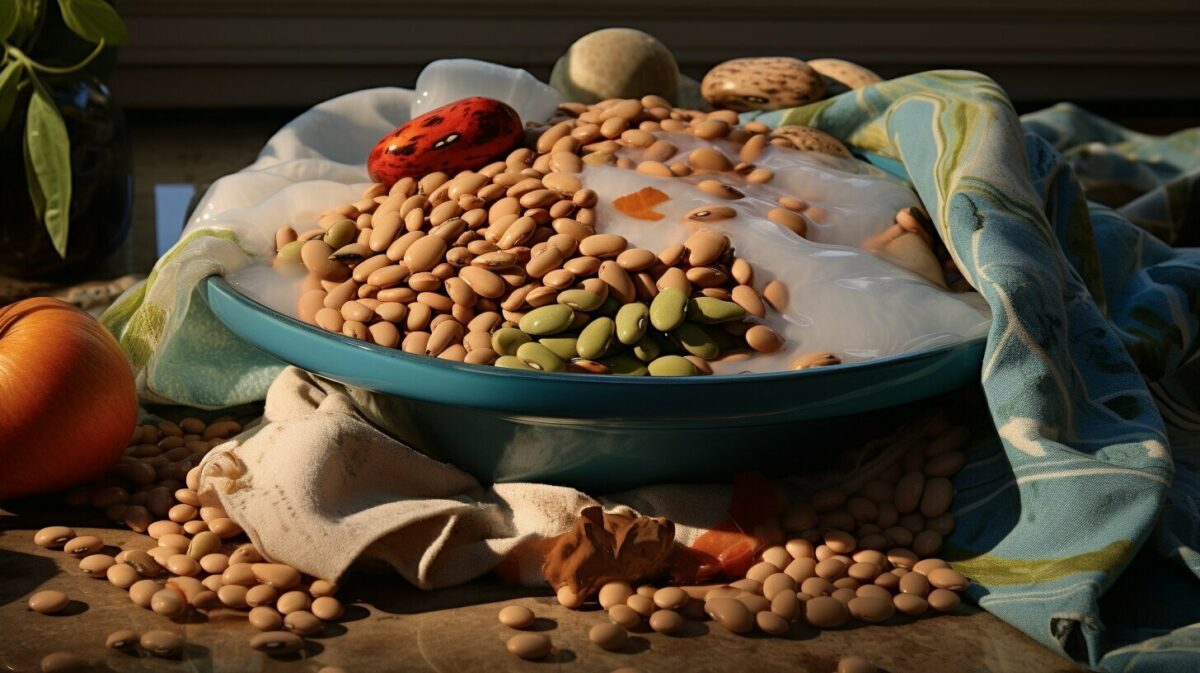
- Soaking nuts helps neutralize phytic acid and improve digestion.
- Soak nuts in filtered water with a pinch of salt for at least 6 hours.
- Rinse soaked nuts and spread them on a baking sheet.
- Dry nuts in a preheated oven at a low temperature with the door slightly open.
- Store dried nuts in an airtight container and enjoy their enhanced flavor and nutrients.
Sprouting Greens
Besides legumes, did you know that you can also sprout greens to add a nutritious touch to your meals? Let's explore the world of sprouting greens.
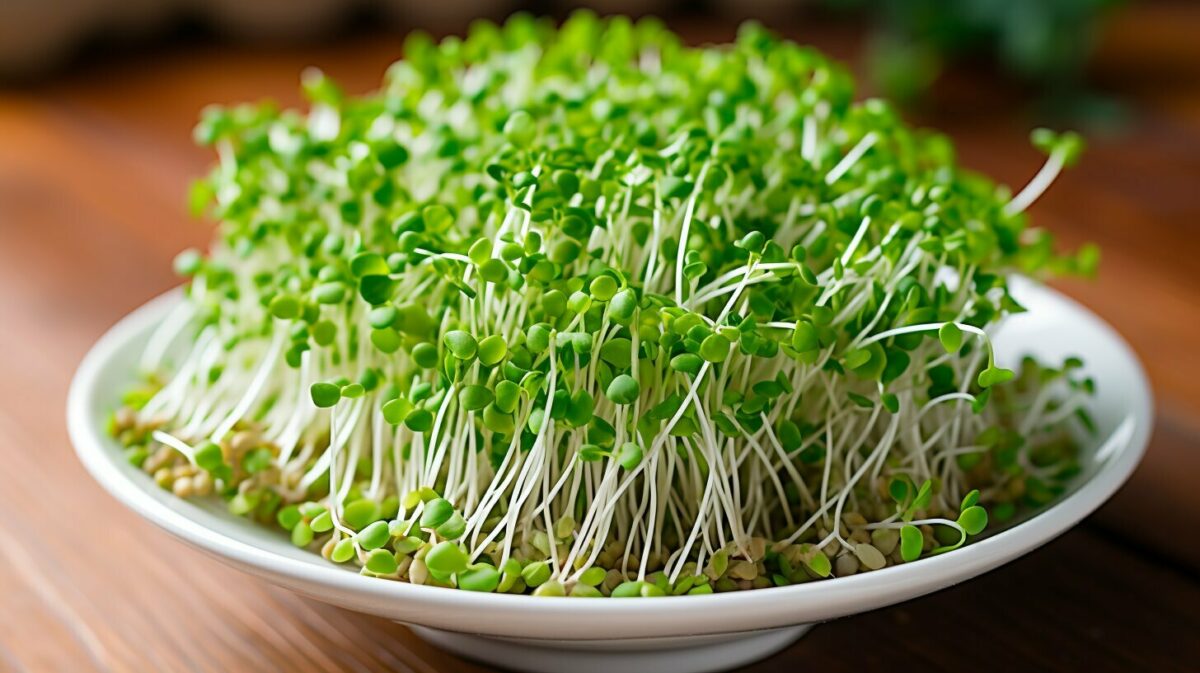
Sprouting greens, such as chive, alfalfa, and broccoli sprouts, are a fantastic way to enhance the flavor and nutritional value of your dishes. These tiny powerhouses are packed with vitamins, minerals, and antioxidants, making them a perfect addition to salads, sandwiches, and even smoothies.
When sprouting greens, it's important to start with high-quality sprouting seeds specifically designed for greens. These seeds are typically small and require ample air circulation to thrive. You can find a variety of sprouting seeds at local health food stores or online retailers.
| Sprouting Greens | Common Uses |
|---|---|
| Chive Sprouts | Add a mild onion-like flavor to salads and sandwiches. |
| Alfalfa Sprouts | Enhance the texture and taste of wraps, burgers, and stir-fries. |
| Broccoli Sprouts | Bring a mild, peppery flavor to salads and sandwiches. |
To sprout greens, follow a similar process as you would with legumes. Soak the seeds overnight, rinse them well, and transfer them to a sprouting vessel with good air circulation. Rinse and drain the sprouts 2-3 times a day, and within a few days, you'll have fresh and crunchy greens ready to enjoy.
Sprouted greens are not only delicious but also incredibly nutritious. They contain higher levels of essential nutrients compared to their mature counterparts. You can easily incorporate sprouted greens into your meals for an extra boost of vitamins, minerals, and enzymes.
So why not give sprouting greens a try and explore the endless possibilities of adding these vibrant and nutrient-rich sprouts to your favorite dishes?
Creative Ways to Use Sprouted Legumes
Sprouted legumes are incredibly versatile and can be used in a wide range of culinary creations. Let's explore some creative ways to enjoy sprouts!
1. Sprouted Legume Dips: Whip up a delicious and nutritious dip by blending sprouted legumes with herbs, spices, and a touch of olive oil. Use sprouted chickpeas or lentils as the base and experiment with different flavors like roasted garlic, sun-dried tomato, or roasted red pepper. Serve with raw veggies or whole-grain crackers for a healthy snack or appetizer.
2. Sprouted Legume Spreads: Make a flavorful spread by mashing sprouted legumes with ingredients like lemon juice, tahini, and fresh herbs. Spread it on whole-grain bread or use it as a filling for wraps and sandwiches. Try sprouted mung bean or pea spread with a sprinkle of chili flakes for a zesty kick.
3. Sprouted Legume Smoothies: Boost the nutrition of your smoothies by adding a handful of sprouted legumes. Blend sprouted beans or lentils with your favorite fruits, leafy greens, and a liquid of your choice (such as almond milk or coconut water) for a protein-packed and refreshing drink. Try a sprouted chickpea and berry smoothie for a vibrant burst of antioxidants.

Recipe: Sprouted Chickpea and Berry Smoothie
- 1 cup sprouted chickpeas
- 1 cup mixed berries (such as strawberries, blueberries, and raspberries)
- 1 ripe banana
- 1 cup almond milk
- 1 tablespoon honey or maple syrup (optional)
Add all ingredients to a blender and blend until smooth. Adjust the sweetness to taste with honey or maple syrup. Pour into a glass and enjoy!
Get creative with sprouted legumes and discover new ways to incorporate these nutritious powerhouses into your meals. Whether you're making dips, spreads, smoothies, or exploring other culinary possibilities, sprouted legumes are sure to add a delicious and wholesome touch to your dishes. Happy sprouting and enjoy the amazing flavors and benefits of sprouted legumes!
In Conclusion - How to Sprout Legumes
Congratulations on completing this comprehensive guide to sprouting legumes! Now that you have all the knowledge you need, it's time to start sprouting and enjoy the incredible nutritional benefits!
Sprouting legumes is an affordable and nutritious way to enjoy plant-based protein. Sprouted legumes are more digestible and packed with nutrients like iron, folate, and vitamin C. To sprout legumes, you have two options: sprouting seeds or regular dried legumes.
The first step is to soak the legumes overnight and rinse them well. Then, place them in a sprouting vessel, such as a mason jar with a sprouting lid or cheesecloth. Rinse and drain the legumes 2-3 times per day for 2-3 days, or until the sprouts have reached 1-1 ½ inches long. Store the sprouts in the fridge wrapped in a clean cloth or paper towel.
Sprouted legumes such as chickpeas, lentils, and navy beans can be used in salads, soups, and stir-fries. They add a delicious crunch and a burst of freshness to any dish. However, it's important to note that some legumes, like kidney beans, should not be sprouted due to potentially toxic compounds.
Additionally, nuts can be soaked and dried for improved nutrient content and flavor. Sprouted legumes and grains can be cooked and used in various dishes or eaten raw. They are versatile and can be incorporated into your favorite recipes.
Don't forget about sprouting greens like chive, alfalfa, and broccoli. These greens require special sprouting seeds and ample air circulation. They are highly nutritious and can be used to add a touch of green to any meal.
Congratulations once again on completing this guide. You are now well-equipped to embark on your sprouting journey and enjoy the numerous health benefits that sprouted legumes have to offer. Happy sprouting!
Source Links
- https://traditionalcookingschool.com/food-preparation/sprouting/sprouting-beans-lentils-mung-beans-and-garbanzo-beans-chickpeas/
- https://saladforpresident.com/blog/sprouted-legumes-its-something-to-do/
Frequently asked questions
- What are the benefits of sprouted legumes?
Sprouted legumes are more digestible and packed with nutrients like iron, folate, and vitamin C. They also offer an affordable and nutritious plant-based protein option.
- How do I sprout legumes?
To sprout legumes, start by soaking them overnight, then rinse and drain them 2-3 times per day for 2-3 days, or until sprouts have reached 1-1 ½ inches long. Store the sprouts in the fridge wrapped in a clean cloth or paper towel.
- Can I use regular dried legumes for sprouting?
Yes, you can use regular dried legumes for sprouting. Soaking them overnight and following the sprouting process outlined earlier will yield sprouts.
- What legumes are suitable for sprouting?
Legumes such as chickpeas, lentils, and navy beans are suitable for sprouting and can be used in salads, soups, and stir-fries.
- Are there any legumes that should not be sprouted?
Yes, kidney beans should not be sprouted due to potentially toxic compounds. It's important to avoid sprouting them.
- Can nuts be sprouted?
While nuts can't be sprouted like legumes, they can be soaked and dried for improved nutrient content and flavor.
- How do I sprout greens?
Sprouting greens like chive, alfalfa, and broccoli requires special sprouting seeds and ample air circulation. Follow the specific instructions for each type of green.
- How should I store sprouted legumes?
Store sprouted legumes in the fridge wrapped in a clean cloth or paper towel to help maintain their freshness.
- Can I cook with sprouted legumes?
Yes, sprouted legumes can be cooked and used in various dishes or eaten raw. They are versatile and can add a nutritious touch to your meals.
- What are some creative ways to use sprouted legumes?
You can use sprouted legumes to make dips, spreads, salads, stir-fries, and even smoothies. The possibilities are endless!
AprilCook, recipe developer and the heart of Chefwiz. More about April