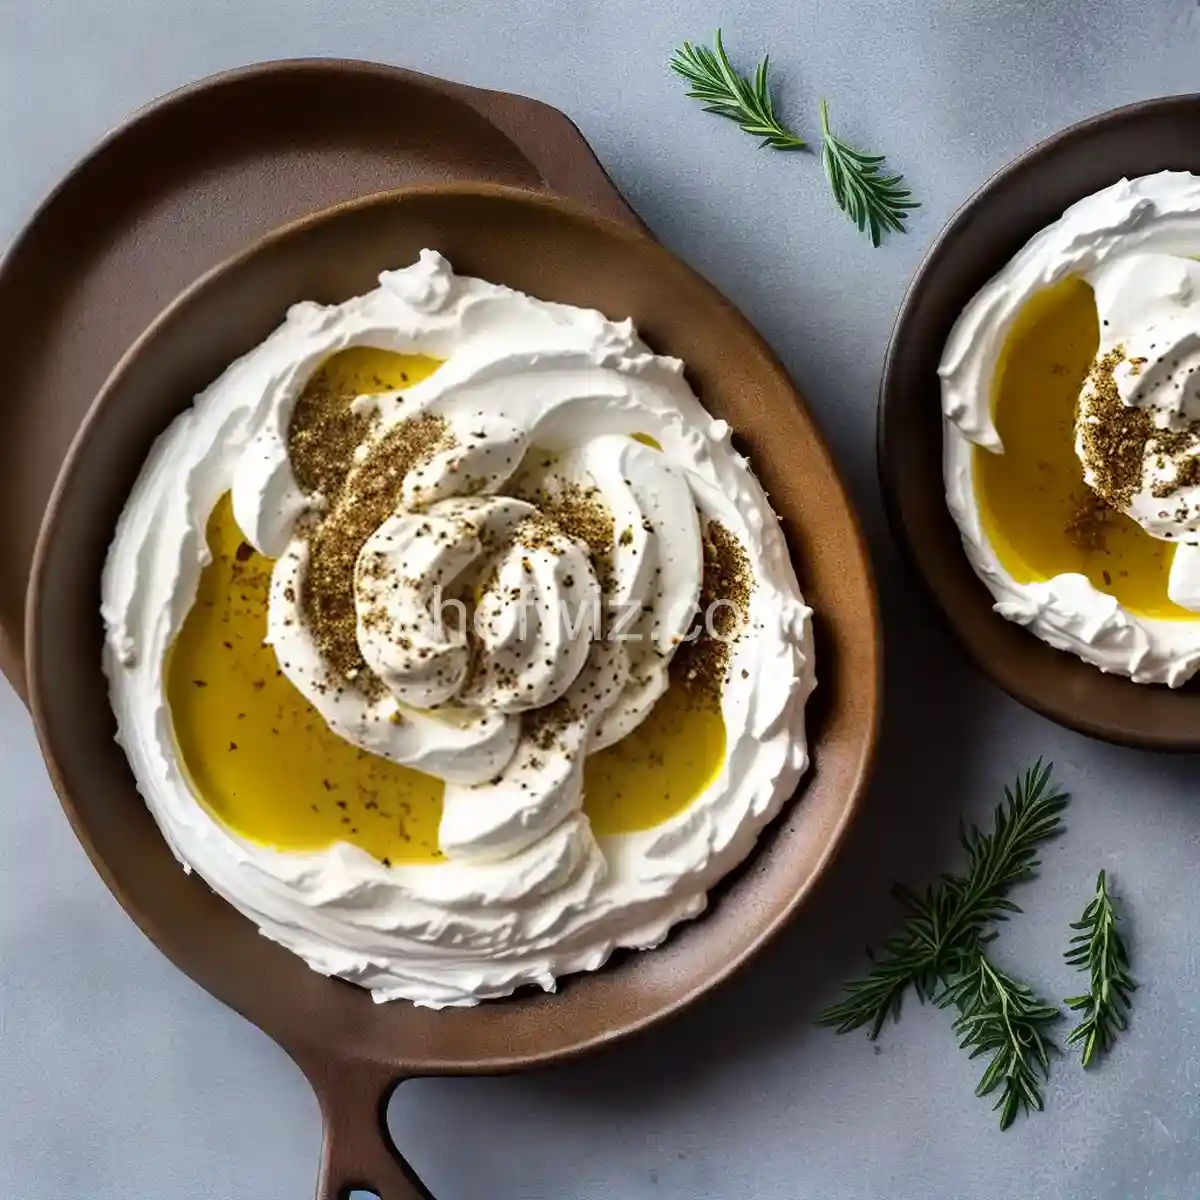
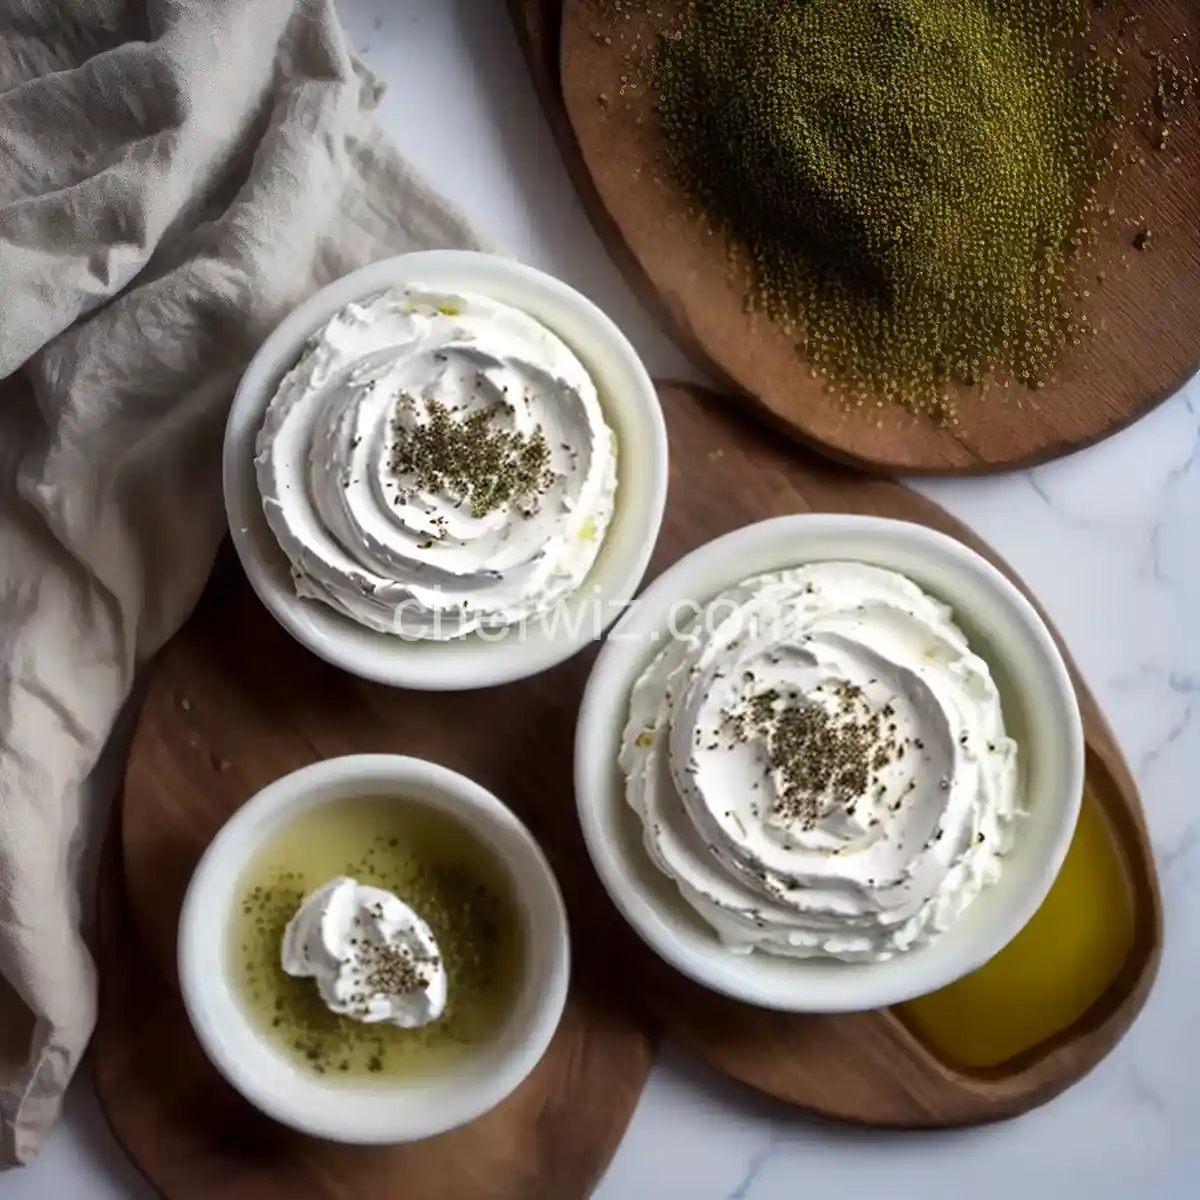
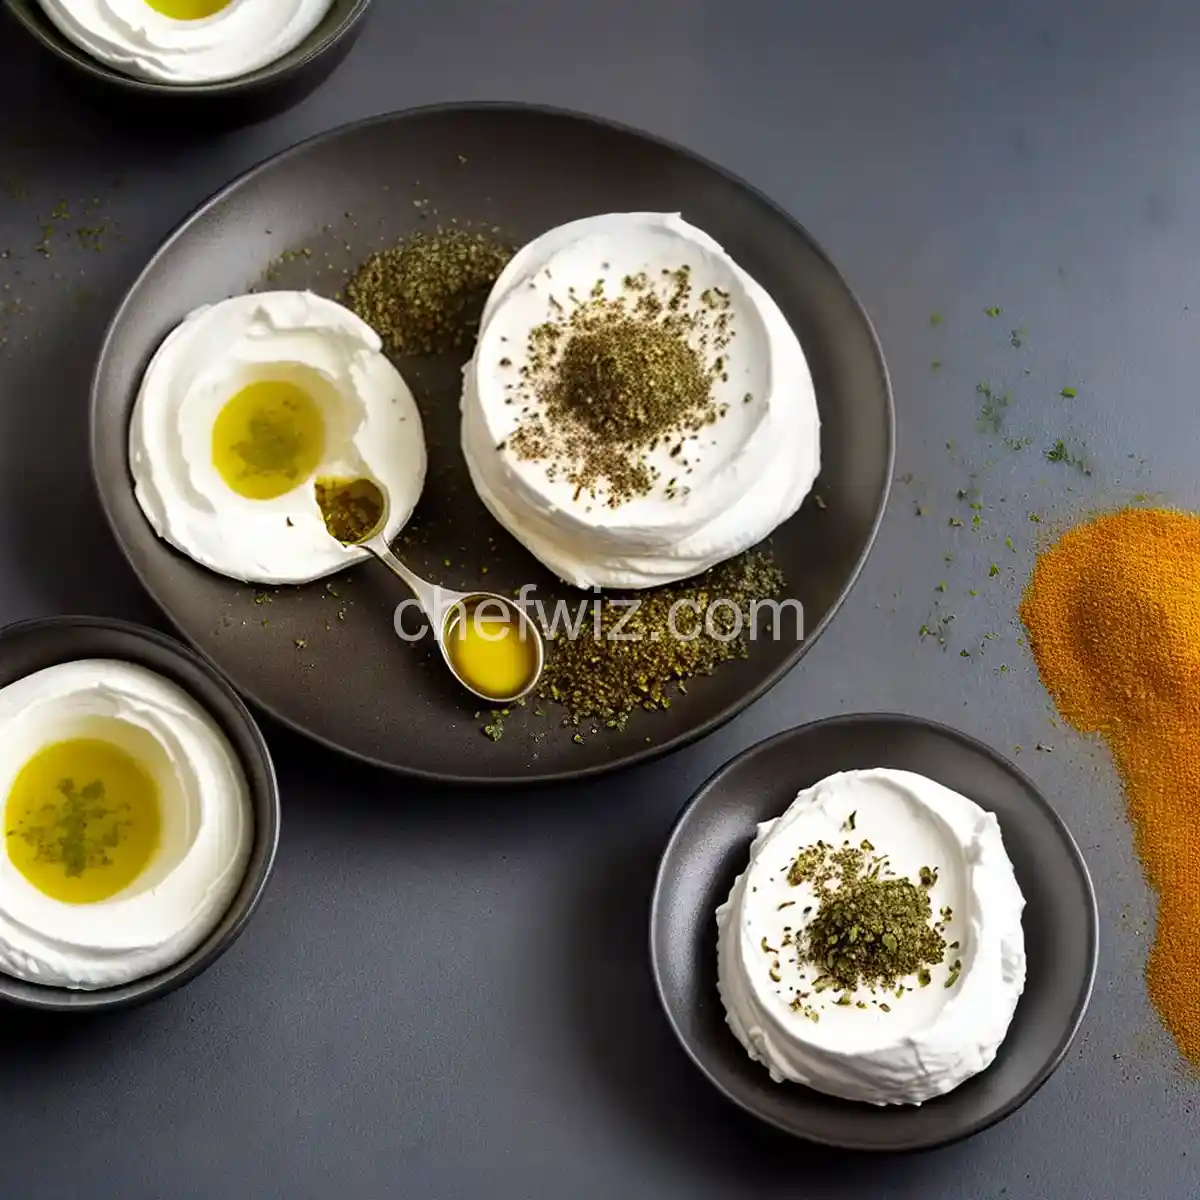
Homemade Labneh with Olive Oil and Za’atar
Have you ever wished you could enjoy the creamy goodness of labneh right in the comfort of your own home? Well, you’re in luck! In this article, we’ll show you how to make your own homemade labneh with a drizzle of olive oil and a sprinkle of za’atar. Get ready to indulge in a taste sensation that will transport you to the vibrant streets of the Middle East.
What is Labneh?
If you’re unfamiliar with labneh, let’s start with a quick introduction. Labneh is a delicious Middle Eastern strained yogurt cheese that has a rich and creamy texture. It’s often enjoyed as a spread or dip, and its tangy flavor pairs perfectly with a variety of dishes. Whether you’re a fan of savory or sweet flavors, labneh is a versatile ingredient that will elevate your culinary creations.
The Magic of Straining
The secret to making labneh lies in the straining process. By straining yogurt, you remove the whey and achieve a thick, velvety consistency. It’s like turning regular yogurt into a luxurious cheese. All you need is some patience and a few simple steps, and you’ll have homemade labneh in no time.
The Homemade Advantage
Why bother making labneh at home when you can easily buy it at the store? Well, the answer is simple. Homemade labneh allows you to have complete control over the quality of ingredients and the flavor profile. You can customize it to your liking, adding a touch of olive oil and za’atar for an extra burst of flavor. Plus, the satisfaction of creating something from scratch is truly unbeatable.
The Labneh-Making Process
So, let’s dive into the labneh-making process. First, you’ll need to gather your ingredients, including plain yogurt, salt, olive oil, and za’atar. Choose a high-quality yogurt that you enjoy, as it will greatly impact the final taste of your labneh.
Step 1: Straining the Yogurt
Start by placing a cheesecloth or muslin cloth over a fine-mesh sieve or colander. Pour the yogurt onto the cloth, and then gather the edges to create a bundle. Hang the bundle over a bowl or sink, allowing the whey to drip out. Depending on how thick you want your labneh, you can strain it for 12 to 48 hours in the refrigerator.
Tip: Save the Whey
Don’t throw away the whey! It’s packed with nutrients and can be used in various recipes, such as smoothies or baked goods. Waste not, want not!
Step 2: Adding Flavor
Once your labneh has reached the desired consistency, transfer it to a bowl. Add a pinch of salt for seasoning, and then drizzle some olive oil on top. Finally, sprinkle a generous amount of za’atar for that extra Middle Eastern flair.
Ways to Enjoy Labneh
Now that you’ve made your own labneh, it’s time to savor it in all its glory. Here are a few delicious ways to enjoy this creamy delight:
1. Spread it on Toast
Slather labneh on a slice of crusty bread or toast for a simple and satisfying breakfast or snack. Top it off with some fresh herbs or sliced cucumbers for an added crunch.
2. Use it as a Dip
Labneh makes a fantastic dip for veggies, crackers, or pita bread. Its tangy and creamy texture pairs well with crunchy and savory bites. Add a sprinkle of za’atar on top for an extra pop of flavor.
3. Include it in Salads
Toss labneh into your favorite salad for a creamy and refreshing twist. It complements leafy greens, roasted vegetables, and even fruits. The possibilities are endless!
FAQs
Q: Can I use Greek yogurt instead of regular yogurt?
A: Absolutely! Greek yogurt works perfectly for making labneh. Just make sure it’s plain and not flavored.
Q: How long does homemade labneh last in the refrigerator?
A: Homemade labneh can be stored in an airtight container in the refrigerator for up to one week.
Q: Can I freeze labneh?
A: While it’s possible to freeze labneh, the texture may change slightly. It’s best enjoyed fresh.
Q: Is labneh gluten-free?
A: Yes, labneh is gluten-free, making it a suitable option for individuals with gluten sensitivities or celiac disease.
Q: Can I add other herbs and spices to my labneh?
A: Absolutely! Feel free to experiment with different herbs and spices to customize the flavor of your labneh. Dill, mint, or even chili flakes can take it to the next level.
Q: Can I use flavored olive oil for drizzling?
A: Yes, flavored olive oil can add an extra layer of complexity to your labneh. Try using lemon-infused or garlic-infused olive oil for a unique twist.
Q: Can I use store-bought za’atar?
A: Yes, store-bought za’atar works just fine. However, if you want to take it up a notch, you can make your own za’atar blend using a combination of dried thyme, sesame seeds, sumac, and salt.
Q: Can I make labneh without straining the yogurt?
A: Straining the yogurt is key to achieving the thick and creamy texture of labneh. Skipping this step will result in a regular yogurt consistency.
In conclusion, making your own homemade labneh with olive oil and za’atar is a rewarding and delicious experience. With just a few simple steps, you can enjoy this Middle Eastern delight at any time. So, why not give it a try and impress your friends and family with your culinary skills? Happy labneh-making!

Homemade Labneh with Olive Oil and Za'atar
Ingredients
- 1 quart of plain full-fat Greek yogurt
- 1/4 teaspoon of kosher salt
- 1 teaspoon of lemon juice
- Olive oil and za
atar or other desired seasonings , for serving - Pita bread , for serving
Instructions
- Combine yogurt, salt, and lemon juice in a large bowl.
- Prepare a colander by lining it with three layers of cheesecloth.
- Place the colander over a large bowl.
- Pour the yogurt mixture into the cheesecloth in the colander.
- Cover the colander and bowl with plastic wrap.
- Refrigerate the bowl for 8 hours or overnight.
- Periodically empty the liquid that collects in the bowl.
- If not using immediately, store the strained yogurt in an airtight container in the refrigerator.
- When ready to serve, drizzle olive oil over the strained yogurt.
- Add additional seasoning as desired.
- Serve with pita bread.
Related Recipes:
 How to Make Greek Yogurt (No Special Equipment)
 Labneh
 How to Make Homemade Croutons? (Perfect Every Time!)
 How to Make Basil Oil? (Perfect Step-by-Step Guide)
 How to Make Garlic Salt? (Perfect Every Time!)
 Homemade Yogurt
 How to Make Pumpkin Puree? (Perfect Every Time!)
 How to Make Homemade Popsicles? (Perfect Every Time!)

