
Homemade Raspberry Marshmallows: A Delicious Treat You Can Make at Home
Who doesn’t love the fluffy, melt-in-your-mouth goodness of marshmallows? Whether you enjoy them on their own, toasted over a campfire, or as an ingredient in your favorite desserts, marshmallows are a versatile and beloved treat. While store-bought marshmallows are convenient, making your own homemade raspberry marshmallows takes the sweetness to a whole new level. In this article, we’ll explore the joy of creating these delectable treats in the comfort of your own kitchen.
The Magic of Homemade Marshmallows
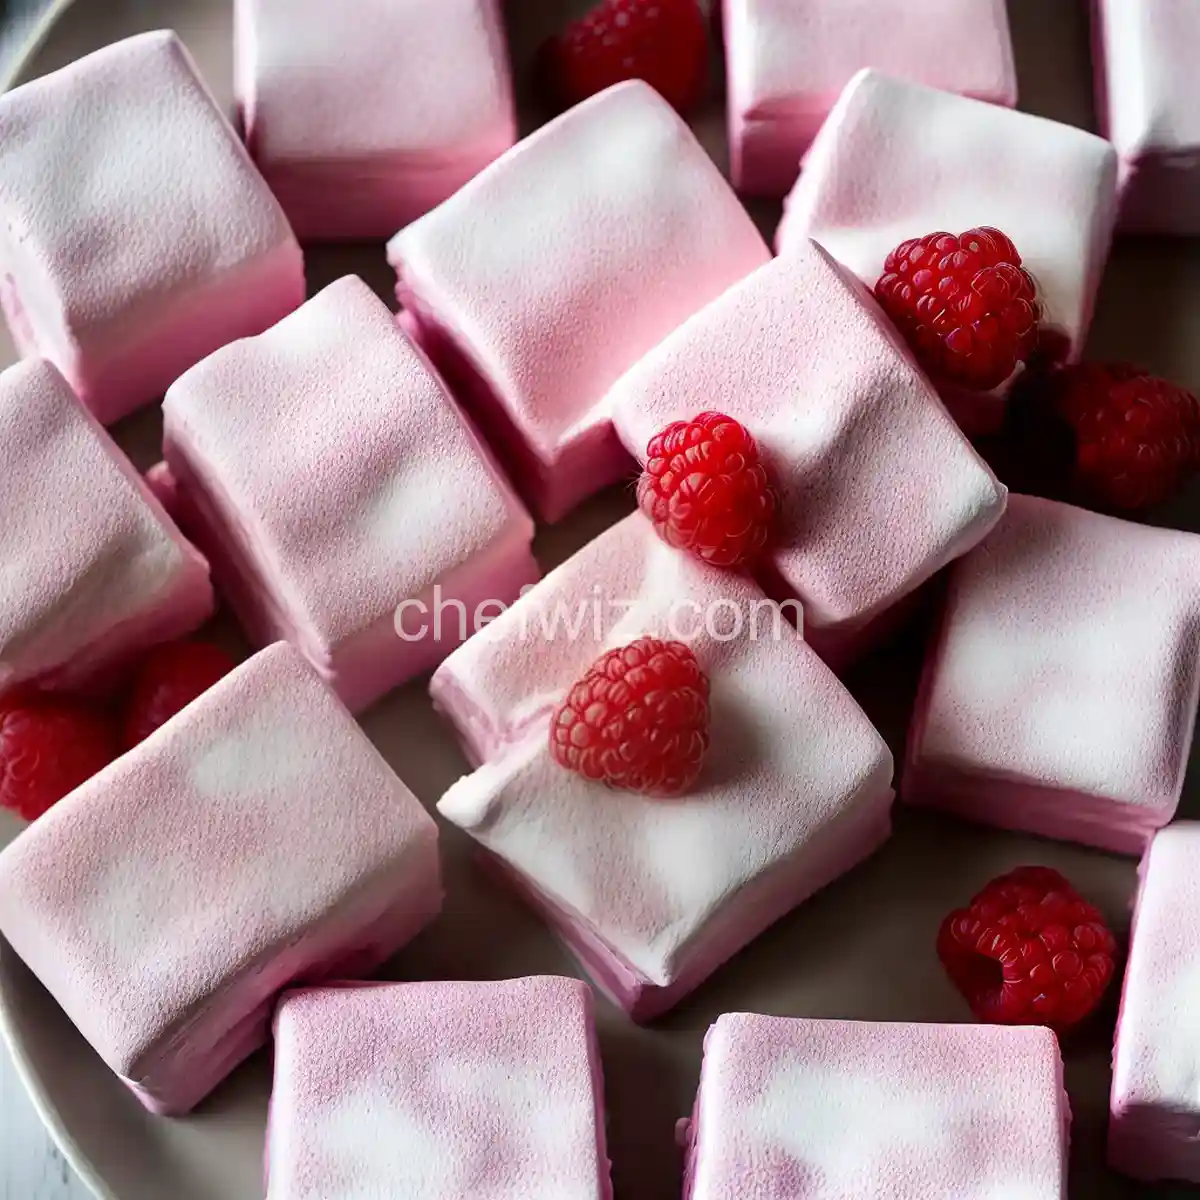
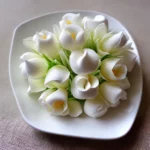
Imagine the aroma of fresh raspberries filling your kitchen as you whip up a batch of homemade marshmallows. The process of making marshmallows from scratch is like a culinary magic trick. You start with a few simple ingredients, a touch of patience, and before you know it, you have a tray of pillowy soft, raspberry-flavored marshmallows.
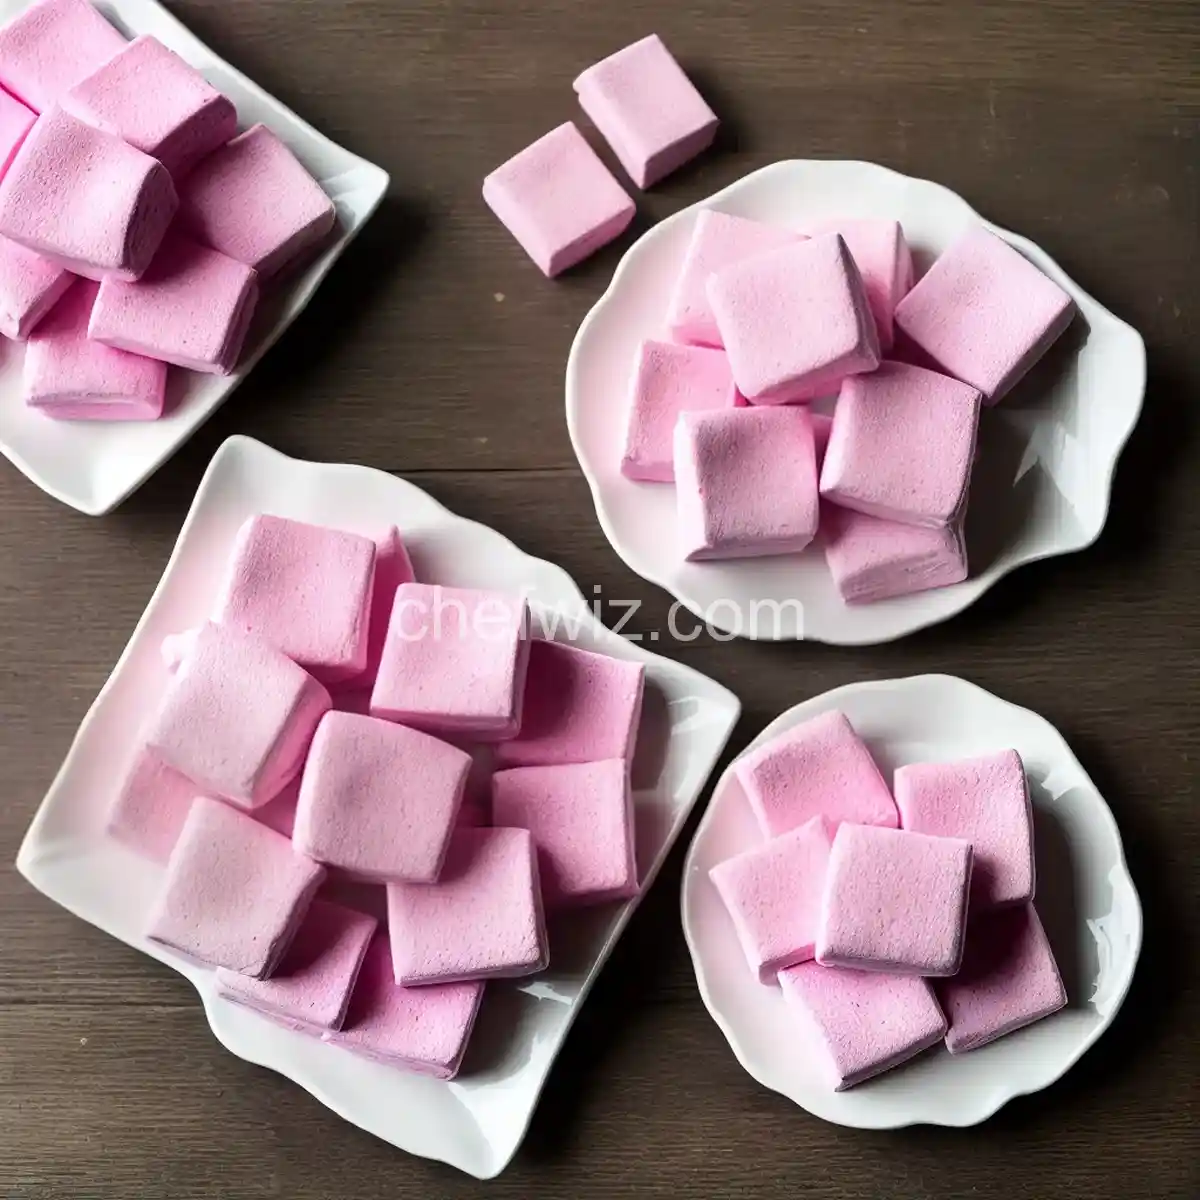
One of the great things about making your own marshmallows is that you can customize the flavors and textures to suit your preferences. By infusing your marshmallows with raspberry puree, you add a burst of fruity goodness that complements the sweetness perfectly. The vibrant pink color of the marshmallows adds a visually appealing touch as well.
The Science Behind the Fluffiness
Have you ever wondered why marshmallows are so fluffy? The secret lies in the process of whipping egg whites or gelatin with sugar syrup. This creates a delicate network of air bubbles that give marshmallows their light and airy texture. When you bite into a homemade marshmallow, you experience a delightful balance between a soft exterior and a slightly chewy center.
Creating homemade marshmallows may seem daunting at first, but with a little practice, you’ll become a marshmallow-making expert. Plus, the satisfaction of enjoying a batch of homemade marshmallows is truly unmatched. The process itself is a labor of love, and the end result is a treat that will impress your friends and family.
Why Choose Homemade Raspberry Marshmallows?
While traditional vanilla-flavored marshmallows are delightful, why not take it up a notch with the addition of fresh raspberries? Raspberry marshmallows offer a burst of fruity flavor that pairs perfectly with the sweetness of the marshmallow base. Plus, the vibrant pink color adds a touch of elegance and whimsy to your marshmallow creations.
Whether you’re planning a cozy night by the fireplace, a summer barbecue, or a special occasion, homemade raspberry marshmallows are sure to be a crowd-pleaser. They elevate the classic marshmallow experience and bring a touch of sophistication to any gathering.
FAQs About Homemade Raspberry Marshmallows
1. Can I use frozen raspberries to make raspberry puree?
Yes, you can use frozen raspberries to make raspberry puree. Simply thaw them before blending them into a smooth puree.
2. Can I substitute other fruits for the raspberries?
Absolutely! Feel free to experiment with other fruits like strawberries, blackberries, or even a combination of fruits to create unique flavor combinations.
3. Can I use agar agar instead of gelatin?
Yes, agar agar is a suitable vegetarian substitute for gelatin. Follow the package instructions for the appropriate amount to use.
4. How long do homemade raspberry marshmallows stay fresh?
When stored in an airtight container at room temperature, homemade marshmallows can stay fresh for up to two weeks.
5. Can I toast homemade raspberry marshmallows?
Absolutely! Just like regular marshmallows, homemade raspberry marshmallows can be toasted over a campfire or using a kitchen torch for a deliciously caramelized exterior.
6. Can I make marshmallows without a stand mixer?
While a stand mixer makes the process easier, you can still make marshmallows using a handheld electric mixer. It may take a bit more effort, but the end result will be just as delicious.
7. Are homemade marshmallows gluten-free?
Yes, homemade marshmallows are typically gluten-free. However, it’s always important to double-check the ingredients to ensure they are suitable for those with gluten sensitivities.
8. Can I use natural food coloring to dye the marshmallows?
Absolutely! Natural food coloring made from ingredients like beet juice or turmeric can be used to dye the marshmallows a vibrant pink color without the need for artificial additives.
In conclusion, making homemade raspberry marshmallows is a delightful adventure that brings joy to both the creator and the consumer. The process of creating these fluffy treats is a labor of love, resulting in a burst of fruity goodness with every bite. Whether you enjoy them on their own, toasted, or as an ingredient in your favorite desserts, homemade raspberry marshmallows are sure to be a hit. So why not indulge your sweet tooth and try making these delectable treats at home?
Homemade Raspberry Marshmallows
Ingredients
- 1/2 cup raspberry powder , freeze-dried
- 1/4 cup sugar , confectioners
- 1/4 cup cornstarch
- Cooking spray
- 3/4 cup water , divided
- 1 teaspoon vanilla extract
- 1/4 teaspoon almond extract
- Two packets (0.25 ounces each) unflavored gelatin powder
- 3/4 cup sugar , granulated
- 1/2 cup corn syrup , light
- 1/8 teaspoon salt , kosher
Instructions
- In a small bowl, mix together the raspberry powder, confectioners' sugar, and cornstarch.
- Coat an 8-inch square or 9-inch square baking dish with cooking spray.
- Dust the bottom and sides of the dish with half of the confectioners' sugar mixture.
- Pour any excess mixture back into the bowl.
- In the bowl of a stand mixer fitted with a whisk attachment, combine 1/2 cup water, vanilla extract, and almond extract.
- Sprinkle the gelatin over the liquid mixture.
- In a small saucepan, stir together the granulated sugar, corn syrup, salt, and the remaining 1/4 cup of water.
- Attach a candy thermometer to the saucepan.
- Heat the mixture over medium-high heat until it reaches 240 degrees F.
- Immediately remove from the heat and transfer the mixture to the stand mixer.
- Turn the mixer on low and slowly pour the sugar mixture down the side of the bowl.
- Gradually increase the speed to high and mix until lukewarm and fluffy, about 7 to 10 minutes.
- While the mixer is running, grease a rubber spatula and have it ready by the mixer, along with the prepared baking dish.
- Using the greased spatula, immediately scrape the mixture into the baking dish and spread it out evenly.
- Dust the top with half of the remaining con


