
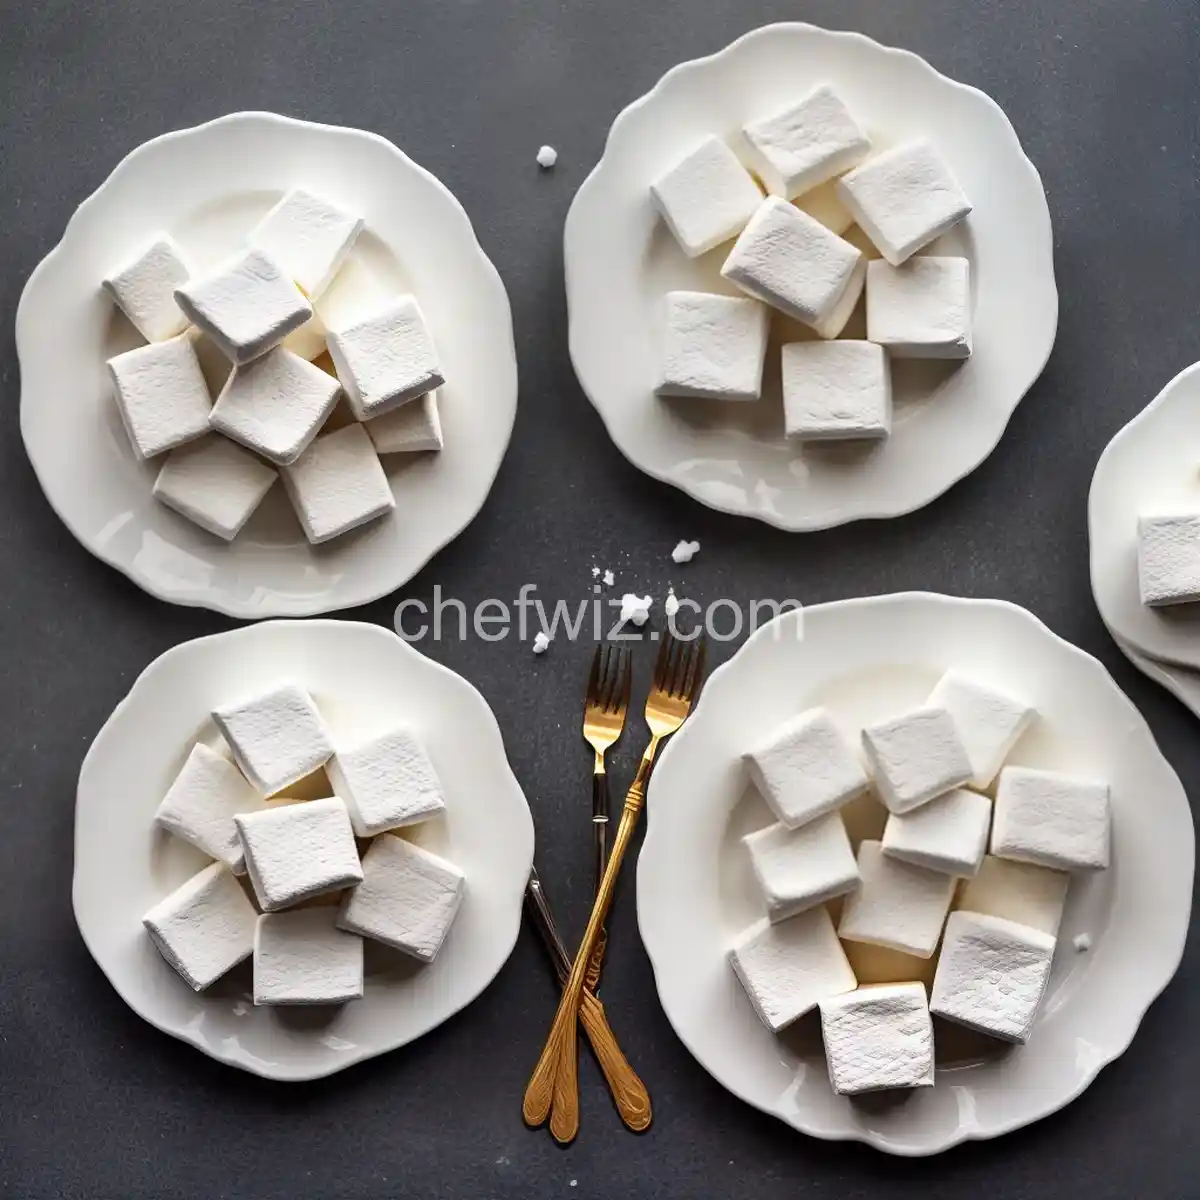
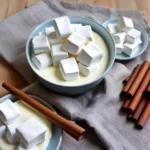
Homemade Marshmallows
Who doesn’t love the fluffy, melt-in-your-mouth goodness of a marshmallow? Whether it’s toasted over a campfire or added to a cup of hot chocolate, marshmallows bring joy to our taste buds. Have you ever wondered if you can make these delightful treats at home? Well, wonder no more! In this article, we will explore the world of homemade marshmallows and show you just how easy it is to create your own batch of pillowy goodness.
Why Make Homemade Marshmallows?
While store-bought marshmallows are convenient, making your own at home has its own set of benefits. For one, you have complete control over the ingredients used. You can choose to use organic sugar, natural flavors, and even experiment with unique flavors like lavender or peppermint. Additionally, homemade marshmallows are fresher and have a softer texture compared to their store-bought counterparts.
The Science Behind Homemade Marshmallows
Creating homemade marshmallows is like performing a delicious science experiment. The key ingredient in marshmallows is gelatin, which gives them their signature squishiness. When gelatin is mixed with hot sugar syrup and whipped, it forms a stable structure that gives marshmallows their fluffy texture.
The Process of Making Homemade Marshmallows
Making homemade marshmallows is a multi-step process that requires a few essential tools and ingredients. You’ll need a candy thermometer to ensure precise temperature control, a stand mixer for whipping the marshmallow mixture, and of course, gelatin, sugar, water, and flavorings.
First, you’ll prepare your gelatin mixture by blooming the gelatin in water. While the gelatin softens, you’ll heat sugar and water in a saucepan until it reaches the right temperature. Once the sugar syrup is ready, you’ll slowly pour it into the gelatin mixture while the stand mixer whisks it to perfection. After a few minutes of whipping, the mixture will transform into a light and fluffy cloud of marshmallow goodness.
Tips and Tricks for Perfect Homemade Marshmallows
Creating homemade marshmallows can be a breeze if you keep a few tips and tricks in mind. Firstly, make sure to use a candy thermometer to monitor the temperature of the sugar syrup. This will ensure that your marshmallows have the perfect texture. Secondly, be patient during the whipping process. It takes a few minutes for the mixture to reach its full fluffiness, so resist the temptation to stop prematurely.
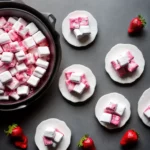
Flavoring and Customizing Your Marshmallows
One of the best things about homemade marshmallows is the ability to customize them to suit your taste. You can add different flavors like vanilla extract, cocoa powder, or even matcha powder for a unique twist. Additionally, you can experiment with various toppings like crushed cookies, sprinkles, or even a dusting of powdered sugar.
Storing and Enjoying Homemade Marshmallows
After you’ve created your batch of homemade marshmallows, it’s important to store them properly to maintain their freshness. Place them in an airtight container or ziplock bag and store them in a cool, dry place. Homemade marshmallows can last for up to two weeks when stored correctly.
FAQs
Q: Can I use vegetarian gelatin to make homemade marshmallows?
A: Yes, there are vegetarian gelatin alternatives available, such as agar-agar or carrageenan, which can be used as substitutes in homemade marshmallow recipes.
Q: Can I make marshmallows without a stand mixer?
A: While a stand mixer makes the process easier, you can still make marshmallows using a handheld electric mixer or even whisking vigorously by hand. It may require more effort and time, but the end result will still be delightful.
Q: Can I toast homemade marshmallows over a fire?
A: Absolutely! Homemade marshmallows are perfect for toasting over a campfire. Just skewer them on a stick and hold them over the flames until they turn golden brown and gooey.
Q: Can I make marshmallows without corn syrup?
A: Yes, you can substitute corn syrup with alternatives like honey or maple syrup. However, keep in mind that it may slightly change the texture and flavor of the marshmallows.
Q: Can I make marshmallows without using a candy thermometer?
A: While a candy thermometer ensures precise temperature control, you can still make marshmallows without one. You can test the sugar syrup by dropping a small amount into a bowl of cold water. If it forms a soft ball, it’s ready to be added to the gelatin mixture.
Q: Can I make marshmallows without gelatin?
A: Gelatin is a crucial ingredient in marshmallows as it provides the structure and texture. However, if you’re looking for a vegetarian or vegan alternative, you can use agar-agar or carrageenan instead.
Q: Can I add food coloring to homemade marshmallows?
A: Yes, you can add food coloring to your marshmallow mixture to create vibrant, colorful marshmallows. Just make sure to add it in small amounts and mix well to achieve the desired shade.
Q: Can I make marshmallows without using a saucepan?
A: While a saucepan is commonly used to heat the sugar syrup, you can use a microwave-safe bowl instead. Heat the sugar and water in short intervals, stirring in between, until it reaches the desired temperature.
Q: Can I make marshmallows without using an electric mixer?
A: While an electric mixer makes the process easier, you can still make marshmallows by whisking vigorously by hand. It may require more effort and time, but the end result will still be deliciously fluffy marshmallows.
In Conclusion
Homemade marshmallows are a delightful treat that you can easily make at home. With just a few simple ingredients and some patience, you can create fluffy clouds of sweetness that will impress your friends and family. So why not give it a try? Whip up a batch of homemade marshmallows and indulge in the magic of pillowy
Homemade Marshmallows
Ingredients
- 3 packets of unflavored gelatin
- 1 cup of cold water , divided into two portions
- Approximately 12 ounces (1 1/2 cups) of granulated sugar
- 1 cup of light corn syrup
- 1/4 teaspoon of kosher salt
- 1 teaspoon of vanilla extract
- 1/4 cup of confectioners
sugar - 1/4 cup of cornstarch
- Nonstick spray
Instructions
- In the bowl of a stand mixer, place the gelatin and 1/2 cup of water. Make sure the whisk attachment is ready.
- In a small saucepan, combine the remaining 1/2 cup water, granulated sugar, corn syrup, and salt. Cook over medium-high heat, covered, for 3 to 4 minutes.
- Uncover the saucepan, attach a candy thermometer to the side, and continue cooking until the mixture reaches 240 degrees F, about 7 to 8 minutes. Remove from heat immediately.
- Start the mixer on low speed and slowly pour the sugar syrup down the side of the bowl into the gelatin mixture. Increase the speed to high and whip until the mixture becomes thick and lukewarm, about 12 to 15 minutes. Add the vanilla in the last minute of whipping.
- While the mixture is whipping, prepare the pans as follows:
- - For regular marshmallows: Mix the confectioners' sugar and cornstarch in a small bowl. Lightly grease a 13 by 9-inch metal baking pan and coat it with the sugar and cornstarch mixture.
- - For miniature marshmallows: Line 4 half sheet pans with parchment paper. Grease the paper and dust it with the sugar and cornstarch mixture.
- Once the mixture is ready, pour it into the prepared pan for regular marshmallows or pipe it onto the prepared sheet


