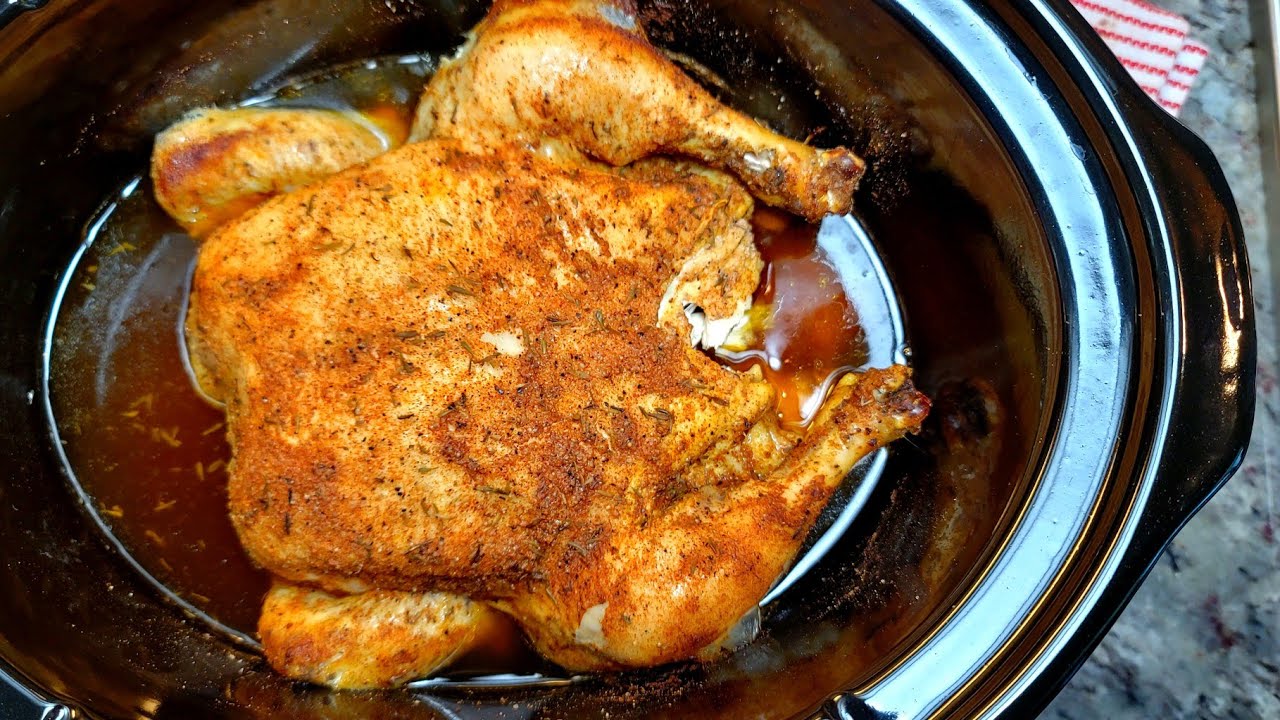
Cutting a whole chicken may seem intimidating, but with these step-by-step tips and tricks, you’ll master the art of butchery in no time. Whether you want to roast, braise, or stew the chicken, learning this technique will give you more cooking options. Plus, it’s cost-effective! Whole chickens are generally cheaper than precut ones. Don’t throw away the leftover back and neck, as they can be used to make a flavorful stock.
Key Takeaways:
- Cutting a whole chicken opens up more cooking possibilities and is cost-effective.
- Don’t discard the leftover back and neck, as they can be used to make a delicious stock.
- Proper tools, such as a sharp chef’s knife and kitchen shears, are essential for safe and efficient cutting.
- Start by separating the legs, then remove the wings, and finally separate the breasts from the back.
- Make sure to practice proper hygiene and food safety measures throughout the process.
Why Cut a Whole Chicken?
When it comes to home cooking, cutting a whole chicken opens up a world of possibilities. Not only does it give you more versatility in your recipes, but it’s also a cost-effective option. Whole chickens are often less expensive than precut pieces, allowing you to make the most of your budget. By learning this skill, you’ll be able to use different parts of the chicken for different dishes, making your meals more diverse and exciting.
One of the main advantages of cutting a whole chicken is the flexibility it offers. You can save the chicken breasts for a separate meal, use the legs and quarters for baking, or make juicy fried chicken using the wings. Instead of being limited to specific cuts, you can tailor your cooking to suit your taste and preferences.
Aside from being versatile and convenient, cutting a whole chicken at home also allows you to have a deeper connection with your food. You’ll gain a better understanding of the anatomy of a chicken and how different cuts affect the texture and flavor of the meat. It’s a valuable skill that every home cook should have in their culinary toolkit.
Table: Benefits of Cutting a Whole Chicken
| Benefits | Description |
|---|---|
| Versatility | Allows for a variety of cooking options and recipes |
| Cost-effective | Whole chickens are generally cheaper than precut pieces |
| Control over cuts | Choose how to divide the chicken according to your preferences |
| Improved cooking skills | Gain a better understanding of chicken anatomy and how different cuts affect flavor and texture |
With the benefits of versatility, cost-effectiveness, and improved cooking skills, cutting a whole chicken is a practice that is well worth the effort. So why not give it a try and elevate your home cooking to the next level?
Tools and Safety Precautions
When it comes to cutting a whole chicken, having the right tools and taking safety precautions is essential. Here are the tools you’ll need:
- Chef’s knife: A sharp chef’s knife is necessary for clean and precise cuts. Make sure your knife is sharp to avoid any accidents.
- Cutting board: Use a separate cutting board specifically for meat to avoid cross-contamination. Choose a board that is large enough to comfortably hold the chicken.
- Kitchen shears: Kitchen shears are handy for cutting through bones and cartilage. They are especially useful for trimming excess fat or removing the backbone.
Once you have gathered your tools, it’s important to take safety precautions to ensure a hygienic and accident-free process. Here are some key safety measures to keep in mind:
- Thaw the chicken: Make sure the chicken is completely thawed before cutting. Cutting partially frozen chicken can be challenging and increases the risk of injury.
- Practice proper hygiene: Wash your hands thoroughly before and after handling the chicken to prevent the spread of bacteria. Use hot, soapy water to clean your tools and cutting board.
- Work in a clean and organized space: Clear your workspace and ensure there are no additional distractions. A clean and organized space will help you focus and minimize accidents.
- Handle the knife with care: Always hold the knife with a firm grip and be mindful of your fingers. Keep the blade pointed away from your body and use controlled, deliberate motions.
By following these safety precautions and using the right tools, you can confidently proceed with cutting a whole chicken.
Table: Essential Tools for Cutting a Whole Chicken
| Tool | Description |
|---|---|
| Chef’s knife | A sharp knife used for clean and precise cuts |
| Cutting board | A separate board for meat to avoid cross-contamination |
| Kitchen shears | Used for cutting through bones and cartilage |
Step 1: Separating the Legs
Now that you have gathered your tools and ensured proper safety precautions, it’s time to start cutting the chicken. The first step is to separate the legs from the chicken carcass. Place the chicken breast side up on a cutting board and pull each leg away from the body.
Next, slice through the skin between the breast and drumstick. To dislocate the thighbone, turn the chicken on its side and bend each leg back until the thighbone pops out of its socket. Finally, cut through the joint and skin to detach the leg completely.
By following these steps, you have successfully separated the legs and obtained the drumsticks and thighs. Now you can move on to the next step, which is removing the wings.
Step 2: Removing the Wings
Once you have successfully separated the legs, it’s time to remove the wings from the chicken. This step is essential to achieve the desired cut-up chicken parts. To remove the wings, start by placing the chicken on its side. Gently pull each wing away from the body, ensuring you have a firm grip.
Using a sharp chef’s knife, carefully cut through the joint where the wing connects to the body. Be cautious not to remove too much of the breast meat. Repeat the process for the other wing, ensuring you maintain an even cut.
As you remove the wings, you’ll notice that they are connected with joints. Cutting through the joints allows for a clean separation of the wings from the chicken. After completing this step, you’ll be one step closer to perfectly cut-up chicken parts ready for your favorite recipes.
Why removing the wings is important:
Removing the wings gives you greater control over the chicken parts you’re working with. By separating the wings, you can evenly distribute the chicken pieces for cooking purposes. Additionally, the removed wings can be saved for other recipes, such as buffalo wings or chicken stock.
Properly removing the wings is crucial as it ensures the overall presentation and taste of the cut-up chicken. With a little practice and attention to detail, you’ll master this step and be on your way to creating delicious meals using a whole chicken.
Step 3: Separating the Breast from the Back
Now that we’ve successfully separated the legs and removed the wings, it’s time to focus on separating the breast from the back of the chicken. This step requires precise cutting around the rib cage and shoulder joints to ensure a clean separation.
I recommend lifting the chicken and placing it on a stable cutting board. With a sharp chef’s knife, make a downward cut through the rib cage, starting from the neck end and moving towards the tail. Take your time and be careful not to cut through the breast meat.
Next, locate the shoulder joints on either side of the chicken and cut through them to fully detach the breast from the back. The breast should now be separate and ready for further preparation. Remember to save the back for making stock or discard it if not needed.
Table: Chicken Cutting Summary
Let’s summarize the cuts we’ve made so far in our journey to cut a whole chicken:
| Cut | Result |
|---|---|
| Leg Separation | Two detached legs with drumsticks and thighs |
| Wing Removal | Two wings separated from the body |
| Separating the Breast from the Back | Two breast halves separated from the back |
With the breast and back separated, we’re one step closer to having all the desired chicken parts for our culinary creations. Let’s move on to the next step, where we’ll learn how to split the breast into two pieces.
Step 4: Splitting the Breast
Now that we have separated the legs, removed the wings, and separated the breast from the back, it’s time to move on to splitting the breast. This step allows us to further divide the chicken into more manageable pieces.
To split the breast, place it skin side down on the cutting board. With a firm grip on your sharp chef’s knife, locate the center bone of the breast and using a chopping motion, split the breast in half. Apply even pressure and make a clean, decisive cut to ensure a precise separation.
Once the breast is split, you can proceed to slice through the meat and skin to create two distinct breast pieces. Carefully follow the natural contours of the breast and maintain a steady hand while slicing. By utilizing a sharp knife and a gentle slicing motion, you can achieve smooth and even cuts.
Splitting the breast provides you with more versatility in your cooking. Depending on the recipe you’re planning to prepare, you can use these smaller breast pieces for a variety of dishes, such as grilling, sautéing, or roasting. The possibilities are endless!
“Splitting the breast allows for more even cooking and helps to enhance the flavors in each dish.” – Professional Chef
Step 5: Quartering the Breasts
After separating the breast from the back, it’s time to quarter the breasts. This will give you four pieces of chicken breast to work with. To start, turn each breast piece skin side up on your cutting board. This will allow for easier handling and precise cuts. Take your sharp chef’s knife and make a diagonal cut through each breast, splitting it in half.
By quartering the breasts, you further enhance the versatility of your cut-up chicken. Each quartered piece can be used in a variety of recipes, from stir-fries and curries to grilled chicken salads. The diagonal cut exposes more surface area, allowing for quicker and more even cooking.
When quartering the breasts, it’s important to ensure that your knife is sharp and your cutting motions are confident and controlled. This will result in clean, precise cuts that showcase your culinary skills. With practice, quartering chicken breasts will become second nature, and you’ll be able to do it effortlessly.
Table: Summary of Steps for Cutting a Whole Chicken
| Step | Description |
|---|---|
| 1 | Separating the Legs |
| 2 | Removing the Wings |
| 3 | Separating the Breast from the Back |
| 4 | Splitting the Breast |
| 5 | Quartering the Breasts |
| 6 | Dividing the Legs |
| 7 | Final Pieces |
Step 6: Dividing the Legs
Now that we have separated the legs from the chicken, it’s time to divide them into individual portions. This step will give us separate thigh and drumstick pieces, which can be used in a variety of recipes. To do this, turn each leg skin side down on the cutting board. Locate the white fat line that runs along the joint between the thigh and drumstick. Using a sharp chef’s knife, make a clean cut through the joint along this line. Repeat the process for the other leg, and you will have two separate leg portions.
Dividing the legs allows for more flexibility when cooking with chicken. The thighs and drumsticks have slightly different cooking times and can be used in different dishes based on personal preference. Whether you prefer to roast, grill, bake, or stew the different parts, dividing the legs gives you the freedom to experiment with various flavors and cooking techniques.
Table: Comparison of Divided Leg Portions
| Leg Portion | Main Characteristics | Recommended Cooking Methods |
|---|---|---|
| Thigh | Dark meat, tender and flavorful | Braising, roasting, grilling |
| Drumstick | Dark meat, juicy and succulent | Baking, frying, grilling |
“Dividing the legs not only allows for more cooking options but also helps to ensure that the chicken cooks evenly and thoroughly. By separating the thigh and drumstick, you can better control the cooking time and temperature for each portion, resulting in perfectly cooked chicken.”
Now that we have divided the legs, you can move on to the final step of cutting a whole chicken, which involves separating the remaining parts into smaller pieces. This will give you a variety of chicken parts to use in different recipes or freeze for future use. Let’s continue with the next step to complete the process.
Step 7: Final Pieces
After following the previous steps, you will have successfully cut a whole chicken into its individual parts, resulting in a variety of final pieces that can be used in various dishes. These final pieces include the breast halves, legs, thighs, drumsticks, and wings. Each part offers its own unique flavor and texture, providing endless possibilities for culinary creativity.
When it comes to the breast halves, they are versatile and can be used in a wide range of recipes. Whether you prefer grilling, roasting, or sautéing, the breast meat is tender and juicy, making it a favorite among many. The legs, thighs, and drumsticks, on the other hand, are perfect for braising, baking, or frying. These parts are known for their rich, dark meat and are often used in comfort food classics.
Don’t forget about the wings! Although they may be smaller in size, they can pack a punch when it comes to flavor. Whether you prefer them spicy or mild, these little morsels are great for appetizers, game day snacks, or even as a main course. From buffalo wings to sticky soy-glazed wings, there are endless wing recipes to discover.
| Chicken Parts | Best Cooking Methods |
|---|---|
| Breast Halves | Grilling, roasting, sautéing |
| Legs, Thighs, Drumsticks | Braising, baking, frying |
| Wings | Appetizers, snacks, main courses |
Whether you’re in the mood for a sizzling grilled chicken breast, a comforting plate of roasted chicken thighs, or some finger-licking good chicken wings, cutting a whole chicken gives you the opportunity to create a diverse range of delicious meals. So, don’t be afraid to get creative in the kitchen and explore the endless possibilities with your final chicken pieces.
Expert Tip:
If you’re planning to use the chicken parts in different recipes, it’s a good idea to store them separately. This way, you can easily grab the specific part you need without having to defrost the entire batch. Simply place each type of chicken part in a separate resealable bag or container and label them accordingly. This will help you stay organized and save time in the kitchen.
Freezing and Using Chicken Parts
When you have extra chicken parts after cutting a whole chicken, freezing them is a convenient way to preserve them for future use. Proper storage is essential to maintain the quality and flavor of the chicken. To freeze chicken parts, start by ensuring they are completely cooled. Then, place them in airtight containers or freezer bags to prevent freezer burn and odor absorption. Label the containers with the date and contents for easy identification.
When using frozen chicken parts, it’s important to defrost them properly. The safest way to defrost frozen chicken parts is by transferring them from the freezer to the refrigerator and allowing them to thaw overnight. If you need to defrost them quickly, you can use the defrost function on your microwave or submerge them in cold water, changing the water every 30 minutes until thawed. Avoid defrosting chicken at room temperature, as this increases the risk of bacterial growth.
Once your chicken parts are defrosted, you can use them in a variety of delicious recipes. The different cuts of chicken lend themselves well to various cooking methods and flavor profiles. The breasts are great for grilling, baking, or pan-searing, while the darker meat of the legs and thighs is perfect for braising, stewing, or slow-cooking. Don’t forget about the wings, which can be baked or fried to crispy perfection. Explore different seasonings, sauces, and marinades to enhance the flavor of your chicken dishes.
Remember to always practice proper food safety and hygiene when handling chicken. Wash your hands thoroughly before and after handling raw chicken, and be sure to clean and sanitize any surfaces or utensils that come into contact with the chicken. Following these guidelines will help ensure that your chicken dishes are safe, flavorful, and enjoyable for everyone.
| Storage Tips | Cooking Tips |
|---|---|
|
|
Utilizing the Carcass for Stock
When you’re finished cutting a whole chicken, don’t toss out the carcass! It may not have much meat left, but it’s a goldmine for making homemade chicken stock. Homemade stock adds incredible flavor to soups, stews, and sauces, and it’s a great way to maximize every part of the chicken.
To make homemade chicken stock, simply simmer the chicken carcass in a pot of water with some aromatic vegetables and herbs. You can add onions, carrots, celery, garlic, thyme, and bay leaves for a flavorful base. Let the ingredients simmer for a few hours, then strain the liquid to remove any solids. The resulting stock will be rich, flavorful, and perfect for enhancing the taste of your favorite recipes.
| Benefits of Homemade Chicken Stock: |
|---|
| Flavor: Homemade stock provides a depth of flavor that store-bought options simply can’t match. |
| Cost-Effective: Utilizing the carcass for stock means you’re making the most of your whole chicken purchase. |
| Healthier Option: Homemade stock allows you to control the ingredients and avoid artificial additives found in store-bought versions. |
“Making homemade chicken stock is like turning leftovers into liquid gold. It’s a simple process that yields incredible flavor and adds a touch of homemade goodness to any dish.”
Once you’ve made your homemade chicken stock, store it in the refrigerator or freezer for future use. You can freeze it in small portions, such as ice cube trays, for easy portioning when needed.
So, next time you cut a whole chicken, don’t forget to save the carcass and turn it into homemade chicken stock. It’s a rewarding way to extract every ounce of flavor and make the most of your culinary efforts.
Recipe Ideas for Cut-Up Chicken
Now that you know how to cut a whole chicken, you can explore a variety of recipes utilizing the different parts. The possibilities are endless! Here are some delicious recipe ideas to get you started:
Finger-Lickin’ Crispy Fried Chicken

If you’re a fan of crispy, golden-brown chicken with a flavorful, juicy interior, then this recipe is for you. Dip the cut-up chicken pieces into a seasoned batter and fry them until they reach a beautiful golden color. Serve this classic favorite with coleslaw, mashed potatoes, and a side of homemade gravy for a mouthwatering meal that will satisfy everyone at the dinner table.
Oven-Barbecued Chicken
For a healthier but equally delicious option, try making oven-barbecued chicken. Marinate the chicken pieces in a tangy barbecue sauce overnight to infuse them with incredible flavor. Then, bake them in the oven until they are tender and juicy. This recipe is perfect for summer cookouts or weeknight dinners, and it pairs well with cornbread, baked beans, and a refreshing salad.
Sheet Pan Chicken Dinner
If you’re looking for a hassle-free and nutritious meal, a sheet pan chicken dinner is the way to go. Arrange the chicken pieces on a sheet pan along with a variety of colorful vegetables such as potatoes, carrots, and Brussels sprouts. Drizzle everything with olive oil, sprinkle with herbs and spices, and roast in the oven until the chicken is cooked through and the vegetables are tender. This one-pan wonder is not only delicious but also makes cleanup a breeze!
These recipe ideas are just the tip of the iceberg. Get creative in the kitchen and experiment with different seasonings, marinades, and cooking techniques to bring out the best flavors in your cut-up chicken. With a little imagination and a lot of taste testing, you’ll discover endless possibilities for delicious meals your family and friends will love.
Cleaning and Maintenance Tips
After successfully cutting a whole chicken, it’s important to properly clean and maintain your tools to ensure their longevity and effectiveness. Here are some tips for cleaning and maintaining your knife and cutting board:
Cleaning Your Knife:
- Begin by carefully washing the knife with hot, soapy water. This will help remove any chicken residue that may be on the blade.
- Use a scrub brush or sponge to gently clean the blade, paying extra attention to the handle and any crevices.
- Rinse the knife thoroughly with hot water to remove any soap residue.
- Dry the knife completely with a clean towel to prevent any moisture from causing rust.
- Finally, store your knife in a safe place, such as a knife block or magnetic strip, to protect the blade and prevent any accidents.
Maintaining Your Cutting Board:
- Start by wiping down the cutting board with a damp cloth to remove any food particles.
- Next, mix a solution of equal parts water and white vinegar.
- Using a clean cloth or sponge, scrub the surface of the cutting board with the vinegar solution. This will help disinfect the board and neutralize any odors.
- Rinse the cutting board thoroughly with hot water to remove any vinegar residue.
- Dry the cutting board completely with a towel and allow it to air dry upright to prevent any moisture from causing warping or mold growth.
By following these cleaning and maintenance tips, you can ensure that your knife and cutting board remain in excellent condition for future use. Remember, proper care and maintenance not only prolong the lifespan of your tools but also contribute to safe and hygienic cooking practices.
Now that you’ve learned how to cut a whole chicken and how to clean and maintain your tools, you’re well on your way to becoming a confident and skilled home cook. With practice and dedication, you’ll be able to create delicious meals using the different parts of a chicken and impress your family and friends with your culinary expertise. So don’t be afraid to take on new recipes and experiment with flavors, knowing that you have the knowledge and skills to cut a whole chicken like a pro.
Practice, Practice, Practice
Mastering the skill of cutting a whole chicken takes practice, but with each attempt, you’ll develop the necessary techniques to become a better chef. Whether you’re a novice in the kitchen or an experienced home cook, honing your butchery skills is a valuable endeavor that can boost your confidence and open up new culinary opportunities.
Practicing the art of chicken cutting allows you to refine your knife skills and improve your efficiency in the kitchen. With each chicken you cut, you’ll become more familiar with the different joints and bones, making the process smoother and more intuitive. It’s all about developing muscle memory and finding your rhythm.
As you practice, you’ll gain confidence in handling and manipulating the chicken carcass. You’ll become more comfortable using your tools, such as the chef’s knife and kitchen shears, and learn how to execute precise cuts. This newfound confidence will extend beyond cutting chicken and translate into other aspects of cooking, allowing you to tackle more challenging recipes and techniques with ease.

Remember, practice is not just about repetition; it’s about actively engaging with the process and seeking improvement. Take the time to reflect on each cutting session, identifying areas where you can refine your techniques and striving for consistent, even cuts. Embrace the journey of becoming a better chef and enjoy the satisfaction that comes with mastering this essential culinary skill.
Conclusion
After learning the art of cutting a whole chicken, you are on your way to becoming an expert chef in your own kitchen. This chicken cutting guide has provided you with step-by-step instructions to confidently tackle any chicken butchery task. With practice, you’ll be able to handle a whole chicken with ease and create a variety of delicious meals.
By mastering the culinary skill of cutting a whole chicken, you gain the flexibility to explore diverse cooking methods and recipes. The versatility and cost savings of cutting your own chicken are well worth the effort. Plus, the leftover back and neck can be utilized to make a flavorful homemade stock.
As you continue to fine-tune your butchery skills, remember that confidence comes with practice. Embrace the learning process and enjoy the journey of becoming an expert chef. So grab your chef’s knife, start honing your culinary skills, and let your creativity soar in the kitchen!
FAQ
Is cutting a whole chicken difficult?
Cutting a whole chicken may seem intimidating, but with practice and guidance, it can be mastered.
Why should I cut a whole chicken instead of buying precut pieces?
Cutting a whole chicken allows for more versatility in your cooking and is generally more cost-effective than buying precut pieces.
What tools do I need to cut a whole chicken?
You will need a sharp chef’s knife, a separate cutting board for meat, and kitchen shears for certain cuts.
How do I separate the legs of the chicken?
Begin by pulling each leg away from the body and slice through the skin between the breast and drumstick. Turn the chicken on its side and bend each leg back until the thighbone pops out of its socket. Cut through the joint and skin to detach the leg completely.
How do I remove the wings?
With the chicken on its side, pull each wing away from the body. Cut through the joint and remove the wing. Repeat the process for the other wing.
How do I separate the breast from the back?
Lift the chicken and cut downward through the rib cage and then the shoulder joints to separate the breast from the back.
How do I split the breast?
Place the breast skin side down and split the center bone using a chopping motion. Slice through the meat and skin to separate the breast into two pieces.
How do I quarter the breasts?
Turn each piece skin side up and cut in half diagonally through the bone. This will result in four pieces of chicken breast.
How do I divide the legs?
Turn each leg skin side down and cut through the joints along the white fat line to separate the thigh from the drumstick. This will give you two separate leg portions.
What will be the final pieces after cutting a whole chicken?
After following the previous steps, you should end up with 6 to 10 parts, depending on how you divided the breast and legs. These parts include the breast halves, legs, thighs, drumsticks, and wings.
Can I freeze the excess chicken parts?
Yes, you can freeze the excess chicken parts for future use. Properly store the chicken pieces in airtight containers or freezer bags to maintain their quality.
What can I do with the chicken back?
Don’t throw away the chicken back! You can save it in the freezer until you have enough to make homemade chicken stock. Simmer the carcass with water, aromatics, and seasonings for a flavorful base for soups and stews.
What are some recipe ideas for cut-up chicken?
You can try making crispy fried chicken, juicy oven-barbecued chicken, or a flavorful sheet pan chicken dinner.
How do I clean and maintain the tools used for cutting a whole chicken?
Wash the knife and cutting board with hot, soapy water to remove any chicken residue. Ensure the knife is properly dried and stored safely. Regularly sharpen your chef’s knife to maintain its effectiveness.
Is practice necessary to become proficient at cutting a whole chicken?
Yes, practice is key to perfecting the skill of cutting a whole chicken. The more you practice, the easier it will become, and soon you’ll be able to cut a whole chicken like a pro.
Source Links
- https://www.marthastewart.com/920455/how-cut-chicken
- https://littlesunnykitchen.com/how-to-cut-a-whole-chicken/
- https://www.bhg.com/recipes/how-to/handling-meat/cutting-up-a-whole-chicken/
Related Recipes:
 Cleaning Plastic Cutting Boards: Tips and Tricks
 How to Cut Green Onions? (Step-By-Step Guide)
 How to Cut a Tomato: Techniques for Every Dish
 How to Cut a Tomato? (Perfect Step-By-Step Guide)
 How to Cut Broccoli: A Quick Guide
 How to Cut a Watermelon? (Perfect Step-By-Step Guide)
 How to Cut an Avocado Quickly and Safely
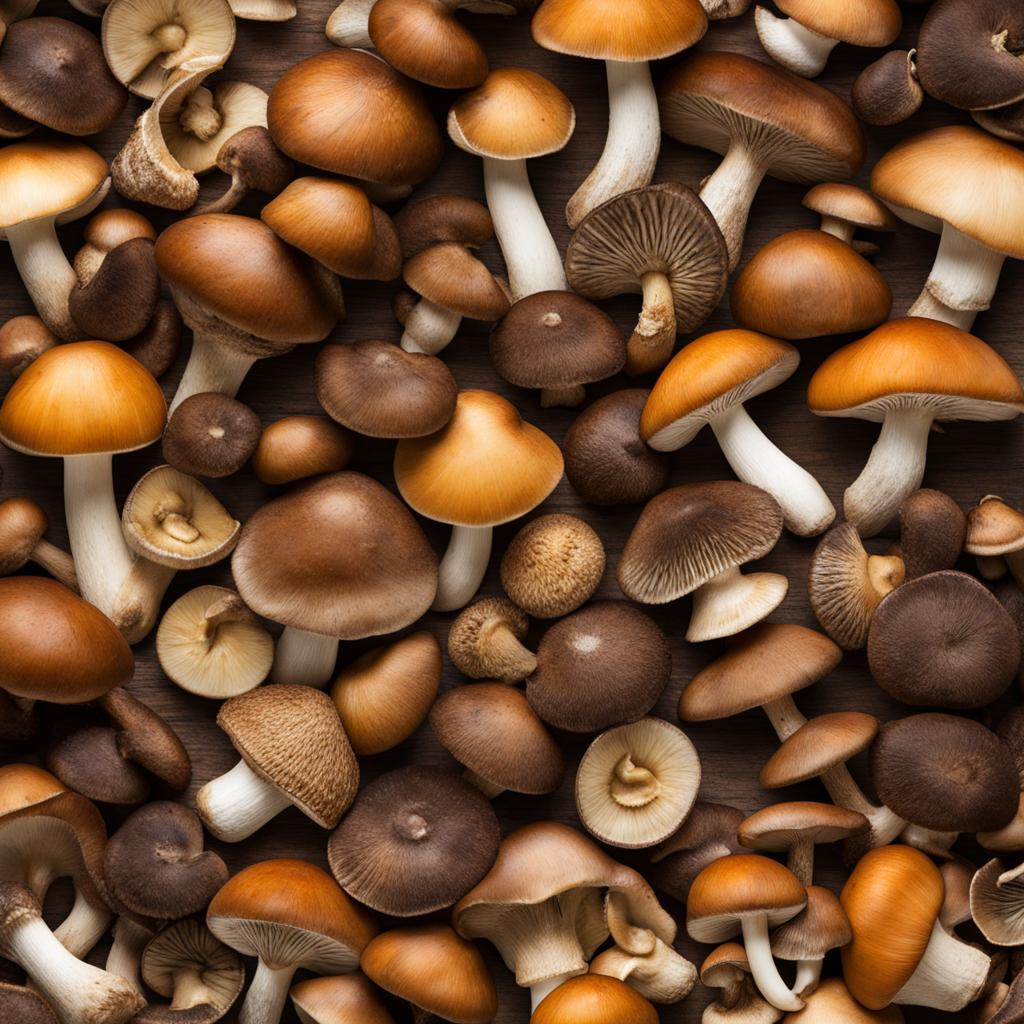
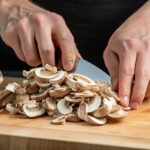 How to Cut Mushrooms? (Perfect Step-By-Step Guide)

