
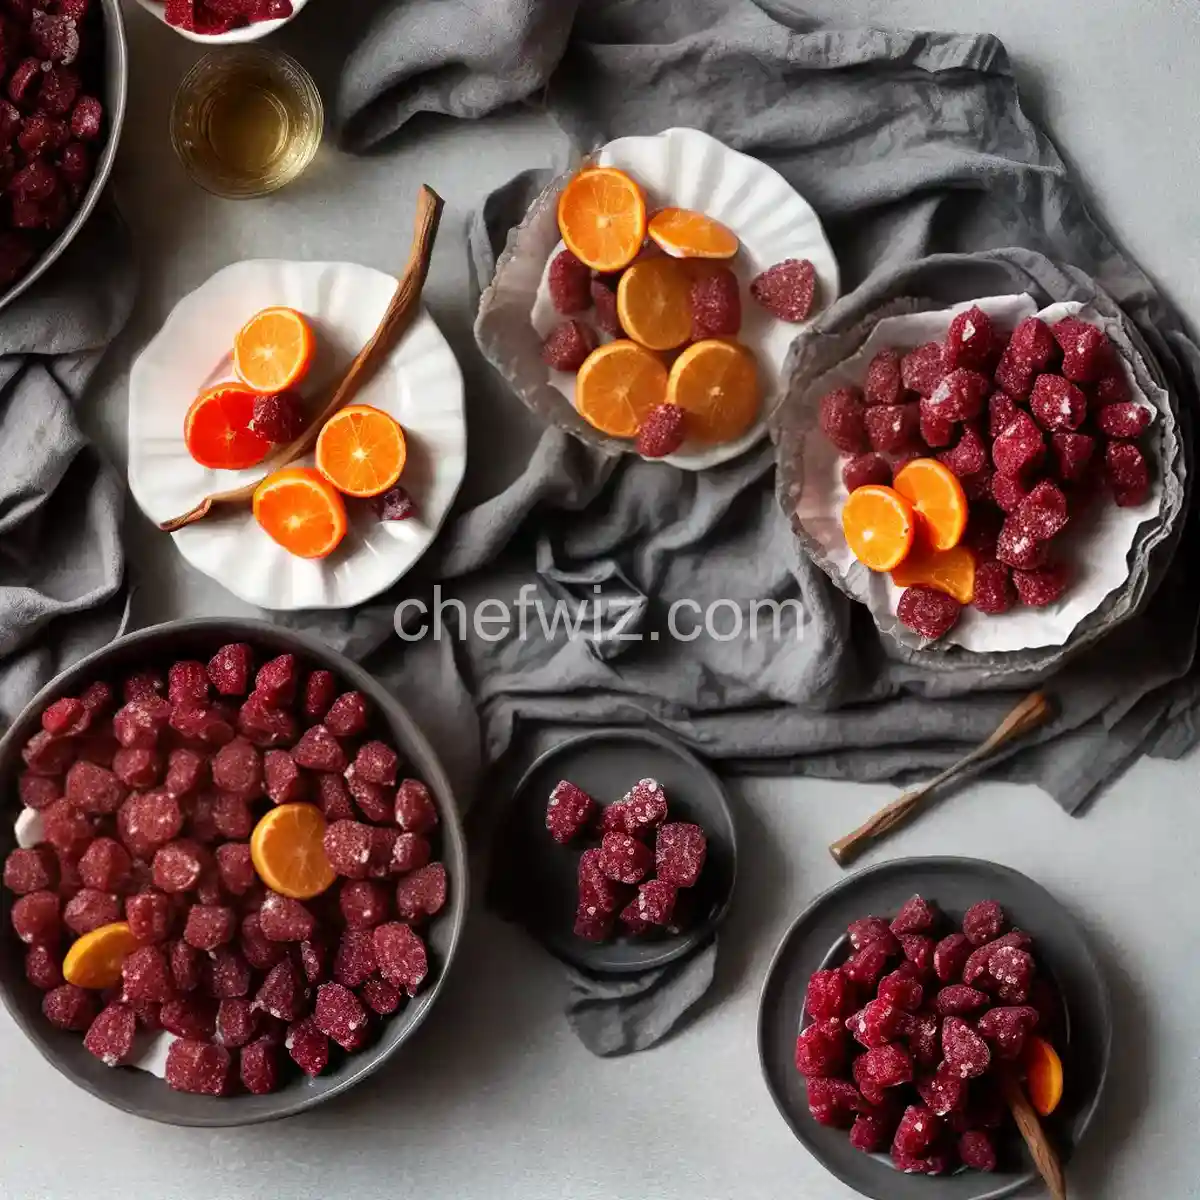
Old-Fashioned Homemade Hard Candy
Introduction
Remember those days when your grandma would whip up a batch of old-fashioned homemade hard candy? The sweet aroma filling the kitchen as you eagerly awaited your turn to taste the sugary goodness. Well, now you can recreate those cherished memories in your own home! In this article, we’ll explore the art of making old-fashioned homemade hard candy, step by step. Get ready to embark on a delightful journey of candy making!
The Sweet Science Behind It
Making hard candy is like conducting a magical science experiment in your kitchen. Just like a chemist, you’ll be combining different ingredients and carefully controlling the temperature to create a delectable treat. The sugar, along with other flavorings and colors, will transform into a crystal-clear candy masterpiece. It’s a fascinating process that will leave you in awe of your culinary skills!
Gathering the Essentials
Before you dive into the candy-making adventure, make sure you have all the necessary tools and ingredients. Think of it as gathering your ingredients for a secret potion. You’ll need a heavy-bottomed saucepan, a candy thermometer, molds or parchment paper, and of course, your choice of flavorings and colors. Once you have everything lined up, you’re ready to create some sweet magic!
The Perfect Temperature
Temperature plays a crucial role in candy making. It’s like finding the perfect balance between fire and ice. Too high, and your candy will scorch; too low, and it won’t set properly. The candy thermometer will be your trusty guide throughout the process, ensuring that you reach the precise temperature for each stage of candy-making. It’s the key to achieving that perfect glass-like texture!
Let the Candy Making Begin!
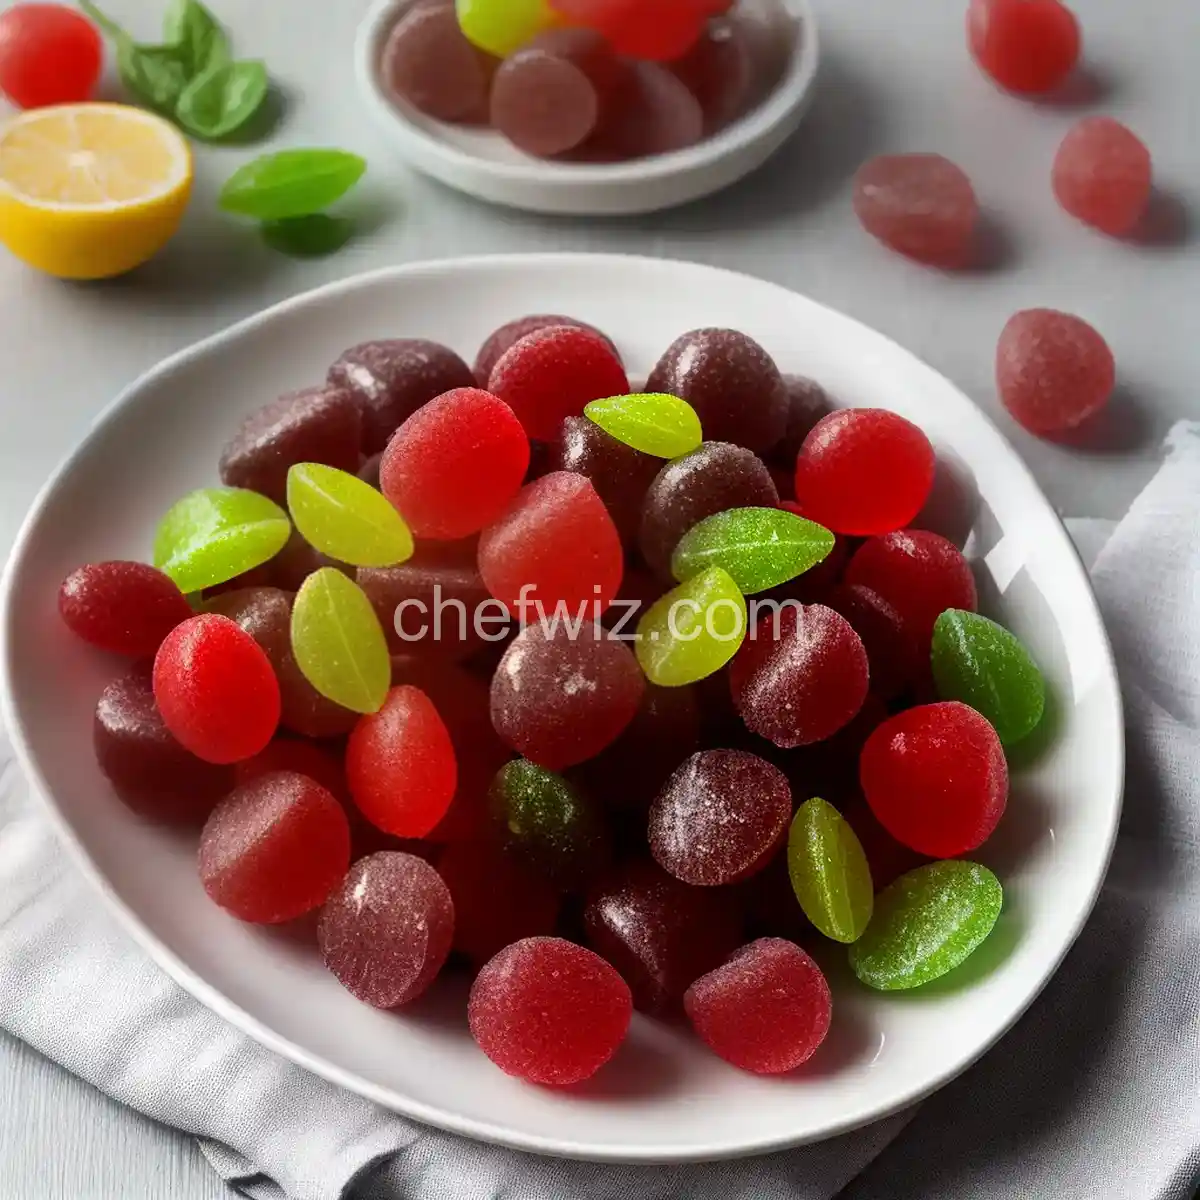
Now that you have all the essentials and a basic understanding of the candy-making process, it’s time to dive right in! Choose your favorite flavors, whether it’s classic peppermint or something more adventurous like watermelon. Mix in your desired colors, creating a beautiful palette of candy goodness. Watch as the sugar dissolves, the mixture boils, and the magic happens right before your eyes.
Patience is a Virtue
As the candy syrup reaches its desired temperature, it’s important to exercise patience. Just like waiting for a butterfly to emerge from its cocoon, good things come to those who wait. Allow the candy to cool and harden, resisting the temptation to touch or taste it prematurely. Trust the process, and soon you’ll be rewarded with a batch of homemade hard candy that will make your taste buds dance with delight!
Conclusion
Making old-fashioned homemade hard candy is a delightful and rewarding experience. It’s a chance to channel your inner confectioner and create sweet treats that will bring joy to your loved ones. So, gather your tools, choose your flavors, and embark on this magical journey of candy making. Get ready to savor the taste of nostalgia with every sweet bite!
Frequently Asked Questions
1. Can I use natural flavorings for my homemade hard candy?
Absolutely! You can experiment with a wide range of natural flavorings, such as citrus extracts, vanilla bean, or even lavender. Let your creativity be your guide!
2. How long does it take for the hard candy to cool and harden?
The cooling process varies depending on the room temperature and the size of your candy. On average, it can take anywhere from 30 minutes to a couple of hours. Just be patient, and you’ll be rewarded with deliciously hard candy!
3. Can I make sugar-free hard candy?
Absolutely! There are various sugar substitutes available that can be used to make sugar-free hard candy. Just make sure to follow the instructions and measurements specific to sugar substitutes.
4. Can I add edible glitter or sprinkles to my hard candy?
Definitely! Adding edible glitter or sprinkles can add a touch of sparkle and fun to your homemade hard candy. Just make sure to add them right before the candy begins to harden.
5. How should I store my homemade hard candy?
To ensure your homemade hard candy stays fresh and retains its delightful crunch, store it in an airtight container. Keep it in a cool, dry place away from direct sunlight.
6. Can I make different flavors in one batch of hard candy?
Absolutely! You can divide your candy mixture into different portions and add different flavors and colors to each one. It’s a great way to create a variety of flavors in a single batch!
7. What is the best way to clean my candy-making tools?
Cleaning candy-making tools can be a sticky situation. The best way to clean your tools is to soak them in warm water and gently scrub off any residue. Avoid using harsh chemicals that may affect the taste of future batches of candy.
8. Can I make shaped hard candy without molds?
Absolutely! If you don’t have molds on hand, you can pour your candy mixture onto a parchment-lined baking sheet and let it cool. Once hardened, you can break it into beautiful, irregular pieces of hard candy.
Old-Fashioned Homemade Hard Candy
Ingredients
- 2 cups granulated sugar
- 1 cup water
- ¾ cup light corn syrup
- ½ teaspoon peppermint extract
- 1 drop of red food coloring (optional)
- ⅛ cup powdered sugar
Instructions
- In a saucepan, combine the sugar, water, and corn syrup.
- Cook the mixture over medium heat, stirring constantly until the sugar is fully dissolved.
- Continue cooking the mixture without stirring, reducing the heat and cooking slowly until it reaches the hard crack stage at 300 degrees F.
- If any sugar crystals form on the sides of the pan, use a damp brush to wipe them off.
- Remove the saucepan from heat and add oil flavoring and food coloring. Stir only enough to mix the ingredients.
- Pour the mixture into two well-buttered 9-inch pans.
- Place one pan of candy over a saucepan with hot water (unless you have someone to help cut the candy).
- Once the other pan of candy has cooled enough to handle, use scissors to cut it into 1-inch strips, and then snip the strips into pieces.
- Work quickly and drop the candy pieces onto a buttered baking sheet.
- If the candy cools too quickly, place it over hot water to soften. If it becomes sticky, return it to the work counter immediately.
- Sprinkle a small amount of powdered sugar over the candy pieces to prevent sticking.
- Repeat the process with the second pan of candy.


