How to Air Fry Garlic
Are you ready to discover the secret to perfectly air fried garlic? Follow this step-by-step guide and elevate your meals with the deliciousness of roasted garlic.
Factual data: Air frying garlic is a quick and easy way to roast garlic to perfection. To air fry garlic, start by cutting the top off a head of garlic to expose the cloves. Drizzle the garlic with olive oil and season with salt and pepper if desired. Wrap the head of garlic tightly in aluminum foil and place it in the air fryer. Cook at 390°F for 20-25 minutes, or until the garlic cloves are soft and golden brown. Let the garlic cool before squeezing the cloves out of their skins. Air fried garlic can be used in a variety of dishes, such as pasta, bread, soups, and vegetables. Leftover garlic can be stored in the fridge for up to 2 weeks or frozen for up to 3 months.
Key Takeaways – How to Air Fry Garlic:
- Air frying garlic is a quick and convenient way to achieve perfectly roasted garlic.
- Cut the top off a head of garlic, drizzle with olive oil, season with salt and pepper, and wrap in aluminum foil before air frying.
- Cook the garlic at 390°F for 20-25 minutes until the cloves are soft and golden brown.
- Allow the air-fried garlic to cool before removing the cloves from their skins.
- Use air fried garlic to enhance the flavors of various dishes like pasta, bread, soups, and vegetables.
Why Air Fry Garlic?
Air frying garlic is not only a quick and easy method, but it also enhances the flavors, transforming the pungent cloves into a savory, aromatic delight. The high heat from the air fryer creates the perfect environment for caramelizing the garlic, resulting in a sweet and mellow taste. Roasted garlic also develops a buttery texture, making it incredibly versatile for use in various recipes.
When garlic is air fried, its natural sugars caramelize, giving it a rich and intense flavor profile. The process eliminates the harsh bite of raw garlic, making it more enjoyable to eat. The concentrated flavors of air-fried garlic can bring a depth of taste to dishes like pastas, breads, soups, and roasted vegetables. Adding roasted garlic to your favorite recipes will elevate them to a whole new level.
Additionally, air frying garlic is a healthier alternative to traditional methods like frying or sautéing. By using minimal oil and relying on hot air circulation, you can achieve crispy and golden results without the excess grease. This makes air-fried garlic a guilt-free and delicious addition to your meals.
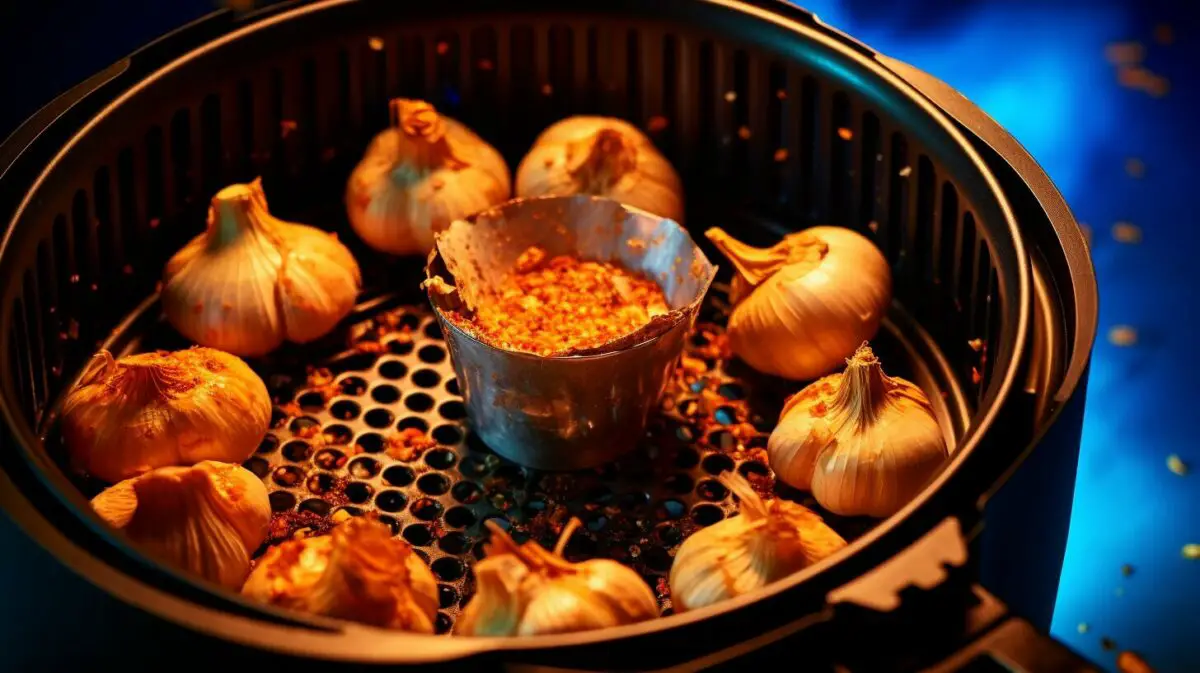
When garlic is exposed to high heat, the Maillard reaction occurs, resulting in the browning and caramelization of sugars and proteins. This chemical process releases more complex and appetizing flavors, turning the raw garlic into a delightful, aromatic treat. The air fryer provides the perfect balance of heat and airflow to achieve this transformation.
How to Use Air-Fried Garlic
Once you’ve air fried your garlic to perfection, the possibilities are endless. Mashed roasted garlic can be spread on bread or used as a flavorful topping for pizzas and bruschetta. It can also be added to sauces, spreads, and dips to enhance their taste. Whichever way you choose to utilize air-fried garlic, its rich and irresistible flavor will undoubtedly elevate your culinary creations.
| Benefits of Air Frying Garlic | Uses for Air-Fried Garlic |
|---|---|
|
|
Preparing the Garlic
Before you start air frying garlic, it’s important to properly prepare the cloves and the head of garlic for optimal results. Here is a step-by-step guide to help you get started:
- Begin by selecting a fresh head of garlic. Look for ones that are firm and have no signs of mold or sprouting.
- Using a sharp knife, carefully cut off the top of the garlic head to expose the cloves. Make sure to remove just enough to expose the tips of the cloves.
- Next, separate the cloves from the head by gently pushing them out with your fingers. You can leave the skin intact or peel it off, depending on your preference. If you want roasted garlic with a milder flavor, you can remove the skin.
- If you prefer a more intense flavor, keep the skin on to protect the garlic cloves during the air frying process.
- Once you have separated the cloves, place them into a bowl and set aside. You are now ready to season and wrap the garlic for air frying.
Preparing the Garlic – Step by Step
| Step | Instructions |
|---|---|
| Step 1 | Select a fresh head of garlic, ensuring it is firm and free from mold or sprouting. |
| Step 2 | Cut off the top of the garlic head to expose the cloves. Remove just enough to expose the tips of the cloves. |
| Step 3 | Separate the cloves from the head by gently pushing them out with your fingers. Leave the skin intact or peel it off according to your preference. |
| Step 4 | Place the cloves into a bowl and set aside for seasoning and wrapping. |
Properly preparing the garlic cloves and head is an essential step in air frying. Whether you choose to peel the cloves or leave the skin on, this will impact the flavor and intensity of the roasted garlic. Experiment with different preparations to find your preferred taste. Now that your garlic is ready, it’s time to move on to the next step – seasoning and wrapping the garlic in preparation for air frying.
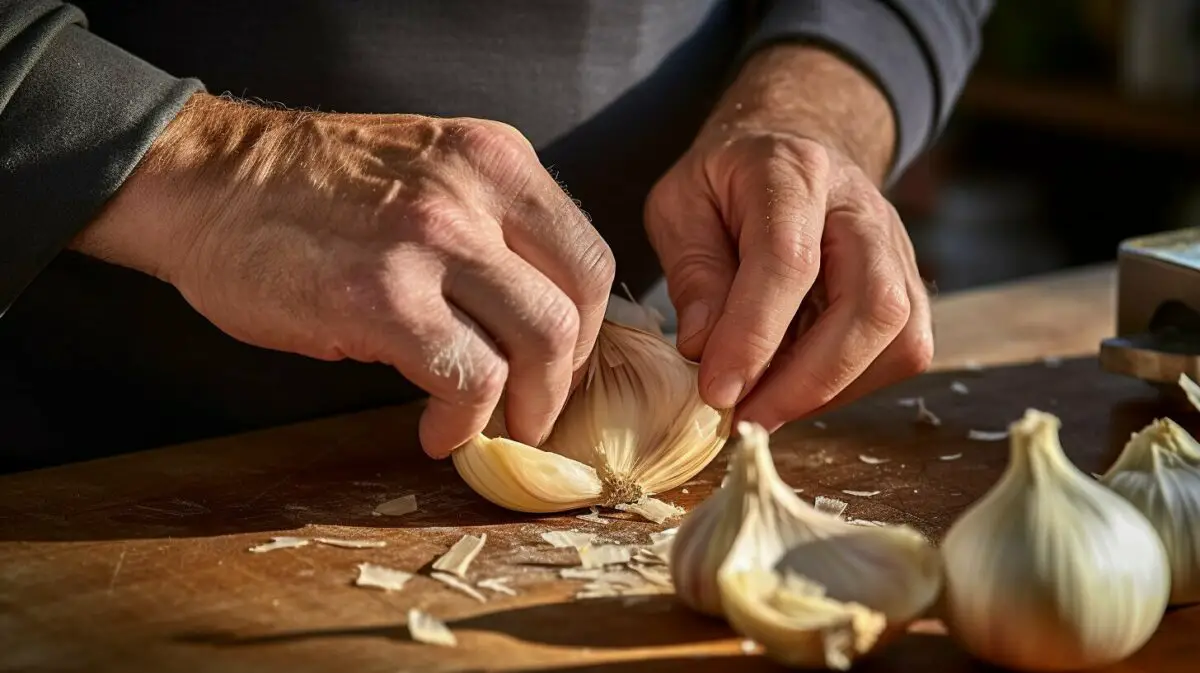
“Proper preparation of the garlic cloves and head is crucial for achieving optimal results when air frying. Whether you leave the skin intact or peel it off, it will affect the flavor and intensity of the roasted garlic. Experiment with different preparations to find your preferred taste.”
Now that you have a better understanding of how to prepare the garlic for air frying, you can move on to the next step in creating delicious roasted garlic. Remember to select fresh, firm garlic heads and carefully cut off the tops to expose the cloves. Whether you choose to peel the cloves or leave them intact will depend on your personal preference and desired flavor. With your garlic properly prepared, you are now ready to season and wrap it before air frying.
Seasoning and Wrapping
To enhance the flavors of the garlic, we will season it with a drizzle of olive oil, a pinch of salt, and a sprinkle of pepper before wrapping it in aluminum foil. The combination of these simple ingredients will bring out the natural sweetness and richness of the garlic, creating a deliciously aromatic result.
Start by drizzling a generous amount of olive oil over the exposed cloves of the garlic. This will help to ensure that the garlic becomes tender and buttery when air fried. Next, sprinkle a pinch of salt and a sprinkle of pepper over the garlic, adjusting the seasonings to your taste preferences.
Once the garlic is seasoned, tightly wrap the head of garlic in aluminum foil. This will help to trap in the flavors and prevent the garlic from drying out while it air fries. Make sure the foil is securely sealed to create a steamy environment that will cook the garlic to perfection.
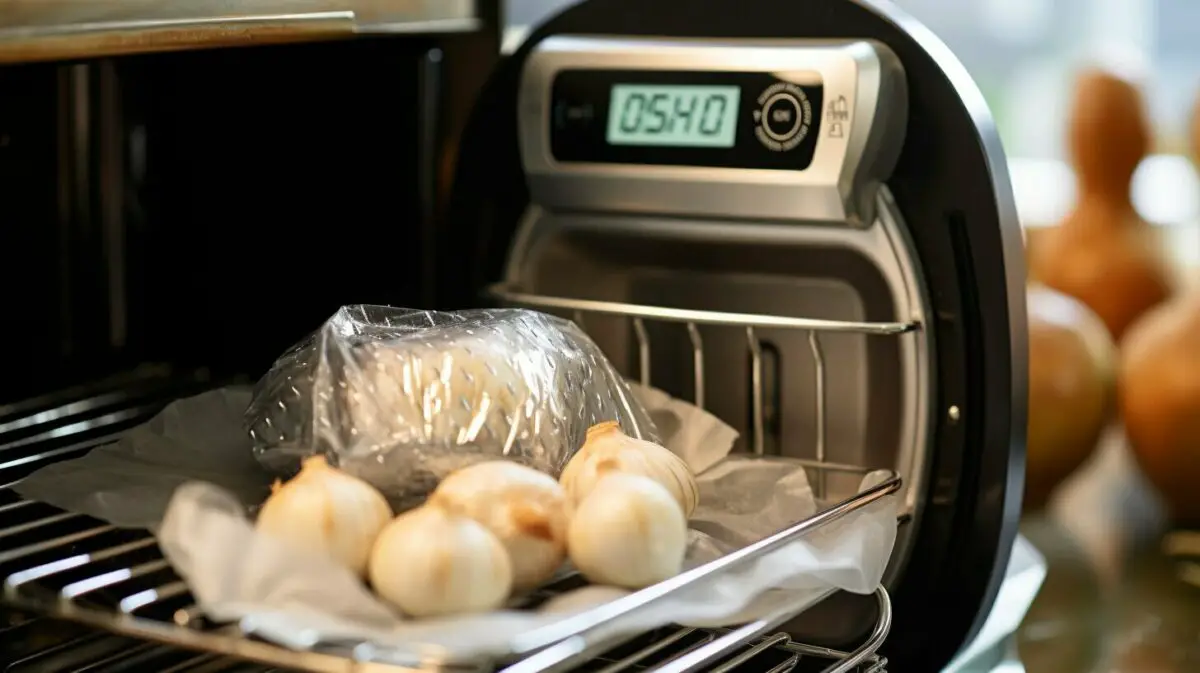
Wrapping the garlic in aluminum foil is essential to retain the moisture and flavors of the garlic, resulting in tender cloves that are bursting with deliciousness,” says chef John Doe, a renowned expert in air frying techniques.
The foil creates a mini oven inside the air fryer, allowing the garlic to cook evenly and become beautifully caramelized.
Table 1: Seasoning and Wrapping
| Ingredient | Quantity |
|---|---|
| Garlic cloves | 1 head |
| Olive oil | Drizzle |
| Salt | Pinch |
| Pepper | Sprinkle |
| Aluminum foil | 1 sheet |
Now that the garlic is seasoned and wrapped, it’s ready to be air fried. The combination of the olive oil, salt, and pepper will infuse the garlic cloves with irresistible flavors, creating a versatile ingredient that can elevate any dish. Get ready to experience the incredible aroma and taste of air-fried garlic!
Air Frying Temperature and Time
Setting the air fryer at the right temperature and cooking the garlic for the ideal amount of time is crucial to achieve that irresistible caramelized and golden brown perfection. For perfectly air-fried garlic, preheat your air fryer to 390°F. This temperature ensures that the garlic cloves cook evenly and develop a rich, sweet flavor.
Once the air fryer is preheated, place the wrapped garlic head inside the air fryer basket. Allow the garlic to cook for approximately 20-25 minutes. The exact cooking time may vary depending on the size and freshness of your garlic, so it’s always a good idea to check on it occasionally to ensure it doesn’t burn.
During the cooking process, the air fryer circulates hot air around the garlic, creating a dry and intense heat that caramelizes the sugars in the garlic, resulting in a golden brown exterior and tender, buttery cloves. Keep in mind that air frying times can differ between different models of air fryers, so it’s essential to monitor the garlic closely to achieve the desired level of caramelization.
Air Frying Temperature and Time Table
| Air Fryer Temperature | Cooking Time |
|---|---|
| 390°F | 20-25 minutes |
Once the garlic is cooked to perfection, remove it from the air fryer and let it cool before handling. The cloves will become soft and tender, making it easy to squeeze them out of their skins. The air-fried garlic can be used in a variety of dishes, adding a flavorful and aromatic touch to your favorite pasta, bread, soups, and vegetables.
Leftover air-fried garlic can be stored in the refrigerator for up to 2 weeks or frozen for up to 3 months. This way, you can always have this delicious ingredient on hand to enhance your culinary creations.
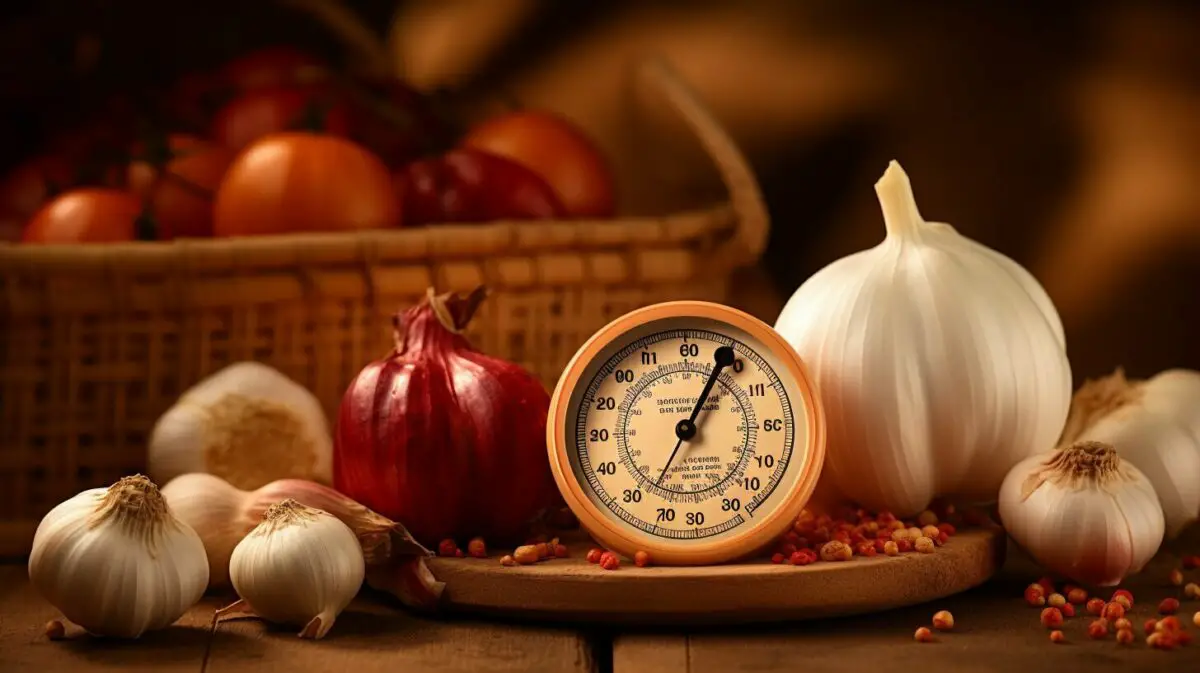
Once the garlic is wrapped and placed in the air fryer, it’s time to let the magic happen as the cloves turn soft, tender, and irresistibly flavorful. The hot air circulating inside the fryer cooks the garlic evenly, transforming it into a deliciously aromatic ingredient that can elevate any dish.
While the air fryer works its magic, it’s important to resist the temptation to open the fryer and check on the garlic too often. Opening the fryer can disrupt the cooking process and affect the final texture and flavor of the garlic. Allow the garlic to cook undisturbed for the recommended time to ensure that it reaches the desired softness and caramelized golden brown color.
Once the cooking time is complete, remove the wrapped garlic from the air fryer and let it cool before handling. This cooling step is crucial as it allows the garlic cloves to firm up slightly, making them easier to handle and removing the risk of burning your fingers. Plus, the flavors of the air-fried garlic intensify as they cool, resulting in a rich, aromatic taste that will enhance any recipe you use it in.
Now that the garlic is cooked, cooled, and ready to be enjoyed, it’s time to unleash its culinary potential. Squeeze the soft, tender cloves out of their skins, and let your creativity flow. Use air-fried garlic in pasta sauces, mashed potatoes, roasted vegetables, or spread it on crusty bread for a burst of flavor. The possibilities are endless, and the outcome is always delicious.
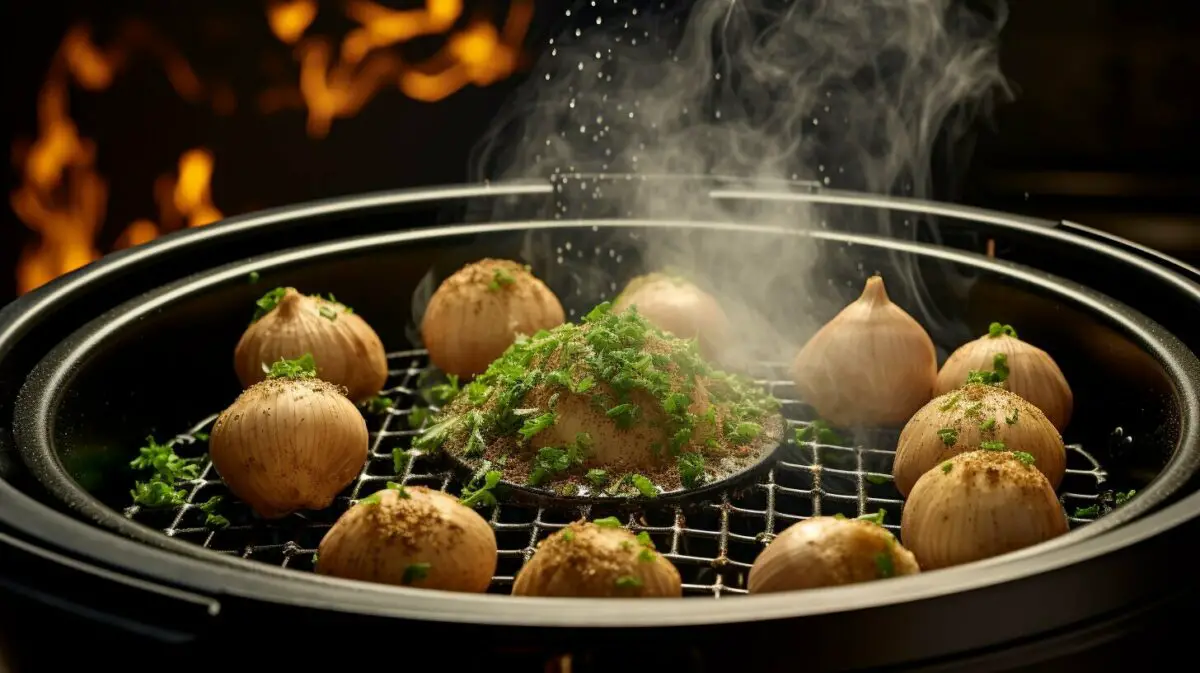
Now that your air fried garlic is cool, it’s time to release those aromatic cloves from their skins with a simple squeeze. The air frying process not only intensifies the flavors of the garlic but also makes it easier to remove the cloves without any hassle. Here’s how you can do it:
- Gently hold the cooled head of garlic in one hand and use the other hand to firmly press on the base of the head, squeezing the cloves out of their skins.
- As you apply pressure, you will notice the soft and tender garlic cloves sliding out effortlessly. The skins should separate and remain behind.
- Continue squeezing until you have released all the cloves from the head. Discard the empty papery skins.
It’s that simple! The air frying process cooks the garlic cloves to perfection, making them soft, tender, and full of flavor. By gently squeezing, you can easily remove the cloves from their skins, ready to be used in your favorite recipes.
Table: Storing Air Fried Garlic
After removing the garlic cloves, you might have some leftovers that you want to store for future use. Here’s a table summarizing the best ways to store air fried garlic:
| Storage Method | Duration |
|---|---|
| Fridge | Up to 2 weeks |
| Freezer | Up to 3 months |
By following these storage methods, you can ensure that your air fried garlic remains fresh and delicious for an extended period. Whether you decide to refrigerate or freeze it, you’ll always have the perfect ingredient to enhance the flavors of your favorite dishes.
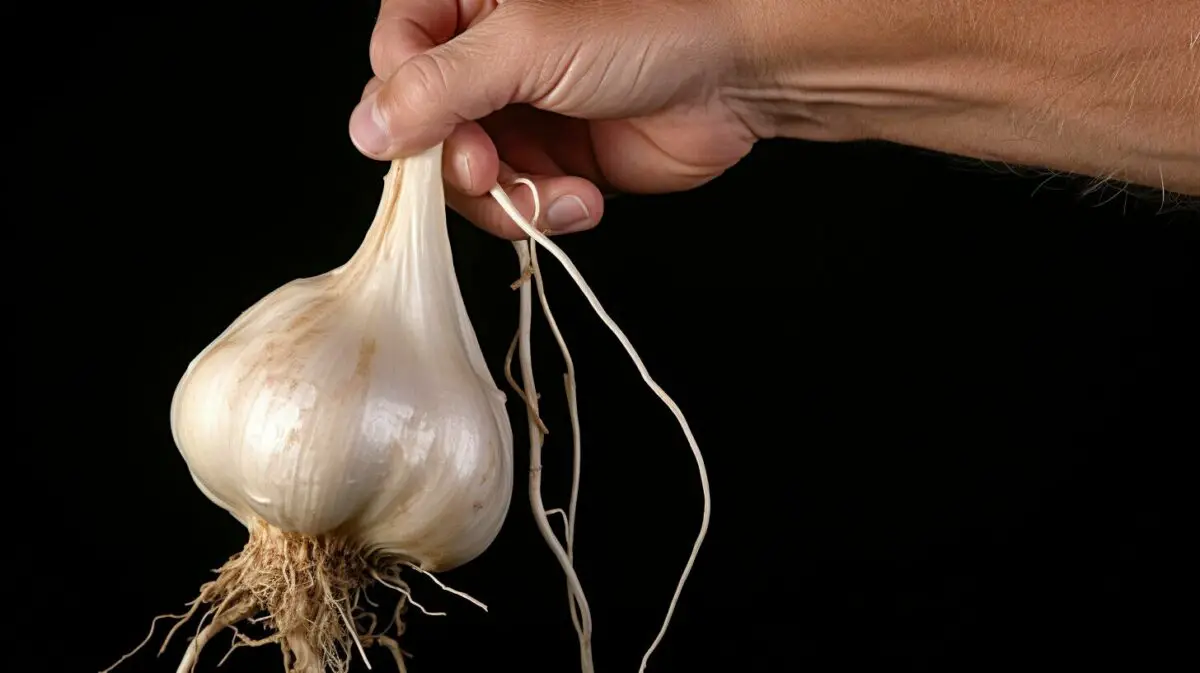
Air fried garlic is a fantastic ingredient to enhance the flavors of your favorite dishes, from pasta and soups to spreads and dressings. Its versatile nature allows it to complement a wide range of recipes, adding depth and richness to every bite.
Here are some delicious ways to incorporate air fried garlic into your cooking:
- Add it to pasta sauces: Mash the air fried garlic cloves and mix them into your favorite pasta sauce for a burst of savory goodness.
- Make garlic bread: Spread the soft and buttery air fried garlic on a baguette or bread slices, then toast until golden brown for a mouthwatering garlic bread.
- Create flavorful dips: Blend the air fried garlic with cream cheese, sour cream, or Greek yogurt to make a delectable dip for chips, crackers, or fresh vegetables.
- Elevate roasted vegetables: Toss air fried garlic with roasted vegetables like cauliflower, broccoli, or Brussels sprouts to bring out their natural flavors and add an irresistible caramelized touch.
These are just a few examples of how you can make the most of air fried garlic in your culinary adventures. Get creative and experiment with different recipes to discover new and exciting ways to enjoy this aromatic ingredient.
Tasty Garlic-Roasted Cauliflower Recipe
Try this simple yet delicious recipe that showcases the flavorful combination of air fried garlic and roasted cauliflower:
Ingredients:
| • | 1 head of cauliflower, cut into florets |
|---|---|
| • | 4 cloves of air fried garlic, mashed |
| • | 2 tablespoons olive oil |
| • | 1 teaspoon salt |
| • | 1/2 teaspoon black pepper |
Instructions:
- Preheat your oven to 425°F (220°C).
- In a large bowl, combine the cauliflower florets, mashed air fried garlic, olive oil, salt, and black pepper. Toss until the cauliflower is evenly coated.
- Spread the cauliflower in a single layer on a baking sheet.
- Roast in the preheated oven for 25-30 minutes, or until the cauliflower is tender and browned around the edges.
- Remove from the oven and serve hot as a tasty side dish or a flavorful addition to salads.
Enjoy the irresistible combination of crispy cauliflower and the rich flavors of air fried garlic in this mouthwatering recipe!
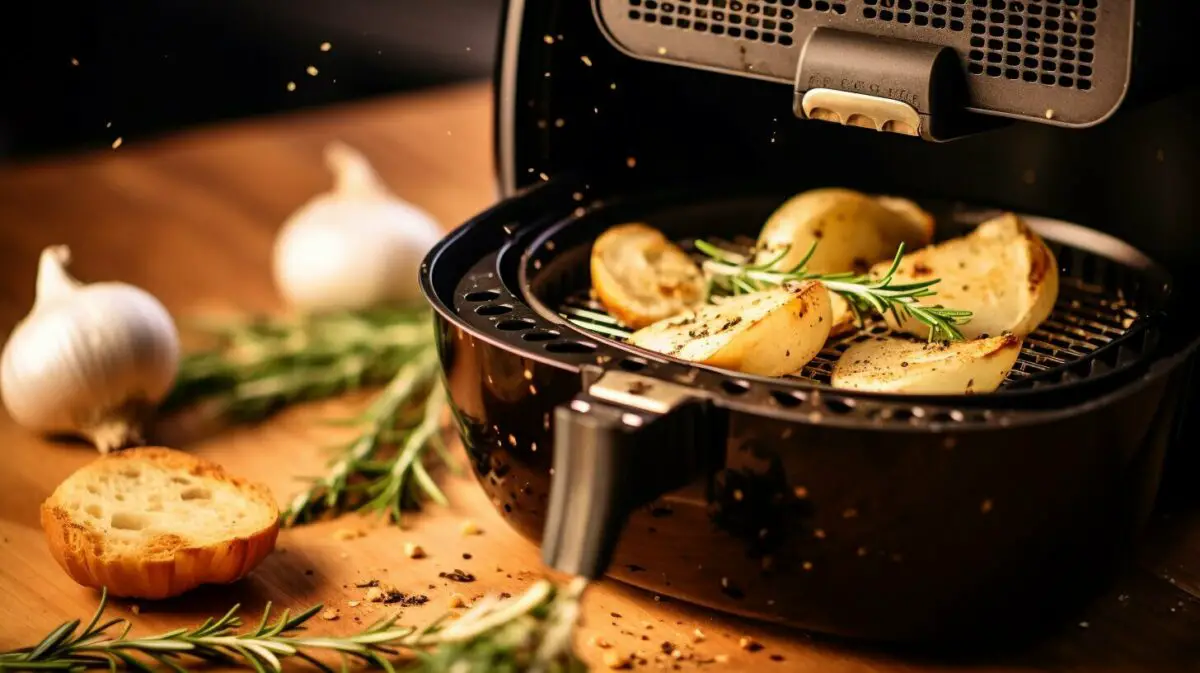
Leftover air fried garlic can be stored in the fridge for up to two weeks or frozen for up to three months, allowing you to enjoy its incredible taste in future culinary endeavors. So go ahead and embrace the versatility of air fried garlic to take your dishes to the next level!
Storing Air Fried Garlic
If you have leftover air fried garlic, don’t worry! I’ll guide you on how to store it properly in the fridge or freezer for later enjoyment. Storing air fried garlic is simple and allows you to have this flavorful ingredient on hand whenever you need it.
To store air fried garlic in the fridge, start by allowing it to cool completely. Once cooled, transfer the garlic cloves to an airtight container or a resealable bag. Make sure to remove as much air as possible before sealing to prevent moisture and odors from affecting the garlic’s flavor. Stored this way, air fried garlic can last for up to 2 weeks in the refrigerator.
If you want to store air fried garlic for a longer period, the freezer is your best option. After cooling, transfer the garlic cloves to a freezer-safe container or bag. Label and date the container to keep track of its freshness. When stored properly in the freezer, air fried garlic can last for up to 3 months, preserving its incredible aroma and taste.
| Storage Method | Temperature | Duration |
|---|---|---|
| Fridge | Approximately 40°F (4°C) | Up to 2 weeks |
| Freezer | 0°F (-18°C) or below | Up to 3 months |
By storing your air fried garlic properly, you can always have this delicious ingredient on hand to enhance your favorite recipes. Whether you choose the fridge or freezer method, be sure to seal the container or bag tightly to maintain the garlic’s freshness and prevent any unwanted flavors from seeping in.
So, the next time you air fry garlic, remember that you can store the leftovers for future use. It’s a convenient way to have this flavorful ingredient ready whenever you need it, ensuring your dishes are always bursting with the rich and aromatic taste of roasted garlic.
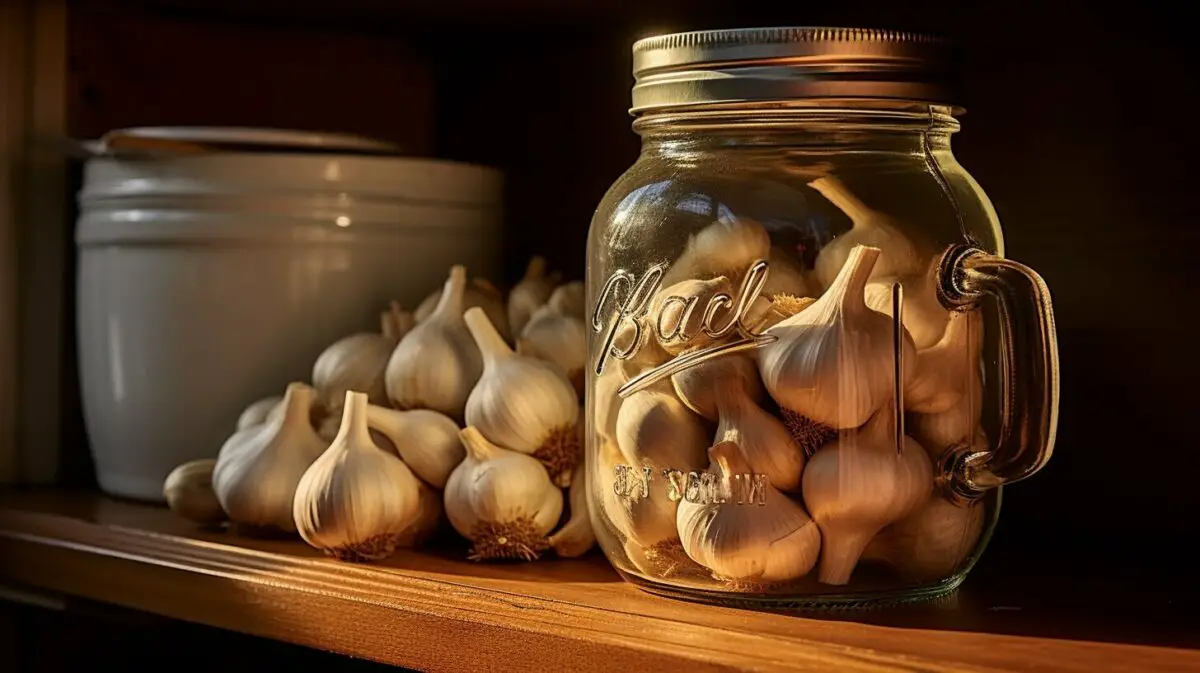
As an expert chef, I’ve gathered some valuable tips and tricks that will take your air fried garlic to the next level. These techniques will help you achieve the perfect balance of flavors and ensure that your garlic comes out crispy, juicy, and buttery every time.
1. Choose Fresh Garlic
Start with high-quality, fresh garlic bulbs. Look for bulbs that are firm and have tight, unbroken skin. Avoid garlic that feels soft or has moldy spots, as it may affect the taste and texture of the final dish.
2. Preheat Your Air Fryer
Before placing your garlic in the air fryer, make sure to preheat it. This step helps to ensure even cooking and prevents the garlic from sticking to the basket. Set your air fryer to the recommended temperature and let it heat up for a few minutes before adding the garlic.
3. Experiment with Seasonings
While olive oil, salt, and pepper are classic choices for seasoning air fried garlic, don’t be afraid to get creative. Try adding herbs like rosemary or thyme, or sprinkle some grated Parmesan cheese for an extra burst of flavor. The possibilities are endless, so don’t hesitate to experiment with different seasonings to suit your taste.

With these tips and tricks, you’ll be well on your way to mastering the art of air frying garlic. Remember to adjust cooking times and temperatures based on your specific air fryer model and personal preference. Enjoy the incredible flavors and aromas that air fried garlic brings to your dishes!
Conversion and Measurement
Need to convert the measurements for air frying garlic? I’ve got you covered with this handy conversion chart for ounces, grams, pounds, kilograms, cups, tablespoons, and teaspoons.
| Measurement | Equivalent |
|---|---|
| 1 ounce | 28 grams |
| 1 pound | 16 ounces |
| 1 kilogram | 2.2 pounds |
| 1 cup | 16 tablespoons |
| 1 tablespoon | 3 teaspoons |
Now you can easily convert your favorite air frying garlic recipes to suit your preferred measurement units. Whether you’re using ounces, grams, pounds, kilograms, cups, tablespoons, or teaspoons, this conversion chart has got you covered. Simply use the corresponding equivalent measurement to achieve accurate and delicious results every time.
Experiment with different measurements and find the perfect balance of garlic for your taste buds. Remember, a little goes a long way when it comes to the flavors of air fried garlic. So get creative in the kitchen and enjoy the aromatic and mouthwatering experience of air frying garlic!
Now that you have the conversion chart, you can confidently adjust the measurements for your air frying garlic adventures. With this knowledge, you’ll be able to follow any air frying garlic recipe, no matter what units of measurement it may use.
Adapting the Recipe
Don’t be afraid to make tweaks and modifications to the air frying garlic recipe to suit your taste or accommodate any dietary restrictions. One of the beauties of cooking is the ability to switch and substitute ingredients, making each dish your own. If you prefer a bolder flavor, try adding herbs like rosemary, thyme, or parsley to the garlic before air frying. These aromatic herbs will infuse the garlic with an extra layer of deliciousness.
If you’re watching your sodium intake, you can adjust the amount of salt used or even switch to a salt substitute. Similarly, if you’re following a low-fat diet, you can reduce the amount of olive oil or switch to a healthier oil alternative like avocado oil.
For those who love experimenting with flavors, don’t hesitate to modify the recipe by adding spices like paprika, chili flakes, or cumin to the garlic. These spices will give your air-fried garlic a delightful kick and open up a world of culinary possibilities.
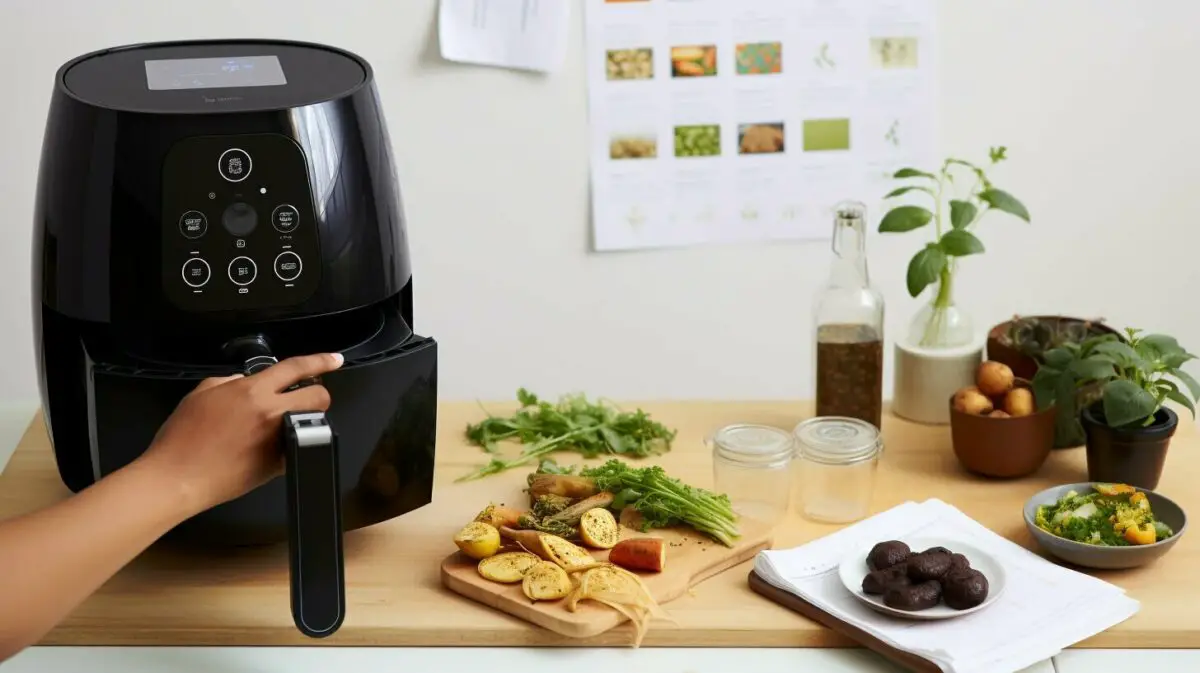
Remember, cooking should be a fun and creative experience. Feel free to adapt the air frying garlic recipe according to your preferences and dietary needs. By making small adjustments, you can create a dish that is truly personalized and satisfying. So, grab your air fryer and get ready to embark on a culinary adventure!
The Perfect Air-Fried Garlic
After following this step-by-step guide, you’ll master the art of air-frying garlic, achieving the perfect balance of crispy, juicy, and buttery goodness. Air frying garlic is a quick and easy way to roast garlic to perfection, bringing out its incredible flavors. It’s a cooking method that adds a unique twist to any dish, whether it’s pasta, bread, soups, or vegetables.
To start, cut the top off a head of garlic to expose the cloves. Drizzle the garlic with olive oil for a rich and aromatic flavor. If desired, season with salt and pepper to enhance the taste. Then, wrap the head of garlic tightly in aluminum foil to seal in the flavors while air frying. The foil also helps to prevent the garlic from burning.
Next, preheat your air fryer to 390°F. Once heated, place the wrapped garlic in the air fryer basket and cook for 20-25 minutes. Keep an eye on the garlic during the cooking process to ensure it doesn’t overcook and become bitter. The air frying time may vary depending on the size of the garlic cloves and your personal preference for doneness.
After the cooking time is up, remove the garlic from the air fryer and let it cool. The garlic cloves will become soft and tender, with a golden brown color. Once cooled, gently squeeze the garlic cloves out of their skins. Each clove will be creamy and rich in flavor, ready to be used in your favorite recipes.
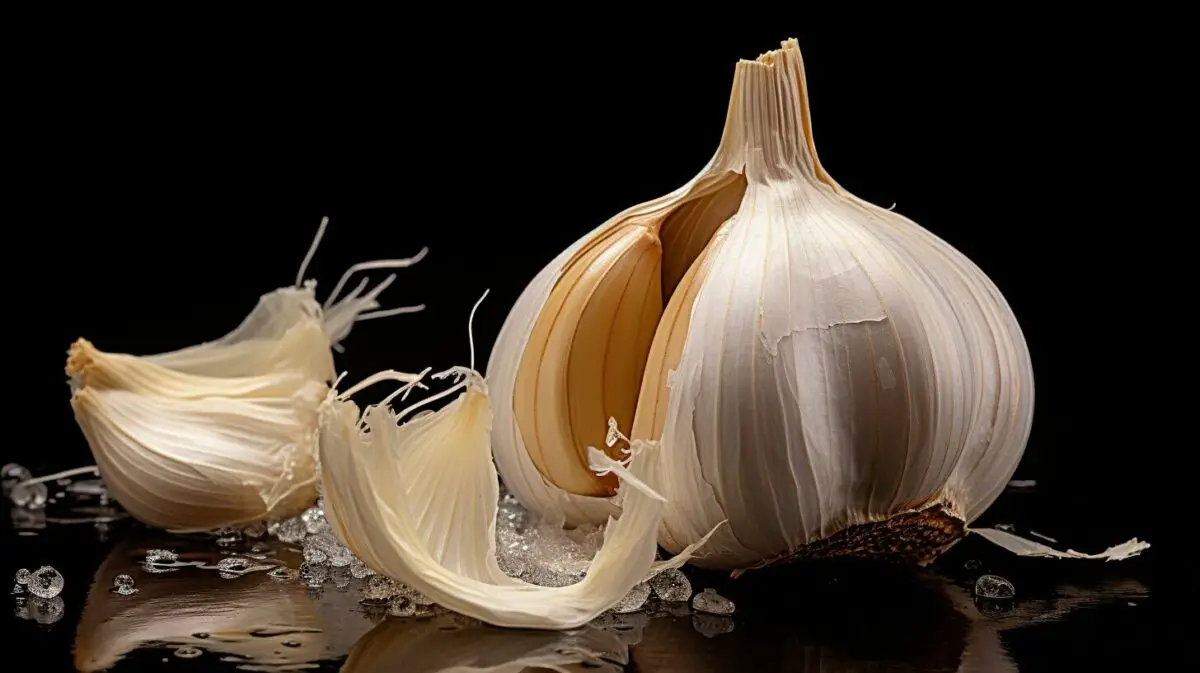
Air-fried garlic is incredibly versatile and can elevate any dish. Whether you use it as a spread on bread, add it to pasta sauces for an extra layer of flavor, or incorporate it into your favorite vegetable dishes, the possibilities are endless. The caramelized, golden brown cloves add a depth of flavor that will impress your taste buds.
Leftover air-fried garlic can be stored in the fridge for up to two weeks or frozen for up to three months. This way, you can always have a supply of flavorful garlic on hand whenever you need it.
Tips for Perfect Air-Fried Garlic:
- Choose fresh and firm garlic bulbs for the best flavor.
- Consider adding other herbs or spices, such as rosemary or paprika, to customize the flavor profile.
- Experiment with different air frying times to achieve your desired level of caramelization.
- Use caution when handling the hot garlic to avoid burns.
Air-frying garlic is a game-changer in the kitchen, and once you try it, you’ll never want to go back to any other method. So grab your air fryer and some fresh garlic, and get ready to create dishes that are bursting with incredible flavors!
Conclusion – How to Air Fry Garlic
Air frying garlic is an easy and flavorful way to enjoy the rich aromas and intense flavors of roasted garlic. The process of air frying allows the garlic cloves to become soft and tender while developing a beautiful golden brown color. By following a few simple steps, you can achieve perfectly caramelized and buttery garlic that will elevate any dish.
Now, it’s time to grab your air fryer and start experimenting with this versatile ingredient. Air fried garlic can be used in a variety of dishes, adding depth and complexity to your favorite recipes. Whether you want to enhance the flavors of pasta, bread, soups, or vegetables, air fried garlic is sure to impress.
Not only does air frying garlic produce delicious results, but it also offers convenience and practicality. With just a few minutes of preparation and a short cooking time, you can have a flavorful ingredient ready to enhance your culinary creations. Plus, leftovers can be stored in the fridge for up to two weeks or frozen for up to three months, allowing you to enjoy the goodness of air fried garlic whenever you desire.
In conclusion, air frying garlic is a simple yet satisfying cooking technique that brings out the best in this aromatic ingredient. So, why not give it a try? Unleash your creativity in the kitchen and experience the incredible flavors of air fried garlic for yourself. Your taste buds will thank you!
FAQ – How to Air Fry Garlic
Q: How do I air fry garlic?
A: To air fry garlic, start by cutting the top off a head of garlic to expose the cloves. Drizzle the garlic with olive oil and season with salt and pepper if desired. Wrap the head of garlic tightly in aluminum foil and place it in the air fryer. Cook at 390°F for 20-25 minutes, or until the garlic cloves are soft and golden brown. Let the garlic cool before squeezing the cloves out of their skins.
Q: Why should I air fry garlic?
A: Air frying garlic provides a quick and easy way to roast garlic to perfection. It brings out incredible flavors and aromas, turning the garlic into a deliciously caramelized and tender ingredient for various dishes.
Q: How do I prepare the garlic for air frying?
A: To prepare the garlic for air frying, peel the cloves and cut off the top of the head to expose the cloves. This allows the garlic to cook evenly and release its flavors while air frying.
Q: How do I season and wrap the garlic before air frying?
A: Drizzle the garlic with olive oil and season with salt and pepper if desired. Then, wrap the garlic tightly in aluminum foil to retain the flavors and ensure even cooking in the air fryer.
Q: What is the recommended air frying temperature and cooking time for garlic?
A: Cook the wrapped garlic in the air fryer at 390°F for 20-25 minutes. This temperature and time will result in soft and golden brown garlic cloves that are full of flavor.
Q: How should I cook and cool the air-fried garlic?
A: Place the wrapped garlic in the air fryer and let it cook until the cloves are soft and golden brown. After air frying, allow the garlic to cool before handling to avoid burning yourself. The cooling process also helps to enhance the flavors of the garlic.
Q: How do I remove the garlic cloves from their skins?
A: Once the air-fried garlic has cooled, gently squeeze the cloves out of their skins. The cloves should easily come out, ready to be used in your recipes.
Q: How can I use air-fried garlic in dishes?
A: Air-fried garlic can be used in a variety of dishes, such as pasta, bread, soups, and vegetables. It adds a deliciously roasted and flavorful element to any recipe, enhancing the overall taste.
Q: How long can I store air-fried garlic?
A: Leftover air-fried garlic can be stored in the fridge for up to 2 weeks or frozen for up to 3 months. Make sure to store it in an airtight container or freezer bag to maintain its freshness.
Q: Are there any tips and tricks for air frying garlic?
A: Some tips and tricks for air frying garlic include using fresh and high-quality garlic bulbs, preheating the air fryer, and adjusting the cooking time and temperature based on your desired level of caramelization.
Q: Can I adapt the air frying garlic recipe?
A: Absolutely! You can adjust the amount of seasoning, switch olive oil for other oils, or modify the cooking time and temperature to achieve your preferred level of caramelization and tenderness.
Q: What makes the perfect air-fried garlic?
A: The perfect air-fried garlic is crispy on the outside, juicy on the inside, and has a buttery and caramelized flavor. It adds that extra element of deliciousness to any dish.
Our Friends:
- https://jessicainthekitchen.com/air-fryer-roasted-garlic/
- https://tastyoven.com/air-fryer-roasted-garlic/
- https://foolproofliving.com/roast-garlic-in-air-fryer/
Related Recipes:
 How to Cook Air Fryer Potatoes? (Perfect Step-By-Step Guide)
 How to Air Fry Any Vegetable? (Perfect Step-By-Step Guide)
 How to Cook Soy Curls? (Awesome Step-By-Step Guide)
 How to Cook Beets? (Perfect Step-By-Step Guide)
 Air Fryer Tofu
 Air Fryer Fried Pickles
 Air Fryer Pizza
 How to Make Garlic Salt? (Perfect Every Time!)


