Grilled Cheese Roll Ups
Rate this recipeBe the first to rate
 By AprilPublished
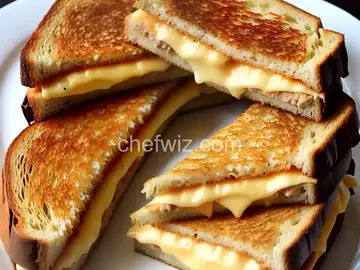
 Are you a fan of grilled cheese sandwiches? If so, then you're going to love this twist on the classic recipe - grilled cheese roll ups!
 By AprilPublished
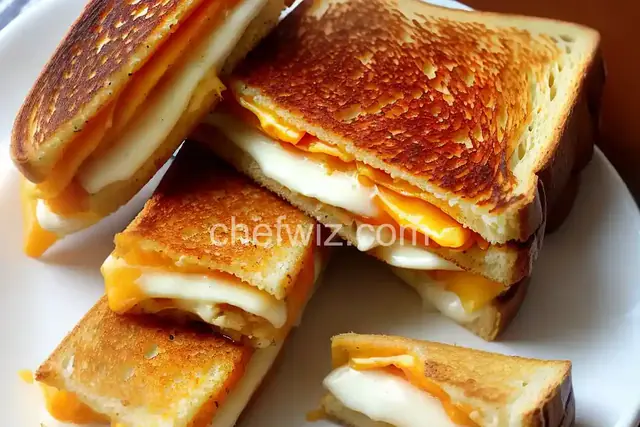
 Are you a fan of grilled cheese sandwiches? If so, then you're going to love this twist on the classic recipe - grilled cheese roll ups!
Begin by placing the bread slices on a cutting board and gently removing the crusts.
Using a rolling pin, flatten the bread widthwise to make it easier to roll.
Spread butter on the outer edges of the bread.
Take one slice of cheese and place it on the non-buttered side of the bread.
Roll the bread and cheese together, creating a spiral effect.
Heat a heavy skillet over medium-high heat.
Once the skillet is hot, place the roll-up into the skillet with the butter side facing down.
Grill the roll-up on all sides until it turns golden brown.
Once cooked, remove the roll-ups from the skillet.
If desired, slice the roll-ups diagonally.
Your delicious roll-ups are now ready to be enjoyed.
Are you a fan of grilled cheese sandwiches? If so, then you're going to love this twist on the classic recipe - grilled cheese roll ups! These delightful little bites are not only fun to eat but also incredibly flavorful. Imagine the gooey melted cheese oozing out of a crispy, golden-brown crust. Your taste buds will thank you!
So, why should you try making grilled cheese roll ups? Well, imagine the joy of biting into a crispy, cheesy delight. It's like having a party in your mouth! Plus, they're so easy to make and perfect for any occasion. Whether you're hosting a party or simply want a quick and satisfying snack, these roll ups are the way to go.
Grilled cheese sandwiches are a staple in many households. But why stick to tradition when you can elevate the experience? By rolling up the bread and cheese, you create a whole new level of deliciousness. The crust gets crispy all around, and the cheese melts to perfection. It's like a grilled cheese sandwich, but better!
Grilled cheese roll ups are not only tasty but also incredibly fun to make. You can get the whole family involved and have a blast in the kitchen. Kids especially love the rolling process and can't wait to take a bite of the final result. It's a great way to spend quality time together while satisfying everyone's cravings.
Now that you're convinced to give grilled cheese roll ups a try, let's dive into the process. First, gather your ingredients - bread, cheese, and your choice of fillings. Then, follow these simple steps:
Start by flattening the bread slices using a rolling pin. This step ensures that the bread is easier to roll up and stays together during cooking.
Next, place a slice of cheese on each flattened bread slice. You can also add your favorite fillings, such as ham, bacon, or even veggies, for an extra flavor boost.
Carefully roll up each bread slice, starting from one end. Press gently to secure the roll and prevent it from unraveling during cooking.
Heat a non-stick skillet over medium heat and add a drizzle of olive oil or a pat of butter. Place the roll ups seam-side down and cook until golden brown and crispy on all sides.
Grilled cheese roll ups are a delightful twist on the classic sandwich. They're fun to make, delicious to eat, and perfect for any occasion. Whether you're a cheese enthusiast or simply looking for a quick and satisfying snack, these roll ups will definitely hit the spot. So, why wait? Gather your ingredients, roll them up, and enjoy the crispy, cheesy goodness!
Yes, you can use any type of bread you prefer. Whether it's white, whole wheat, or even gluten-free, the choice is yours. Just make sure the slices are thin enough to roll easily.
Absolutely! There are plenty of vegan cheese options available in stores that melt beautifully. Alternatively, you can make your own vegan cheese using ingredients like cashews or tofu.
Yes, you can freeze grilled cheese roll ups! After cooking, let them cool completely, then place them in an airtight container or freezer bag. They can be reheated in the oven or microwave for a quick and convenient snack.
Grilled cheese roll ups are delicious on their own, but dipping them in a flavorful sauce takes them to the next level. Some popular options include marinara sauce, ranch dressing, or even a spicy sriracha mayo.
Absolutely! You can prepare the roll ups in advance and store them in the refrigerator until you're ready to cook. Just make sure to wrap them tightly in plastic wrap or place them in an airtight container to prevent them from drying out.
If you prefer extra crispy roll ups, you can brush them with melted butter before cooking. This will give them a beautiful golden-brown color and a delightful crunch.
Absolutely! The beauty of grilled cheese roll ups is that you can get creative with the fillings. From sliced tomatoes to caramelized onions or even a sprinkle of herbs, feel free to experiment and customize the flavors to your liking.
If you prefer not to fry the roll ups, you can also bake them in the oven. Simply place them on a baking sheet lined with parchment paper and bake at 375°F (190°C) for about 15-20 minutes, or until they are golden brown and crispy.
AprilCook, recipe developer and the heart of Chefwiz. More about April