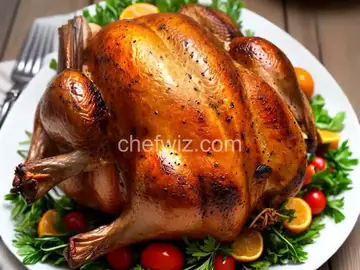
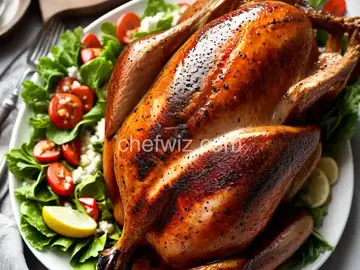
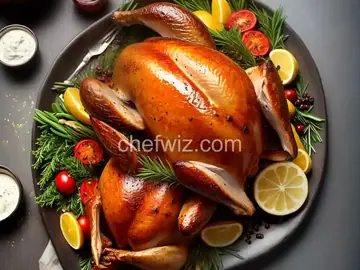
Beer-Can Turkey
Rate this recipeBe the first to rate
 By AprilPublished
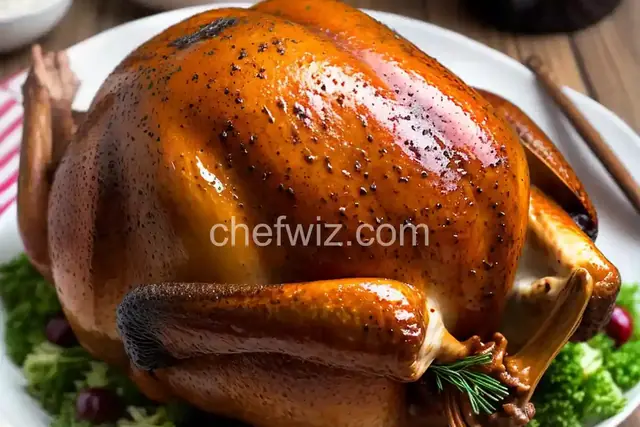
 Are you tired of the same old turkey every Thanksgiving? Do you long for a bird that's moist, tender, and bursting with flavor?
 By AprilPublished
 Are you tired of the same old turkey every Thanksgiving? Do you long for a bird that's moist, tender, and bursting with flavor?
Preheat the grill to medium heat (around 350 degrees F) on one side.
Pour the beer into a turkey sitter, which is a ceramic stand that holds liquid. Alternatively, you can open the beer can, pour out a few tablespoons, and place it in a beer-can turkey stand.
In a small bowl, combine the mustard powder, garlic powder, dried onion, paprika, granulated garlic, cumin, and salt and pepper to taste.
Remove the neck, giblets, and excess fat from the turkey and discard them.
Rinse the turkey under cold water and pat it dry with paper towels.
Rub the cavity of the turkey with 2 to 3 teaspoons of the spice mixture.
Brush the outside of the turkey with canola oil.
Place the turkey drumstick-end down on the sitter or stand.
Rub the remaining spice mixture all over the turkey.
Place the turkey (on the sitter or stand) on the cooler side of the grill.
Cover the grill and cook the turkey for 2 to 3 hours, or until the juices run clear and a thermometer inserted into the thickest part of the thigh registers 185 degrees F and 170 degrees F in the breast.
Carefully remove the turkey from the grill, take it off the sitter or stand, and discard the beer.
Transfer the turkey to a cutting
Are you tired of the same old turkey every Thanksgiving? Do you long for a bird that's moist, tender, and bursting with flavor? Look no further than the beer-can turkey! This unique cooking method allows you to infuse your turkey with delicious flavors while keeping it incredibly juicy. In this article, we'll dive into the ins and outs of beer-can turkey and why it's the perfect centerpiece for your holiday feast.
Beer-can turkey is not just a gimmick; it's a cooking technique that actually works wonders. By inserting a can of beer into the cavity of the turkey, you create a steamy environment that keeps the meat moist throughout the cooking process. As the beer evaporates, it imparts its flavors into the meat, resulting in a deliciously seasoned turkey that will leave your guests craving for more.
When it comes to beer-can turkey, the type of beer you choose can make a significant difference in the final flavor. Lighter beers, such as lagers or pilsners, work well as they impart a mild, subtle taste. If you prefer a bolder flavor, opt for darker beers like stouts or porters. Don't be afraid to experiment and find the perfect beer to complement your desired taste profile.
Before you can start cooking your beer-can turkey, there are a few essential steps you need to follow:
Ensure that the turkey you select will fit comfortably on your grill or in your oven with the beer can inserted. The last thing you want is an overcrowded cooking space.
Don't forget to season your turkey generously with your favorite herbs, spices, and marinades. This will enhance the flavors and create a tasty crust.
Crack open a beer can and take a few sips to make room for the turkey. You wouldn't want it to overflow!
Carefully slide the beer can into the cavity of the turkey until it stands upright. This will help the turkey maintain its balance while cooking.
Now that your turkey is prepped and ready, it's time to cook it to perfection. The cooking method will depend on whether you're using a grill or an oven, but here are some general guidelines:
If you're using a grill, set it up for indirect heat. Place the turkey on the grill grates, balancing it on the beer can. Close the lid and let the magic happen. Remember to monitor the temperature and adjust the grill vents accordingly to maintain a consistent heat.
If you're cooking your beer-can turkey in the oven, preheat it to the recommended temperature. Place the turkey on a rack in a roasting pan, ensuring it stands upright on the beer can. Cover the turkey loosely with foil and let it cook, periodically basting it with its own juices for added flavor.
After patiently waiting for the cooking time to elapse, it's time to unveil your masterpiece. Carefully remove the turkey from the grill or oven and let it rest for a few minutes before carving. As you slice into the succulent meat, you'll be greeted with juicy, flavorful bites that will have your guests raving about your culinary skills.
Beer-can turkey is more than just a cooking technique; it's a flavorful experience that will elevate your holiday feasts to new heights. With its moist and tender meat infused with the delicious flavors of your chosen beverage, this method is sure to impress your guests and create lasting memories. So, why settle for a regular turkey when you can have a beer-can turkey extravaganza that will leave everyone craving for seconds?
Absolutely! While beer is the traditional choice, you can experiment with other flavorful liquids like soda, cider, or even broth.
No, the beer does not get absorbed by the turkey. It simply evaporates during the cooking process, infusing the meat with its flavors.
Of course! You can use non-alcoholic beer or substitute it with a non-alcoholic beverage of your choice.
The cooking time will vary based on the size of your turkey and the cooking method. It's important to use a meat thermometer to ensure the internal temperature reaches a safe level.
It's not recommended to stuff the turkey when using the beer-can method, as it may affect the cooking time and result in unevenly cooked meat.
While it's technically possible, it's best to use a fresh beer can for each cooking session to ensure cleanliness and avoid any potential contamination.
Absolutely! The beer-can method can be used for chickens, Cornish hens, and even ducks, providing delicious results every time.
While the beer-can method is highly effective, you can achieve similar results by using a roasting pan with a rack and basting the turkey regularly to keep it moist.
AprilCook, recipe developer and the heart of Chefwiz. More about April