Tempered Chocolate (for Use in Molding and Sculpting)
Have you ever wondered how chocolatiers and pastry chefs create those beautiful, shiny, and perfectly molded chocolate creations? The secret lies in the process of tempering chocolate. In this article, we will explore the art of tempering chocolate, its importance in molding and sculpting, and how you can achieve professional-looking results at home.
What is Tempered Chocolate?
Before we dive into the process of tempering chocolate, let’s understand what it actually means. Tempering is a technique used to stabilize the cocoa butter in chocolate, ensuring that it sets with a smooth texture, glossy appearance, and a satisfying snap when you bite into it.
When chocolate is melted and cooled down, the cocoa butter molecules can crystallize in different forms, resulting in an uneven and dull appearance. Tempering chocolate involves carefully melting the chocolate, then cooling and reheating it to encourage the formation of stable cocoa butter crystals.
Why is Tempering Important for Molding and Sculpting?
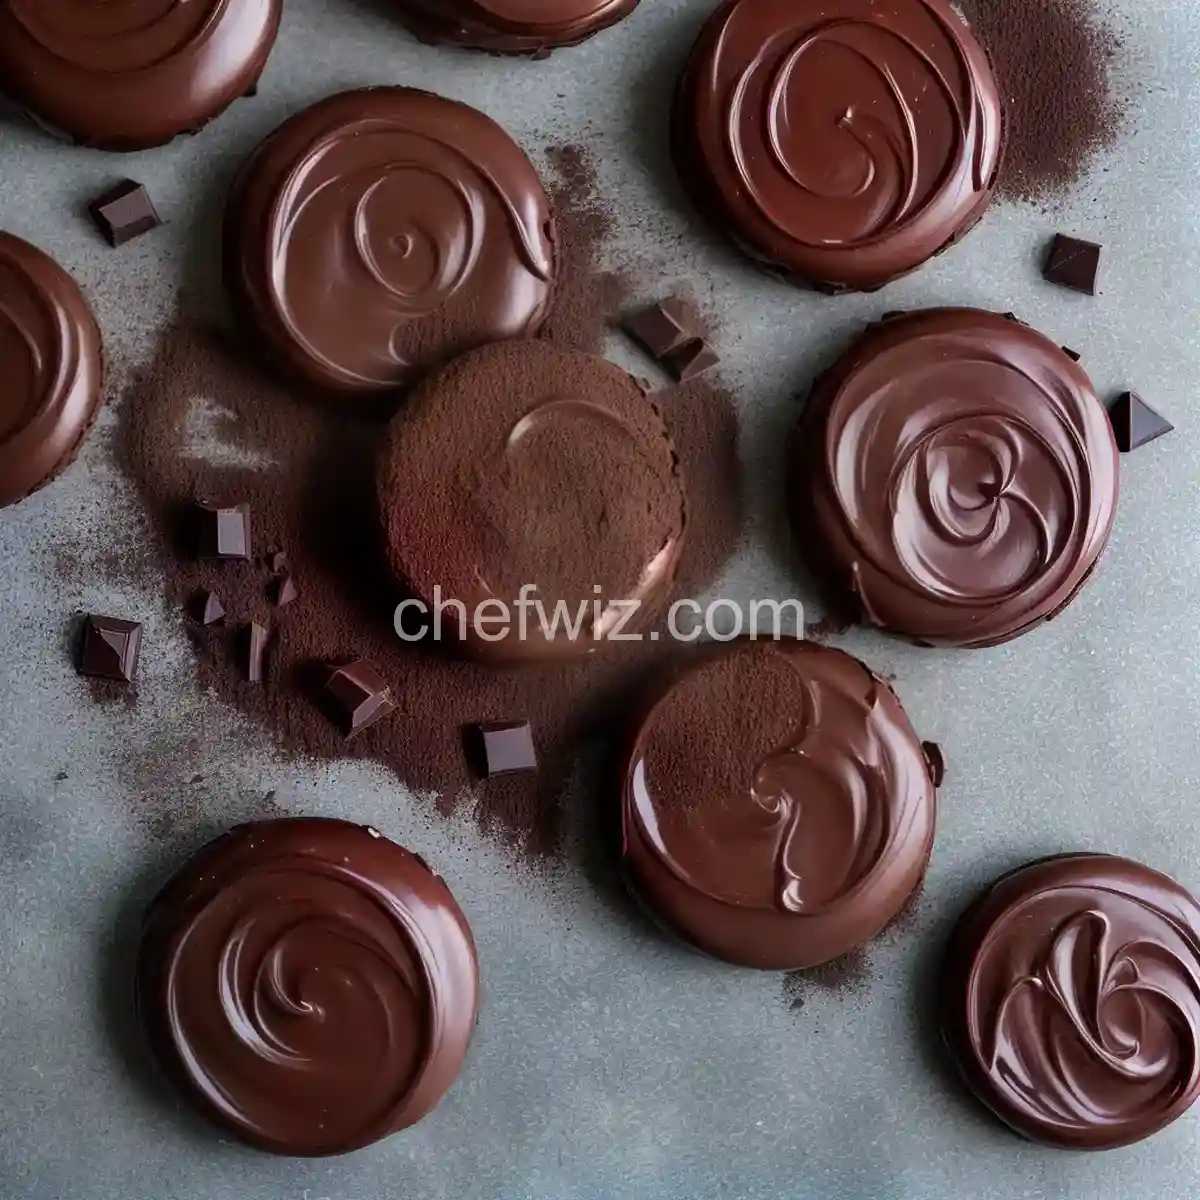
If you’ve ever tried to mold or sculpt chocolate without tempering it, you may have ended up with a messy, streaky, or dull-looking final product. Tempered chocolate, on the other hand, has a smooth and glossy finish, making it perfect for creating intricate designs and delicate shapes.
The tempered chocolate sets quickly and releases easily from molds, allowing you to achieve crisp edges and precise details. It also has a longer shelf life and is more resistant to melting at room temperature, making it ideal for creating decorative chocolate pieces that can withstand display or transportation.
How to Temper Chocolate at Home
Now that you understand the importance of tempering chocolate, let’s explore how you can achieve this process in your own kitchen. There are several methods you can use, but we’ll focus on the most common one – the seeding method.
To start, you’ll need high-quality chocolate, a heatproof bowl, a saucepan, a spatula, a candy thermometer, and a clean, dry surface for spreading the chocolate.
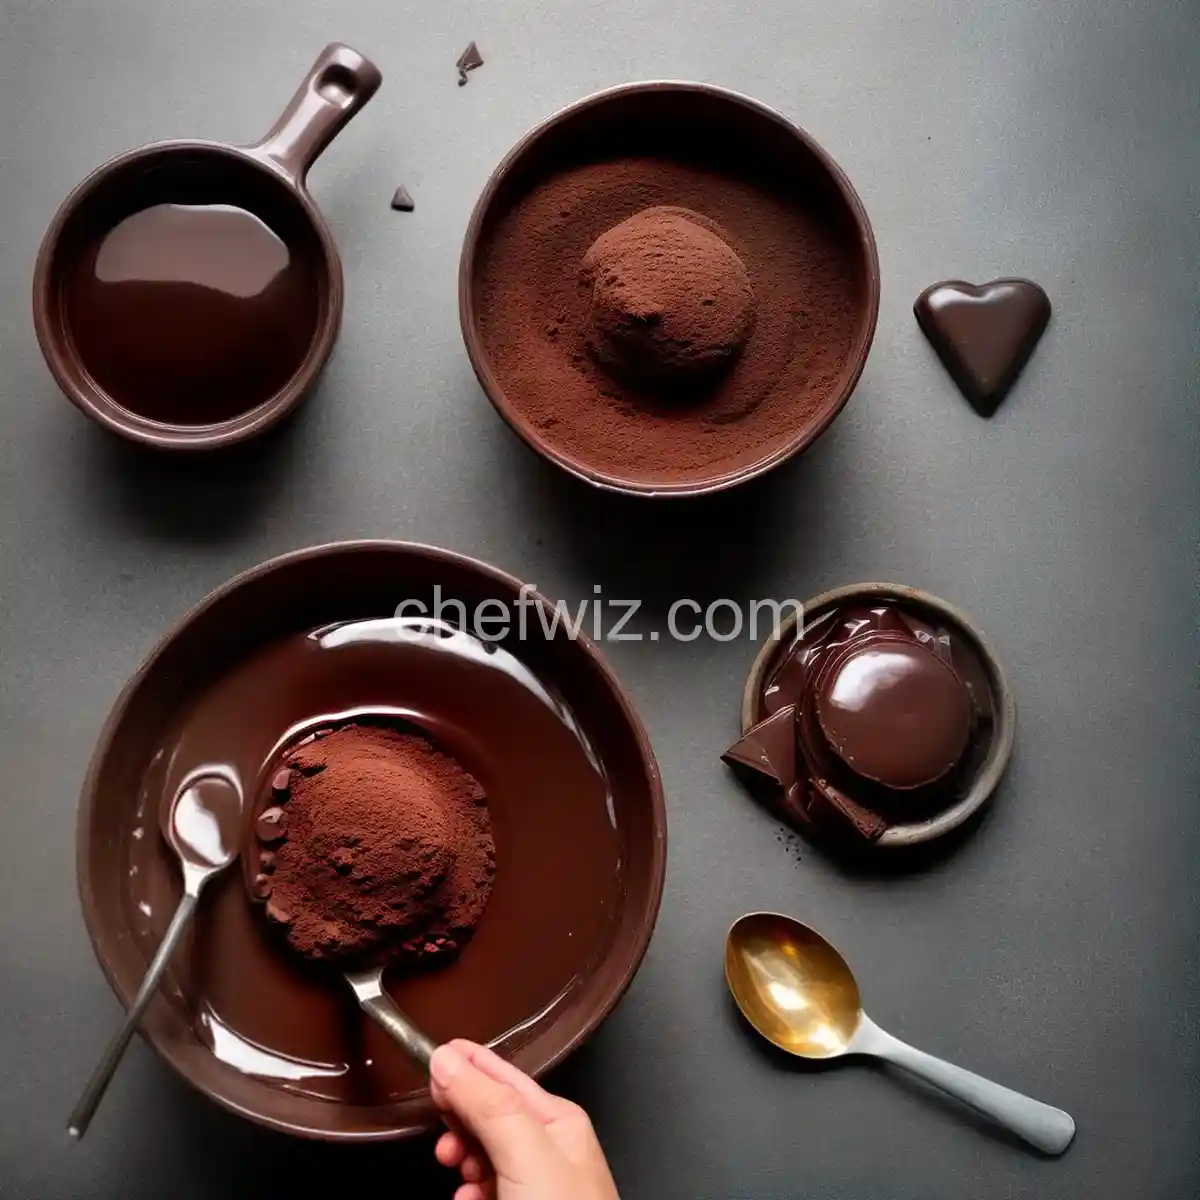
1. Chop the chocolate into small, uniform pieces and set aside a small portion for seeding later.
2. Fill the saucepan with a few inches of water and heat it until it simmers. Place the heatproof bowl on top, ensuring that it doesn’t touch the water.
3. Add the majority of the chopped chocolate to the bowl and stir gently as it melts. Use the candy thermometer to monitor the temperature, aiming for a range between 45°C and 50°C (113°F and 122°F) for dark chocolate, or 40°C and 45°C (104°F and 113°F) for milk or white chocolate.
4. Once the chocolate has reached the desired temperature, remove it from the heat source and add the reserved portion of chocolate (seeds). Stir continuously until all the chocolate has melted and the temperature drops to the working range – 32°C to 33°C (89.6°F to 91.4°F) for dark chocolate, or 29°C to 30°C (84.2°F to 86°F) for milk or white chocolate.
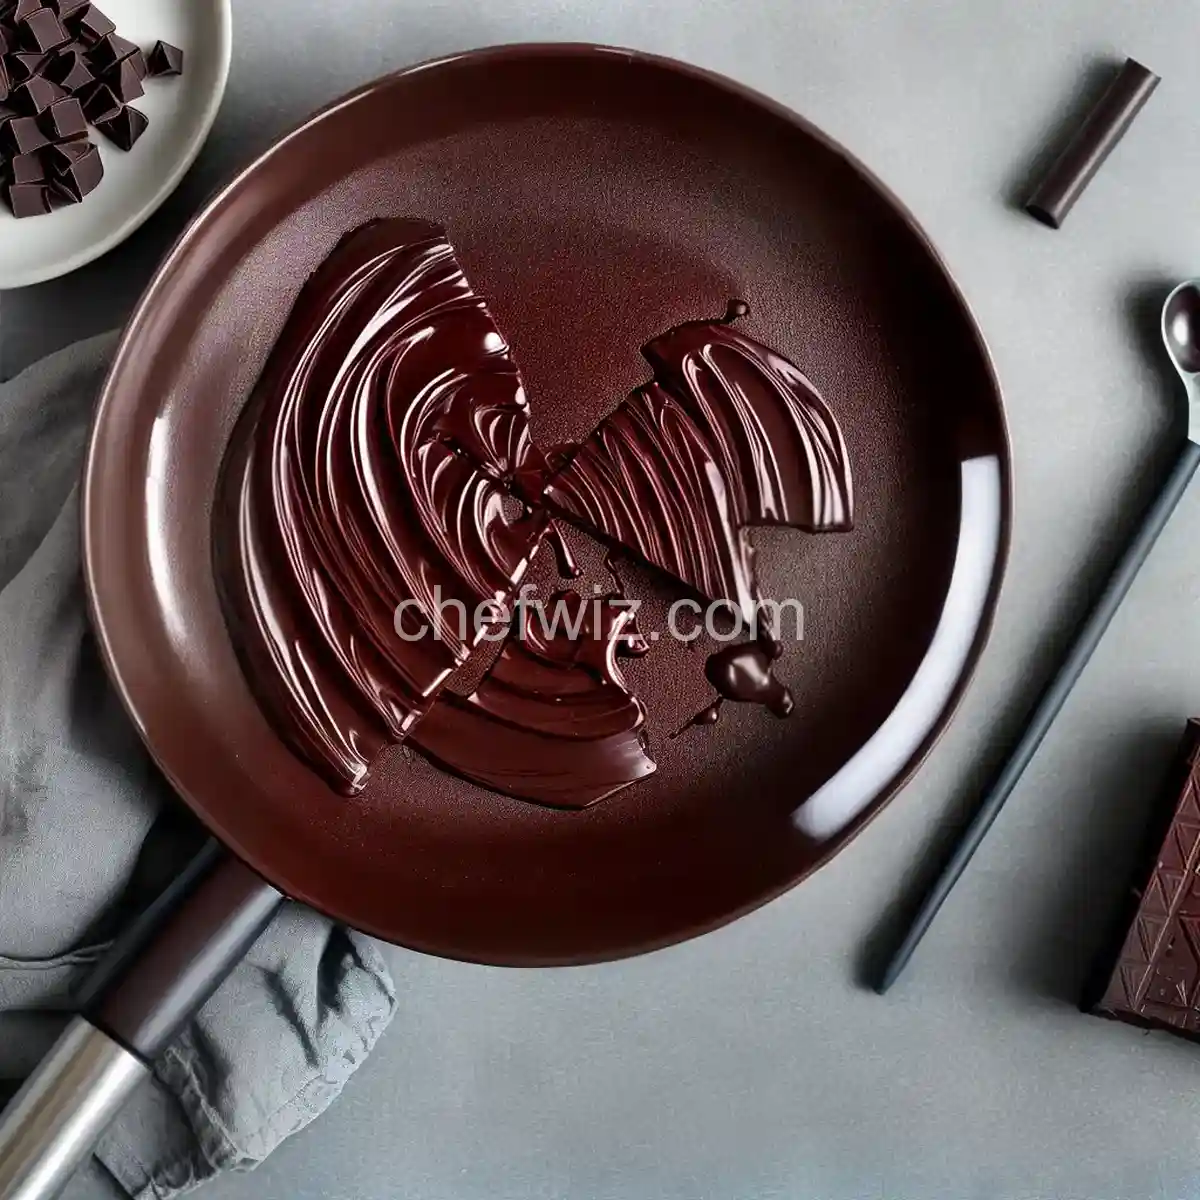
5. Test the temper by spreading a small amount of chocolate on a clean surface. If it sets within a few minutes, has a glossy appearance, and a smooth texture, your chocolate is properly tempered and ready to use.
Troubleshooting Tips
Tempering chocolate can be a bit tricky, especially for beginners. Here are some common issues you may encounter and how to fix them:
Chocolate is not melting properly:
If your chocolate is not melting smoothly, it may have come into contact with water or overheated. Start over with fresh chocolate and ensure all your equipment is dry.
Chocolate is too thick:
If your chocolate feels thick and doesn’t spread easily, it may be overheated. Add small amounts of chopped chocolate and stir until it reaches the desired consistency.
Chocolate is streaky or dull:
If your chocolate sets with streaks or has a dull appearance, it may not have been tempered correctly. Reheat the chocolate gently and repeat the seeding method, ensuring you stay within the recommended temperature ranges.
Conclusion
Tempering chocolate is a crucial step in creating professional-looking molded and sculpted chocolate creations. By carefully following the tempering process and troubleshooting tips, you can achieve glossy, smooth, and perfectly set chocolate every time. So, why not unleash your creativity and indulge in the art of chocolate molding and sculpting?
FAQs about Tempered Chocolate
1. Can I temper chocolate without a candy thermometer?
While having a candy thermometer makes the tempering process more accurate, you can still temper chocolate using the “touch” method. Simply touch a small amount of melted chocolate to your lower lip – it should feel slightly cool, not too hot or cold.
2. Can I use a microwave to temper chocolate?
Yes, you can use a microwave to melt chocolate, but it can be more challenging to control the temperature and achieve consistent results. It’s best to use a microwave-safe bowl, heat the chocolate in short intervals, and stir frequently to avoid overheating.
3. How long does tempered chocolate last?
Properly tempered chocolate can last for several months if stored in a cool, dry place, away from direct sunlight and strong odors. Be sure to store it in an airtight container or wrap it tightly in plastic wrap to prevent moisture absorption.
4. Can I re-temper chocolate if it loses its temper?
Yes, if your tempered chocolate loses its temper (becomes dull or streaky), you can re-temper it by gently reheating it and repeating the seeding method. Be cautious not to overheat the chocolate, as it can burn and become unusable.
5. Can I use tempered chocolate for baking?
While tempered chocolate is primarily used for molding and sculpting, you can also use it for baking. It adds a beautiful sheen to desserts, creates a smooth texture in ganache or mousse, and can be drizzled over cookies or cakes for an elegant touch.
6. Can I mix tempered and untempered chocolate?
No, it’s best to avoid mixing tempered and untempered chocolate, as it can affect the overall temper of the mixture. Stick to using fully tempered chocolate for the best results.
7. Can I temper compound chocolate?
No, compound chocolate, which contains vegetable fats instead of cocoa butter, cannot be tempered. However, it doesn’t require tempering and can be melted and used directly for

Tempered Chocolate (for Use in Molding and Sculpting)
Instructions
- Chocolate melts best at temperatures ranging from 104 to 113 degrees F (40 to 45 degrees C). Avoid melting chocolate directly over a heat source and instead use a hot water bath for indirect heating.
- Tempering is essential for achieving the desired gloss, hardness, and contraction of chocolate. When melting chocolate, the fat molecules separate, and tempering involves bringing them back together. One easy method is to microwave the chocolate in 30-second intervals on high power until melted, being careful not to overheat it. The chocolate may still appear solid, but it should be slightly warmer than your bottom lip. Any lumps can be broken up using an immersion blender to initiate the recrystallization process.
- It is common for the chocolate to start setting along the sides of the bowl. Mix these crystals into the melted chocolate to assist in the recrystallization process. Using a glass bowl helps retain heat and keeps the chocolate tempered for a longer period.
- Another method of tempering chocolate is called seeding. This involves adding small pieces of unmelted chocolate to the melted chocolate. The amount of unmelted chocolate to be added depends on the temperature of the melted chocolate, typically around one fourth of the total amount. An immersion blender can be used to mix the two together.
- The traditional method of tempering chocolate is known as tabliering. It involves melting chocolate over a hot water bath until it reaches a temperature between 88 and


