

Sandcastle Cake: A Whimsical Delight for Any Occasion
Have you ever wished you could bring the joy of building sandcastles at the beach to your next celebration? Well, look no further! The Sandcastle Cake is the perfect whimsical creation that will amaze both kids and adults alike. With its stunning resemblance to a real sandcastle, this cake will transport you back to sunny days by the shore. Let’s dive into the fascinating world of Sandcastle Cakes!
The Art of Sandcastle Cakes
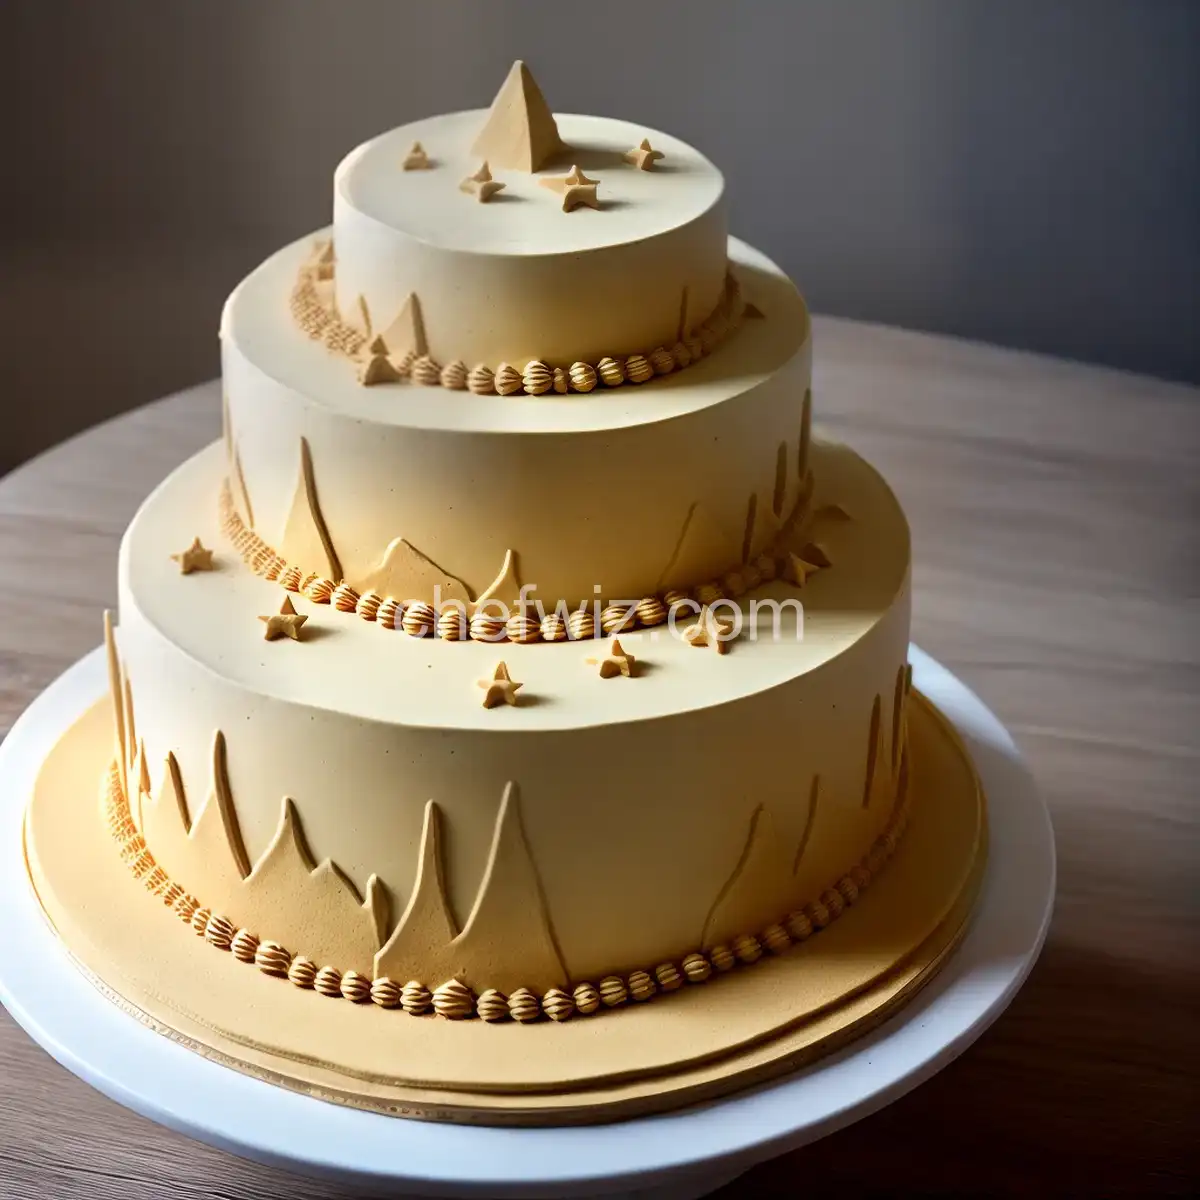
Creating a Sandcastle Cake is like being an architect, sculptor, and pastry chef all at once. It requires a careful balance of creativity and precision. The cake is constructed in layers, just like a real sandcastle. Each layer is perfectly designed to mimic the texture and shape of sandy beach dunes. The finishing touches, such as seashells, flags, and even edible sand, complete the illusion of a true sandcastle.
Choosing the Right Design
When it comes to Sandcastle Cakes, the possibilities are endless. You can opt for a classic castle design with towering turrets, or you can let your imagination run wild and create a fantastical sandcastle with hidden surprises. With a wide variety of molds and tools available, you can customize your cake to suit any theme or occasion.
The Magic of Edible Sand
No sandcastle is complete without sand, and the Sandcastle Cake is no exception. But fear not, the sand on this cake is not your ordinary beach sand. Edible sand, made from crushed cookies or graham crackers, adds a delightful crunch and texture to the cake. It’s the perfect finishing touch that will transport your taste buds straight to the seaside.
Making Memories with Sandcastle Cakes
One of the most wonderful things about Sandcastle Cakes is the joy they bring to any celebration. Whether it’s a birthday party, a beach-themed wedding, or a summer gathering, this cake will become the centerpiece of your event. Imagine the delight on your guests’ faces as they marvel at the intricate details of your edible sandcastle. It’s not just a cake; it’s a work of art that will create lasting memories.
A Fun Activity for Kids
Building sandcastles is a beloved activity for children at the beach, and with a Sandcastle Cake, you can bring that fun indoors. Get the little ones involved in the cake decorating process. Let them unleash their creativity by adding their own seashell decorations or drawing flags on toothpicks. The joy and excitement they experience will make the cake taste even sweeter.
Wow Your Guests with a Sandcastle Cake
If you want to impress your guests and leave them in awe, a Sandcastle Cake is the way to go. Its unique design and attention to detail will make it the star of any dessert table. From children to adults, everyone will be captivated by this edible masterpiece. So, why settle for an ordinary cake when you can have a sandcastle that looks almost too good to eat?
FAQs: Answering Your Sandcastle Cake Questions
Q: Can I make a Sandcastle Cake even if I’m not an experienced baker?
A: Absolutely! Sandcastle Cakes come in various difficulty levels, so even beginners can give it a try. Start with a simple design and gradually work your way up as you gain confidence in your baking skills.
Q: Where can I find the molds and tools needed to make a Sandcastle Cake?
A: You can find a wide range of molds and tools online or at specialty baking stores. Look for molds specifically designed for sandcastle cakes to achieve the best results.
Q: How far in advance can I make a Sandcastle Cake?
A: It’s best to make a Sandcastle Cake no more than a day in advance to ensure it stays fresh. However, you can prepare some elements, such as the edible sand, ahead of time to save time on the day of assembly.
Q: Can I make a Sandcastle Cake without using edible sand?
A: While edible sand adds an authentic touch to the cake, you can still create a stunning sandcastle design without it. Simply focus on shaping the cake layers and decorating them with seashell details and frosting.
Q: Can I make a Sandcastle Cake for a gluten-free diet?
A: Absolutely! There are plenty of gluten-free cake and cookie recipes available that can be used to create a delicious gluten-free Sandcastle Cake. Be sure to check the ingredients and choose gluten-free alternatives.
Q: How do I transport a Sandcastle Cake without ruining the design?
A: Transporting a Sandcastle Cake can be a bit tricky, but with careful planning, it’s possible. Use a sturdy cake carrier or box and secure the cake with skewers or toothpicks to prevent any movement. It’s also a good idea to assemble any delicate decorations on-site to avoid damage during transport.
Q: Can I freeze a Sandcastle Cake?
A: It’s not recommended to freeze a fully assembled Sandcastle Cake as it can affect the texture and overall appearance. However, you can freeze individual cake layers before assembly, wrapped tightly in plastic wrap and aluminum foil, for up to a month.
Q: Can I use fondant to decorate a Sandcastle Cake?
A: Absolutely! Fondant can be a great option for creating intricate details and a smooth finish on your Sandcastle Cake. Just make sure to roll it out thin and handle it gently to avoid any tearing or cracking.
In Conclusion
The Sandcastle Cake is not just a dessert; it’s a whimsical creation that brings the joy of building sandcastles to any celebration. With its stunning design and attention to detail, it will capture the hearts and taste buds of everyone who lays eyes on it. So, why settle for an ordinary cake when you can have a sandcastle that embodies the magic of the beach? Let your imagination run wild and create a Sandcastle Cake that will make your next event truly unforgettable!

Sandcastle Cake
Ingredients
- Nonstick baking spray with flour
- 5 cups all-purpose flour
- 5 teaspoons baking powder
- 1 teaspoon ground cinnamon
- 1 teaspoon fine sea salt
- 1 1/2 cups (3 sticks) unsalted butter , at room temperature
- 3 cups packed dark brown sugar
- 6 tablespoons vegetable oil
- 2 teaspoons pure vanilla extract
- 8 large eggs , at room temperature
- 2 1/2 cups buttermilk
- 2 cups (4 sticks) unsalted butter , at room temperature
- One 2-pound bag confectioners
sugar (about 7 1/2 cups) - One 13.4-ounce can prepared dulce de leche
- Milk or heavy cream , for thinning the frosting
- 1 teaspoon fine sea salt
- 4 cups graham cracker crumbs
- 4 cake ice cream cones
- 4 sugar ice cream cones
- 30 brown sugar cubes
- 1 tablespoon honey
- 4 ounces orange candy melting wafers
- 1 ounce red candy melting wafers
- 12 ounces white candy melting wafers
- 1 tablespoon unsweetened cocoa powder
- 4 ounces semisweet chocolate , melted
- 4 mini flag cupcake picks
Instructions
- Preheat the oven to 350 degrees F and position the racks in the upper and lower thirds.
- Coat two 8-inch round cake pans and two 6-inch round cake pans with nonstick baking spray with flour.
- In a large bowl, whisk together the flour, baking powder, cinnamon, and salt. Set aside.
- In the bowl of an electric mixer fitted with the paddle attachment, combine the butter, brown sugar, vegetable oil, and vanilla. Beat until fluffy and light, about 5 minutes.
- Add the eggs one at a time, beating well after each addition.
- Add half of the dry ingredients to the butter-sugar mixture and mix on low speed until just incorporated.
- Add the buttermilk and mix again until combined.
- Add the remaining flour mixture and mix until just combined. Use a rubber spatula to scrape down the bowl and incorporate any ingredients that didn't mix.
- Divide the batter between the prepared pans, filling each no more than 3/4 full.
- Bake the 6-inch cakes for about 30 minutes, and the 8-inch cakes for 40 to 45 minutes, or until a toothpick inserted near the center comes out clean.
- Cool the cakes in the pans for 5 minutes, then transfer them to wire racks to cool completely. Level the cakes if necessary.
- In the bowl of an electric mixer fitted with the whip attachment,


