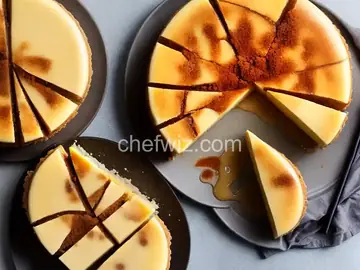
Perfect Pie Crust
Rate this recipeBe the first to rate
 By AprilPublished
Are you ready to take your pie game to the next level? A perfect pie crust can make all the difference between a mediocre pie and a showstopper.
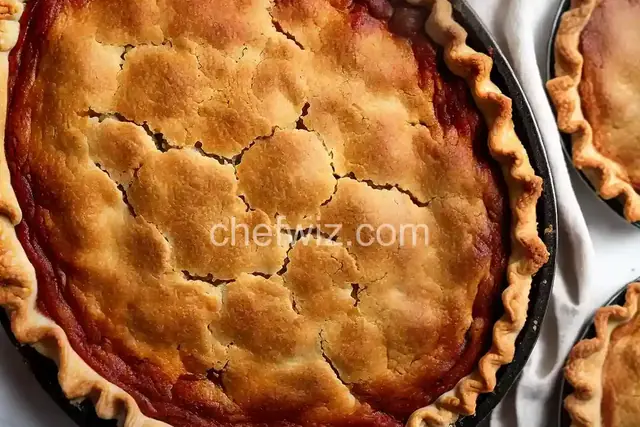 By AprilPublished
Are you ready to take your pie game to the next level? A perfect pie crust can make all the difference between a mediocre pie and a showstopper.
Start by dicing the butter and placing it back in the refrigerator.
In a food processor, combine the flour, salt, and sugar. Pulse a few times to mix.
Add the diced butter and shortening to the flour mixture in the food processor.
Pulse the food processor 8 to 12 times until the butter is the size of peas.
While the food processor is running, slowly pour in the ice water through the feed tube.
Continue pulsing the food processor until the dough begins to come together and form a ball.
Transfer the dough onto a floured board and shape it into a ball.
Wrap the dough in plastic wrap and refrigerate it for 30 minutes.
Once the dough has chilled, cut it in half.
Take one piece of dough and roll it out on a well-floured board, starting from the center and rolling towards the edges. Make sure to turn and flour the dough to prevent sticking.
Fold the rolled dough in half and place it in a pie pan. Unfold the dough to fit the pan.
Repeat the rolling process with the remaining piece of dough for the top crust.
Are you ready to take your pie game to the next level? A perfect pie crust can make all the difference between a mediocre pie and a showstopper. Whether you're a seasoned baker or a newbie in the kitchen, mastering the art of pie crust can be a game-changer. In this article, we'll guide you through the process of creating a perfect pie crust that will leave your taste buds wanting more.
Imagine sinking your teeth into a warm, flaky pie crust that melts in your mouth. The perfect pie crust is like a sturdy foundation for a beautiful building. It holds everything together and provides the first impression. A well-executed pie crust adds texture, flavor, and visual appeal to your pie. It creates a delightful contrast to the filling, making every bite a heavenly experience.
Creating a perfect pie crust starts with the right ingredients. Just like a painter needs quality paints, a baker needs high-quality ingredients. Flour, fat, liquid, and a pinch of salt are the basic building blocks of a pie crust. The right combination and proportions can make all the difference.
The type of flour you use will affect the texture and flavor of your crust. All-purpose flour is a popular choice, but some bakers prefer a combination of all-purpose and pastry flour for a lighter, flakier crust. Experiment with different types of flour to find your perfect blend.
Butter, shortening, or lard? The choice of fat will determine the flakiness and flavor of your crust. Butter adds richness and flavor, while shortening or lard provides flakiness. Some bakers like to combine different fats for the best of both worlds. Don't be afraid to get creative!
A little liquid goes a long way in bringing the dough together. Ice water is commonly used, but some bakers swear by using vodka for a flakier crust. Whatever liquid you choose, make sure it's ice-cold to keep the fat from melting prematurely.
A pinch of salt may seem insignificant, but it plays a crucial role in enhancing the overall flavor of your crust. It balances the sweetness of the filling and adds depth to every bite.
Now that you have your ingredients ready, it's time to put them to use. Here are some tried and true techniques to ensure a perfect pie crust:
Cold ingredients and cold hands are your best friends when it comes to pie crust. The cold fat creates pockets of steam during baking, resulting in a flaky crust. Chill your ingredients and work quickly to prevent the fat from melting.
Overworking the dough can make it tough and chewy. Mix the ingredients just until they come together, and avoid excessive kneading. A light touch is key to a tender crust.
When rolling out your crust, use a light touch and a gentle hand. Roll from the center to the edges, and rotate the dough frequently to maintain an even thickness. Sprinkle a little flour if needed to prevent sticking.
Give your pie that professional touch by fluting the edges. Use your fingers or a fork to create a decorative edge. Not only does it look beautiful, but it also helps seal in the filling.
Mastering the art of a perfect pie crust takes practice, but the results are worth it. With the right ingredients, techniques, and a little bit of patience, you can create a pie crust that will have everyone begging for seconds. So roll up your sleeves, preheat that oven, and get ready to wow your friends and family with your homemade pies!
While margarine can be used as a substitute for butter in a pie crust, the flavor and texture may differ. Butter adds richness and flavor, so using margarine may result in a less flavorful crust.
To prevent your pie crust from shrinking, make sure to chill it for at least 30 minutes before baking. Dock the crust by pricking it with a fork to allow steam to escape, and use pie weights or dried beans to weigh it down during blind baking.
Yes, you can freeze pie dough. Wrap it tightly in plastic wrap or place it in a resealable bag before freezing. Thaw it in the refrigerator overnight before using.
Using ice-cold water helps keep the fat in the crust from melting before baking. This creates pockets of steam, resulting in a flaky crust.
Absolutely! A food processor can make the process quicker, but you can also make a pie crust by cutting the fat into the flour using a pastry cutter or your fingertips. The key is to work quickly and avoid overworking the dough.
The time needed for blind baking depends on the recipe and the type of pie. Generally, blind bake the crust for 15-20 minutes with pie weights or dried beans, then remove the weights and bake for an additional 5-10 minutes until golden brown.
Yes, you can use whole wheat flour for your pie crust. Keep in mind that whole wheat flour has a denser texture and stronger flavor, so it may result in a heartier crust.
If you have leftover pie crust, wrap it tightly in plastic wrap and refrigerate for up to 3 days. You can also freeze it for up to 2 months. Thaw it in the refrigerator before using.
AprilCook, recipe developer and the heart of Chefwiz. More about April