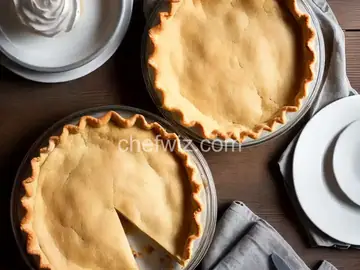
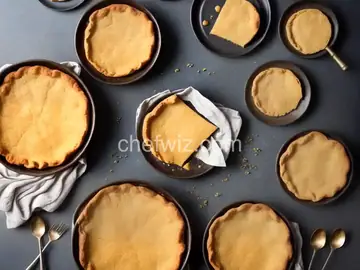
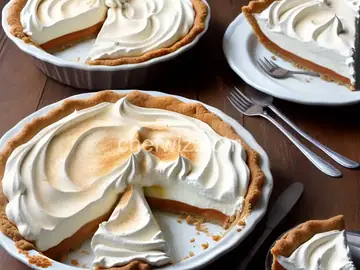
Old Fashioned Flaky Pie Crust
Rate this recipeBe the first to rate
 By AprilPublished
Have you ever tasted a pie with a crust so light, buttery, and flaky that it practically melts in your mouth?
 By AprilPublished
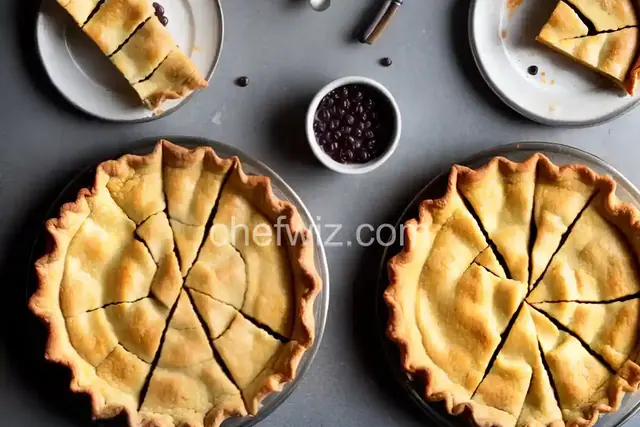
Have you ever tasted a pie with a crust so light, buttery, and flaky that it practically melts in your mouth?
In a bowl, combine flour and salt.
Stir in vegetable oil using a fork.
Gradually add water, one tablespoon at a time, while stirring.
Continue adding water until the dough comes together.
Gather the dough into a ball.
Divide the dough in half.
Place the dough on a floured work surface and roll it out.
Pre-bake the crust at 475 degrees F (240 degrees C) for 12 to 15 minutes, or press it into a pie pan and proceed with your recipe.
If pre-baking, cover the edges with foil to prevent burning.
This crust can be used for quiches and double-crusted pies.
Have you ever tasted a pie with a crust so light, buttery, and flaky that it practically melts in your mouth? If so, then you have experienced the magic of an old-fashioned flaky pie crust. It's a culinary marvel that can elevate any pie from good to outstanding. In this article, we will explore the secrets behind creating the perfect flaky pie crust and how to achieve that heavenly texture.
Imagine biting into a slice of pie, and as soon as your teeth sink into the crust, it crumbles delicately and effortlessly. The secret to achieving this flakiness lies in the careful balance between fat and flour. Think of it as a delicate dance - the fat, usually butter or shortening, coats the flour particles, creating layers when baked. These layers create the signature flakiness that we all love in a pie crust.
When it comes to choosing the fat for your pie crust, there is a long-standing debate between butter and shortening. Butter offers a rich and flavorful taste, while shortening provides a tender and delicate texture. The best approach is to use a combination of both. By incorporating both butter and shortening, you get the best of both worlds - a crust that is flavorful and tender, yet still has that desirable flakiness.
Creating a flaky pie crust requires proper technique and attention to detail. Here are a few tips to ensure success:
Start by chilling your fat and liquids. Cold fat is crucial for achieving a flaky crust, as it creates steam when it melts during baking, resulting in those beautiful layers. Chilling your liquids also helps to keep the dough cold, preventing the fat from melting too soon.
When combining the fat with the flour, be careful not to overmix. Overmixing can lead to a tough crust, as gluten develops and makes the dough elastic. The key is to mix until the fat is evenly distributed, and the dough comes together when squeezed, but still has visible chunks of fat.
The type of flour you use can make a significant difference in the texture of your crust. All-purpose flour is commonly used and works well, but for an extra flaky and tender crust, consider using pastry flour. Pastry flour has a lower protein content, resulting in a more delicate and tender crust.
Now that you understand the science behind flaky pie crusts, it's time to put it into practice. Here's a simple recipe to get you started:
And there you have it - a simple recipe for a deliciously flaky pie crust that will impress your friends and family. Don't be afraid to experiment with different fillings and flavors to create your perfect pie. Happy baking!
While margarine can be used as a substitute for butter in pie crust, it may affect the flavor and texture. Butter is recommended for the best results.
Absolutely! You can prepare the pie crust dough in advance and refrigerate it for up to 3 days or freeze it for a few months. Just make sure to wrap it tightly in plastic wrap.
Yes, lard can be used as a substitute for shortening. It provides a similar tender and flaky texture.
To prevent shrinkage, make sure to refrigerate the dough before baking. Docking the dough by pricking it with a fork or using pie weights during blind baking can also help.
Whole wheat flour can be used, but it will result in a denser and slightly nuttier crust compared to all-purpose flour.
Brushing the crust with an egg wash or cream before baking can help achieve a beautiful golden color.
Yes, a food processor can be used to cut the fat into the flour quickly. Just be careful not to overmix.
While sugar can be added to the pie crust for a slightly sweet flavor, it may affect the texture and make it less flaky.
Leftover pie crust can be wrapped tightly in plastic wrap and stored in the refrigerator for up to 3 days or frozen for a
AprilCook, recipe developer and the heart of Chefwiz. More about April