Irish Soda Bread: A Delicious and Easy-to-Make Treat
Have you ever craved a warm, freshly baked bread that is not only mouthwatering but also simple to make? Look no further than Irish Soda Bread! This traditional Irish delicacy is a staple in many households, loved for its rustic charm and incredible taste. Whether you enjoy it on its own or paired with your favorite spread, Irish Soda Bread is sure to satisfy your cravings. In this article, we will explore the history, ingredients, and the easy process of making this delectable treat.
The Origins of Irish Soda Bread
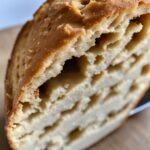
Irish Soda Bread has a rich history that dates back centuries. It originated in Ireland during the 1800s when baking soda became widely available. The bread quickly gained popularity due to its simplicity and affordability. In those times, Irish Soda Bread was a way for families to enjoy a hearty and filling meal without breaking the bank.
The Simple Ingredients
One of the reasons Irish Soda Bread is so beloved is its straightforward list of ingredients. You don’t need any fancy or expensive items to whip up a batch of this bread. In fact, you probably have most, if not all, of the ingredients in your pantry right now! Flour, baking soda, salt, and buttermilk are the main components that come together to create this delightful bread. The result is a dense yet tender loaf with a slightly tangy flavor.
Flour: The Foundation of Irish Soda Bread
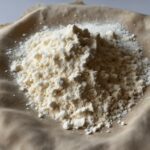
Flour is the backbone of Irish Soda Bread. It provides the structure and texture that make this bread so unique. Traditionally, Irish Soda Bread is made with whole wheat flour, which gives it a slightly nutty flavor and a dense crumb. However, you can also use all-purpose flour or a mix of both to suit your taste preferences.
Baking Soda: The Raising Agent
As the name suggests, Irish Soda Bread relies on baking soda as its leavening agent. When combined with an acidic ingredient like buttermilk, baking soda produces carbon dioxide gas, creating the bread’s characteristic rise. This chemical reaction occurs immediately upon mixing the wet and dry ingredients, eliminating the need for yeast and lengthy proofing times.
The Easy Process
One of the best things about Irish Soda Bread is its simplicity. You don’t need any advanced baking skills or specialized equipment to make it. In just a few easy steps, you can have a freshly baked loaf of bread ready to enjoy.
Mixing the Ingredients
To start, combine the dry ingredients: flour, baking soda, and salt. Mix them together thoroughly, ensuring the baking soda is evenly distributed. Next, make a well in the center of the dry ingredients and pour in the buttermilk. Gently mix everything together until a sticky dough forms.
Shaping the Dough
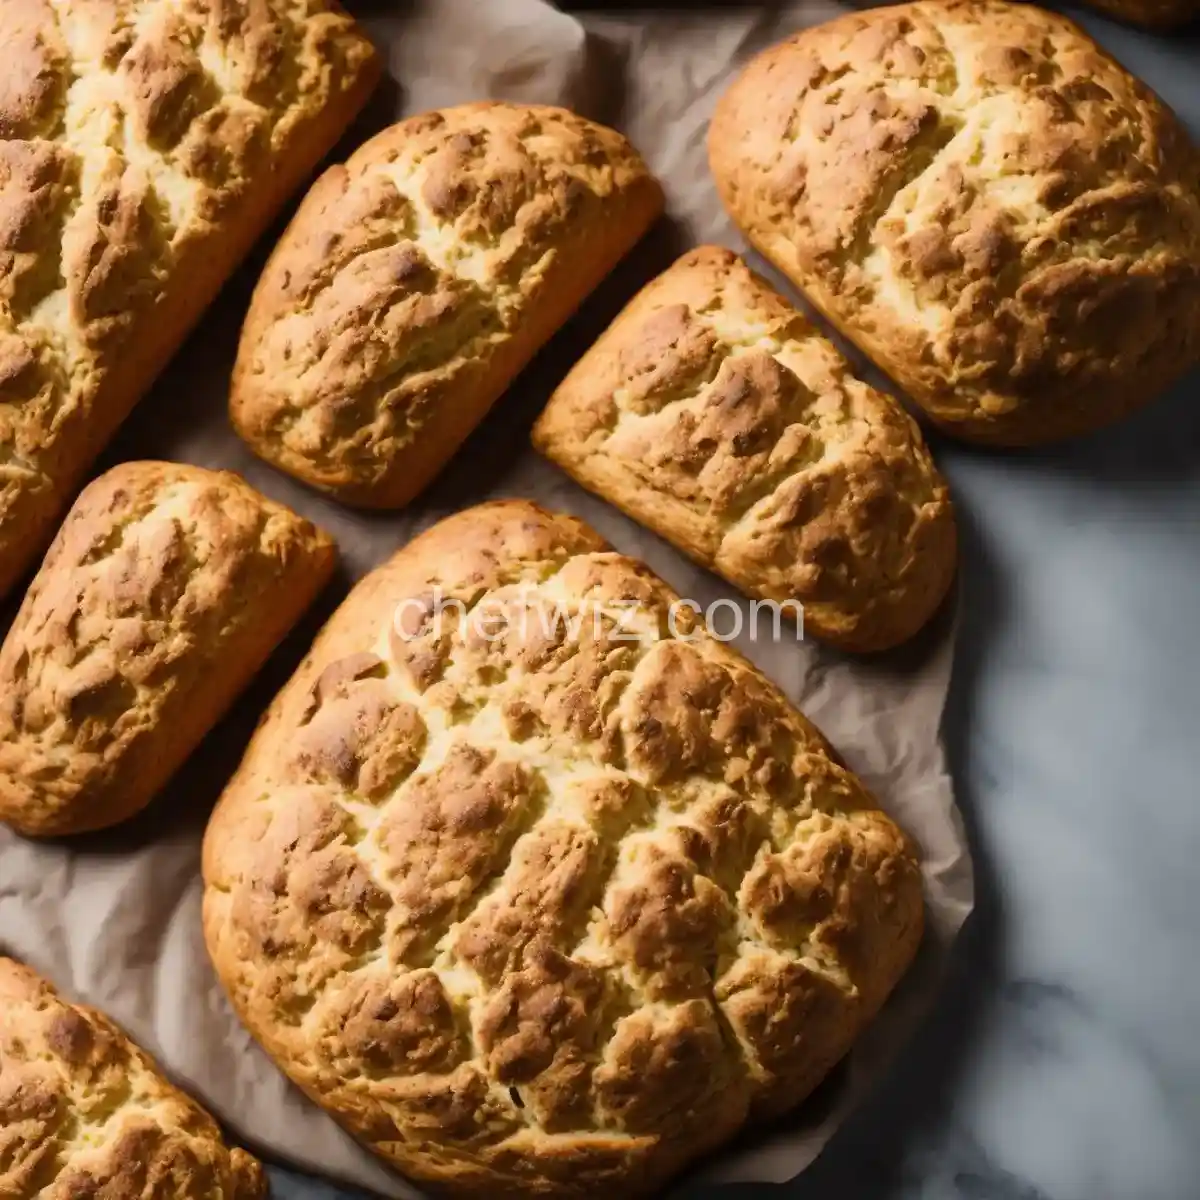
Once the dough is mixed, turn it out onto a floured surface. Knead it lightly for a minute or two, just until it comes together. Avoid over-kneading, as it can make the bread tough. Shape the dough into a round loaf and place it on a baking sheet lined with parchment paper.
Baking and Enjoying
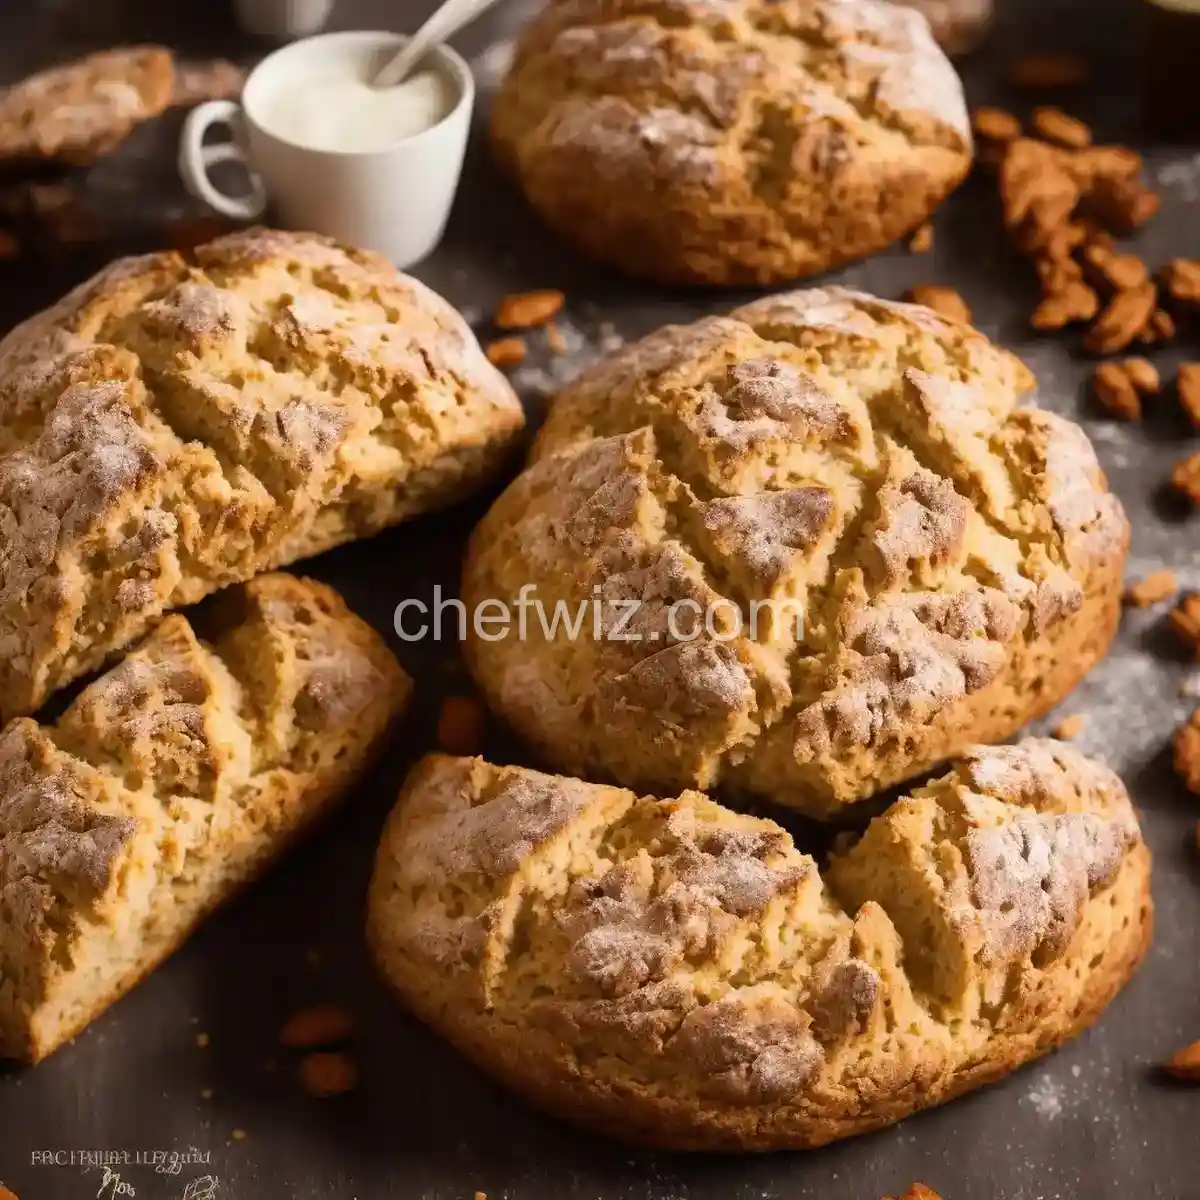
Finally, it’s time to bake your Irish Soda Bread! Preheat your oven to 425°F (220°C) and place the bread in the center. Bake for about 40-45 minutes, or until the bread is golden brown and sounds hollow when tapped on the bottom. Let it cool for a few minutes before slicing and savoring each bite.
Conclusion
Irish Soda Bread is a true delight for bread lovers. Its rich history, simple ingredients, and easy process make it a favorite in many households. Whether you enjoy it with a hearty stew, slathered with butter, or as part of a cozy breakfast, Irish Soda Bread is sure to bring joy to your taste buds. So, why not give it a try and discover the magic of this traditional Irish treat?
Frequently Asked Questions
Q: Can I use a gluten-free flour to make Irish Soda Bread?
A: Absolutely! While traditional Irish Soda Bread is made with wheat flour, you can substitute it with a gluten-free flour blend. Keep in mind that the texture and taste may vary slightly, but it’s still a delicious alternative.
Q: Is Irish Soda Bread suitable for vegans?
A: Yes, it can be! By replacing the buttermilk with a plant-based milk, such as almond or soy milk, you can easily make a vegan version of Irish Soda Bread. Just make sure to use a non-dairy milk that contains some acidity, like adding a splash of lemon juice or vinegar.
Q: Can I add raisins or other dried fruits to my Irish Soda Bread?
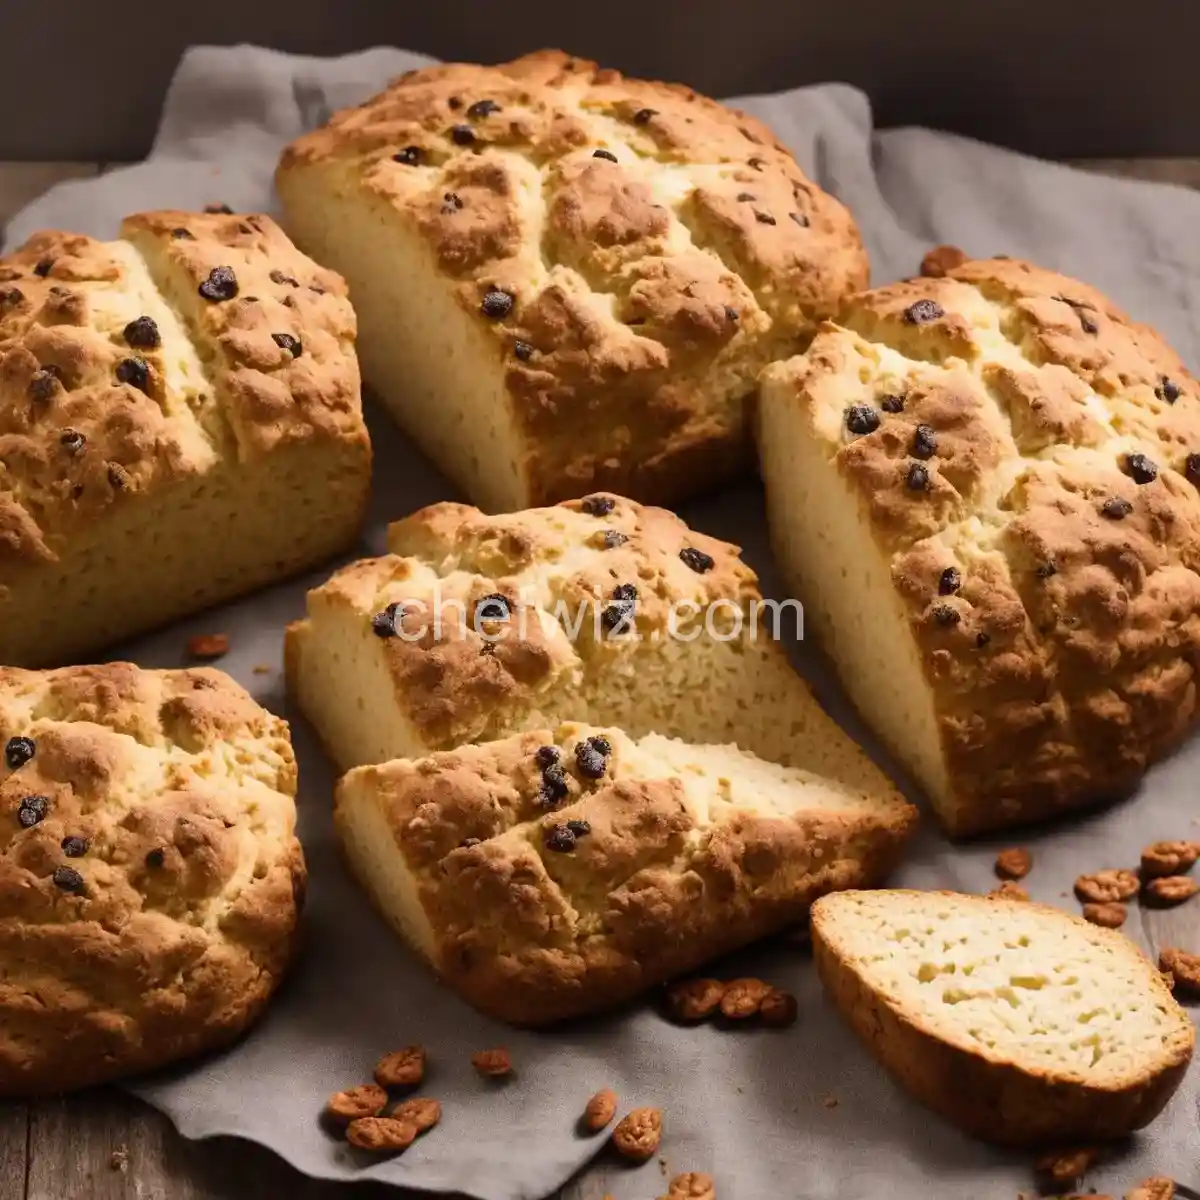
A: Of course! While traditional Irish Soda Bread is plain, you can customize it to your liking by adding raisins, currants, or even chopped dried apricots. These additions will add a touch of sweetness and extra texture to the bread.
Q: How should I store Irish Soda Bread?
A: To keep your Irish Soda Bread fresh, store it in an airtight container or wrap it tightly in plastic wrap. It will stay fresh for up to three days at room temperature. If you prefer a warm slice, you can lightly toast it or reheat it in the oven for a few minutes.
Q: Can I freeze Irish Soda Bread?
A: Absolutely! Irish Soda Bread freezes well, so you can make a larger batch and enjoy it later. Just wrap the cooled bread tightly in plastic wrap and place it in a freezer bag. It will stay fresh for up to three months. When ready to enjoy, thaw it at room temperature or gently warm it in the oven.
Q: Can I add herbs or cheese to my Irish Soda Bread?
A: Yes, you can! While not traditional, adding herbs like rosemary or thyme, or even grated cheese, can give your Irish Soda Bread a savory twist. Experiment with different flavors and have fun customizing your bread.
Q: What is the best way to serve Irish Soda Bread?
A: Irish Soda Bread is incredibly versatile. It can be enjoyed on its own
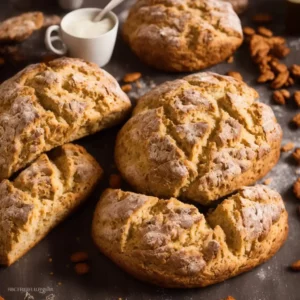
Irish Soda Bread
Ingredients
- Ingredients:
- 1 and 1/3 cups of buttermilk
- 1 large egg
- 3 and 1/2 cups of all-purpose flour
- 2 tablespoons of cane sugar
- 1 teaspoon of baking soda
- 1 teaspoon of sea salt
- 3 tablespoons of cold unsalted butter
- Scant 1 cup of dried currants or raisins
Instructions
- Preheat the oven to 400°F and prepare a baking sheet by lining it with parchment paper.
- In a medium-sized bowl, whisk together the buttermilk and egg.
- In a large bowl, combine the flour, sugar, baking soda, and salt. Add the cubed butter and mix until the butter is evenly coated with the flour mixture. Use your hands to work the butter into the flour until it resembles pea-sized pieces. Stir in the currants until they are coated with the flour mixture.
- Create a well in the center of the dry ingredients and pour in the buttermilk mixture. Stir with a spatula or wooden spoon until a rough dough forms.
- Transfer the dough onto a lightly floured surface and knead it until it forms a ball. The dough should be soft but not overly sticky. If it is too sticky, add a little more flour. If it feels dry, add a bit more buttermilk.
- Place the dough ball onto the prepared baking sheet and use a sharp knife to make a ½-inch-deep cross on top. Bake for 45 to 50 minutes, or until the loaf is golden brown and makes a hollow sound when tapped on the bottom. If it is browning too quickly, cover it loosely with foil and continue baking.
- Remove the loaf from the oven and let it cool for 10 minutes on the baking sheet. Then, transfer it to a wire rack to

