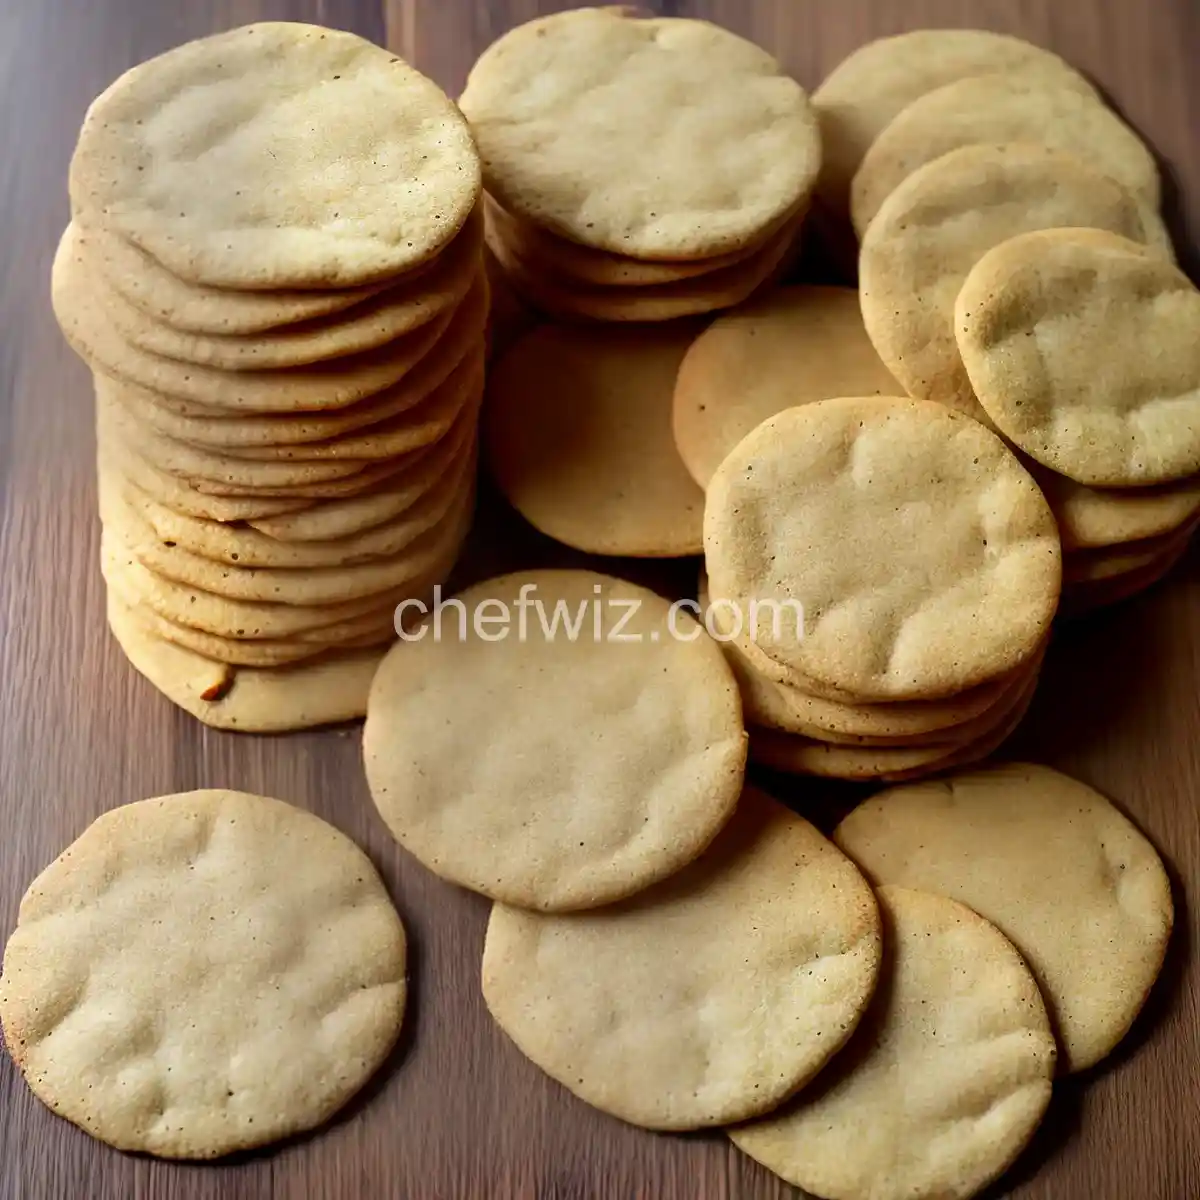
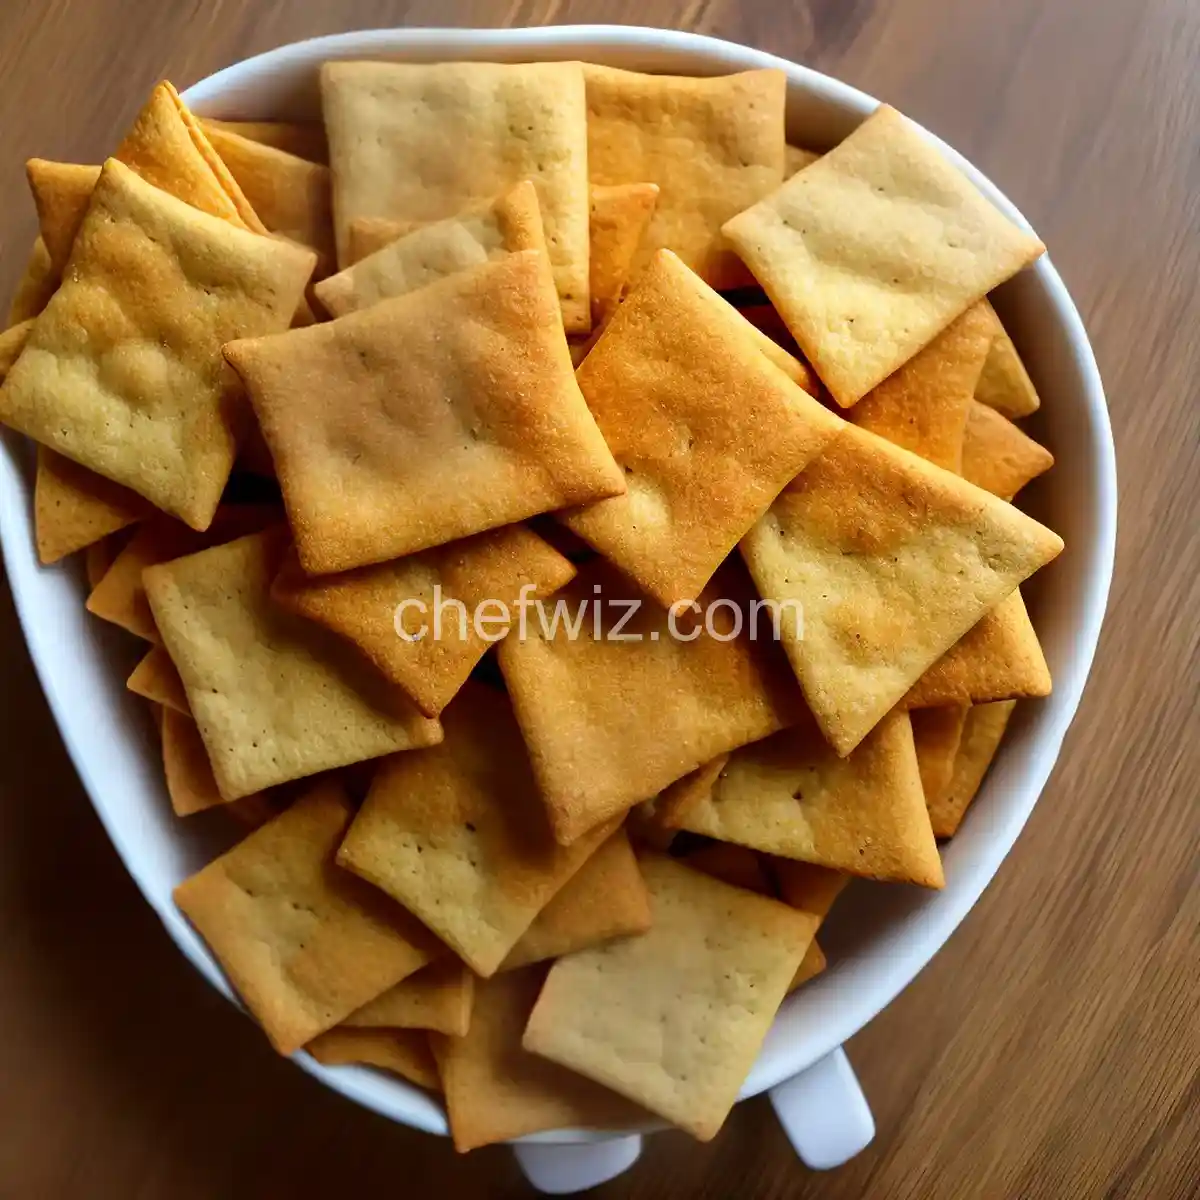
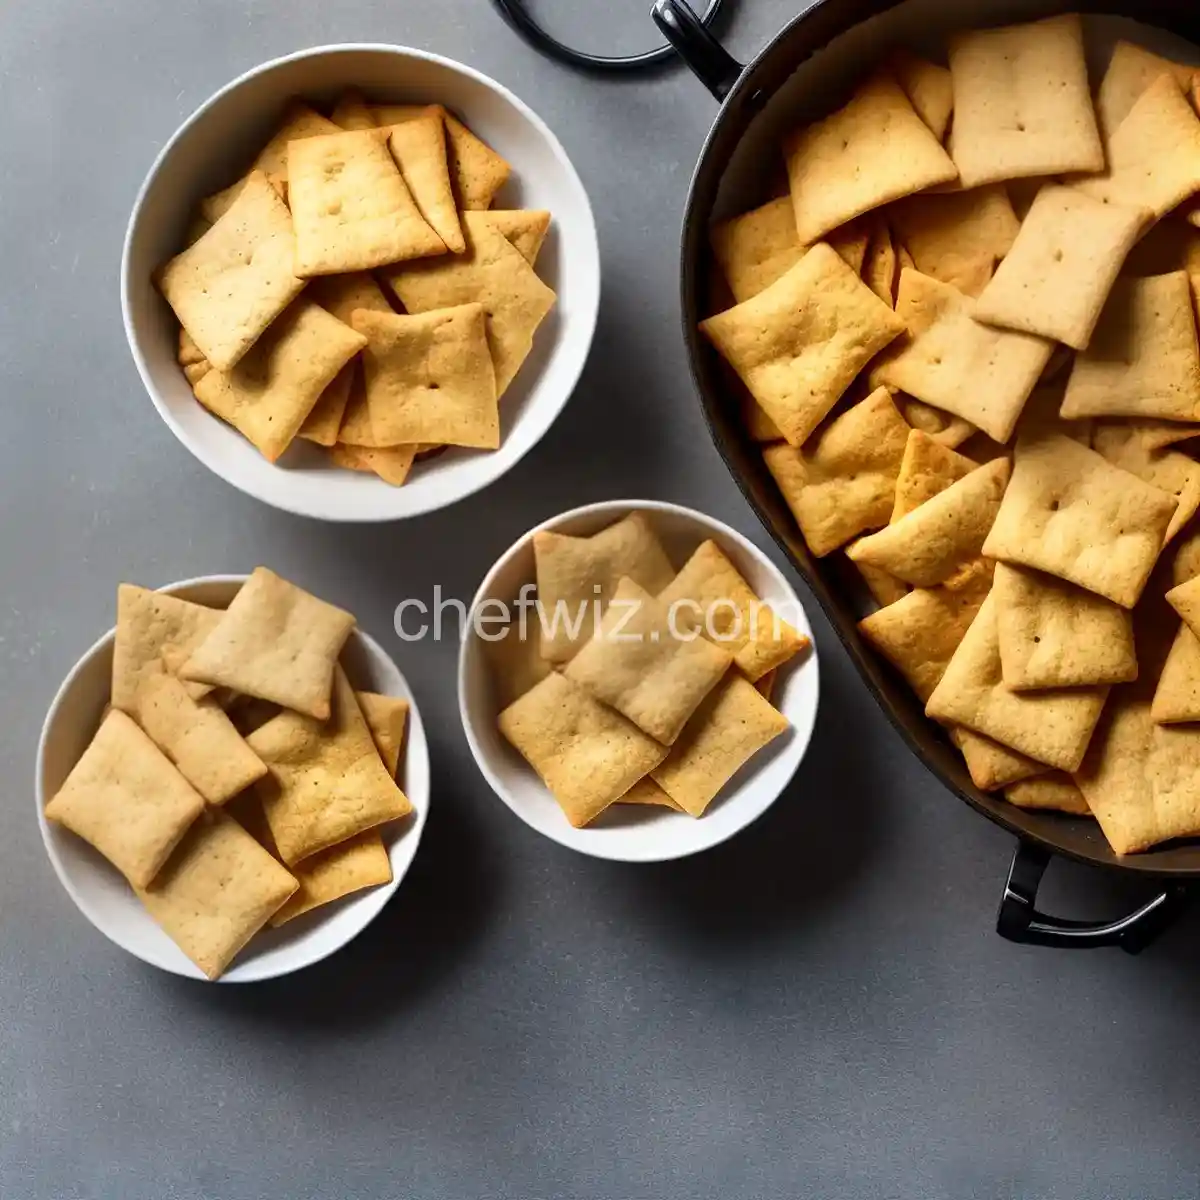
Homemade Wheat Thins Recipe
Are you tired of store-bought snacks that are loaded with preservatives and artificial ingredients? Do you crave a healthier alternative without sacrificing taste? Look no further! In this article, we will share with you a homemade Wheat Thins recipe that is simple, delicious, and completely customizable to your taste buds.
Why Make Your Own Wheat Thins?
Have you ever wondered what goes into those tiny, crunchy crackers that you love to snack on? Store-bought Wheat Thins often contain a laundry list of ingredients that are hard to pronounce and even harder to understand. By making your own Wheat Thins at home, you have full control over the ingredients that go into them.
Not only can you choose high-quality whole wheat flour, but you can also experiment with different flavors and seasonings. Whether you prefer a hint of garlic, a sprinkle of sea salt, or a touch of rosemary, the options are endless. Plus, making your own Wheat Thins allows you to avoid unnecessary additives and preservatives, making them a healthier choice for you and your family.
The Art of Making Homemade Wheat Thins
Creating your own Wheat Thins is not only a fun kitchen project but also an opportunity to let your creativity shine. Just like an artist painting a masterpiece, you get to choose the colors, textures, and flavors that make your Wheat Thins unique.
Start by gathering your ingredients. Whole wheat flour, olive oil, and a pinch of salt are the basic building blocks of the recipe. From there, you can mix in various spices and herbs to create a flavor profile that suits your taste buds. Think of it as adding brushstrokes of flavor to your canvas.
Once you have your ingredients ready, it’s time to roll out the dough. The key here is to achieve a thin and even layer. This is where the analogy of a potter shaping clay comes in. Just like a potter molds clay into a specific shape, you’ll be using a rolling pin to shape your Wheat Thins into thin, crispy crackers.
After rolling out the dough, it’s time to cut it into the iconic Wheat Thins shape. This is where you can get creative and make them as big or as small as you like. The process is akin to a sculptor chiseling away at a block of marble, revealing the masterpiece within.
Baking Your Masterpieces
Once your Wheat Thins are cut into shape, it’s time to bake them to crispy perfection. The oven becomes your kiln, transforming your dough into golden-brown crackers. As they bake, your kitchen will be filled with the aroma of freshly baked crackers, reminiscent of a gallery showcasing the work of a talented artist.
After a few minutes in the oven, your homemade Wheat Thins will be ready to enjoy. The moment you take that first bite, you’ll be transported to a world where flavor and crunch collide, like a symphony playing in perfect harmony.
Frequently Asked Questions
1. Can I use a different type of flour?
Yes, you can experiment with different types of flour, such as spelt or rye, to create unique flavors and textures.
2. Can I make gluten-free Wheat Thins?
Absolutely! There are many gluten-free flour options available that can be used as a substitute for whole wheat flour.
3. How long do homemade Wheat Thins stay fresh?
When stored in an airtight container, homemade Wheat Thins can stay fresh for up to two weeks.
4. Can I add cheese to the recipe?
Yes! Adding grated cheese, such as Parmesan or cheddar, can give your Wheat Thins an extra burst of flavor.
5. Are homemade Wheat Thins healthier than store-bought ones?
Yes, homemade Wheat Thins are generally healthier as they do not contain artificial preservatives or additives.
6. Is it difficult to make Wheat Thins from scratch?
Not at all! With a simple recipe and a few basic ingredients, making Wheat Thins from scratch is a breeze.
7. Can I customize the seasoning?
Absolutely! Feel free to experiment with different herbs, spices, or even a sprinkle of sea salt to suit your taste.
8. Can I make a large batch and store them?
Yes, you can make a larger batch of Wheat Thins and store them in an airtight container for future snacking.
In Conclusion
Making your own Wheat Thins not only allows you to control the ingredients but also gives you the opportunity to unleash your inner artist in the kitchen. With each batch, you can experiment with different flavors and seasonings, creating a snack that is truly one-of-a-kind.
So why settle for store-bought when you can create your own masterpiece? Grab your apron, roll up your sleeves, and let the creativity flow. Your homemade Wheat Thins await!
Homemade Wheat Thins Recipe
- 2 ounces of light corn syrup
- 1/4 ounce of barley malt syrup
- 1/4 teaspoon of Diamond Crystal kosher salt (1g); for table salt (, use half as much by volume or the same weight)
- 1 ounce of hot water
- 5 ounces of whole wheat flour (, plus extra for dusting (about 1 cup, spooned))
- 2 1/2 ounces of sugar (about 1/3 cup; 70g)
- 1 1/2 ounces of bread flour (about 1/4 cup (, spooned))
- 3/4 ounce of toasted wheat germ (about 3 tablespoons; 20g)
- 1/2 teaspoon of ground turmeric
- 1/2 teaspoon of Diamond Crystal kosher salt (2g) (, plus more for sprinkling; for table salt, use half as much by volume or the same weight)
- 1/2 teaspoon of cream of tartar
- 1/4 teaspoon of baking soda
- 1 ounce of solid but creamy refined coconut oil (about 2 tablespoons; 30g)
- 1/4 ounce of barley malt syrup (1 1/2 teaspoons; 7g)
- 3 ounces of water (about 1/3 cup plus 1 tablespoon; 85g)
- In a small bowl, combine corn syrup, malted barley syrup, and salt. Add hot water and stir with a fork until the salt is dissolved. Set aside to cool.
- Adjust the oven rack to the lower-middle position and preheat it to 350°F. Cut two parchment sheets into 11- by 16-inch pieces.
- In the bowl of a food processor, combine whole wheat flour, sugar, bread flour, wheat germ, salt, turmeric, cream of tartar, baking soda, and coconut oil. Pulse until the coconut oil is completely blended into a fine, powdery meal.
- Dissolve the barley malt in water in a small glass, then add it to the dry mixture in the food processor. Process until a stiff dough is formed. Lightly knead the dough on an unfloured surface, then divide it in half and cover each portion with a damp paper towel.
- Place one of the prepared parchment sheets on a clean work surface and generously dust it with whole wheat flour. Place one portion of the dough in the center and sprinkle it with flour. Roll the dough into a rectangle that is roughly 5- by 8-inches, using a rolling pin. Dust with flour as needed to prevent sticking.
- Carefully flip the dough over and sprinkle more flour on top where needed. Continue rolling from the center out until the dough extends just past the edges of the parchment and is no thicker than
Related Recipes:
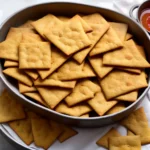 Spiced Wheat Thins
 Sheet-Pan Brownie Thins
 Cracking the Code: How to Tell if Flour is Bad
 How to Make Greek Yogurt (No Special Equipment)
 The Thin
 How to Tell if Flour is Bad: Storing Tips
 How to Make Homemade Croutons? (Perfect Every Time!)
 10+ Best Homemade Seasoning and Spice Blends – Recipes And Ideas (30-Minute Meals)
 Whole Wheat Gluten-Free Flour Substitute Recipe
 Amazing Whole Wheat Pizza Crust