Homemade Sunflower Butter Cups
Rate this recipeBe the first to rate
 By AprilPublished
 Who doesn't love chocolate? And when it's combined with a creamy and nutty filling, it's even better.
 By AprilPublished
 Who doesn't love chocolate? And when it's combined with a creamy and nutty filling, it's even better.
Prepare the chocolate layer: Melt the chocolate gently in a double boiler, ensuring that it doesn't stick or scorch on the edges. Stir the chocolate with a spatula.
Place 8 to 10 cupcake liners (or 12 to 16 small ones) on a baking sheet. Spoon a thin layer of chocolate, about 1/4 to 1/2 inch thick, into the bottom of each liner. Use half of the melted chocolate for this step and keep the remaining chocolate warm over warm water.
Freeze the baking sheet with the chocolate layer for at least 15 to 20 minutes, or up to 4 hours, to allow the chocolate to set.
Prepare the "butter" layer: Remove excess oil from the top of the sunflower butter. In a medium bowl, add the sunflower butter (or cinnamon cookie butter). Sift the confectioners' sugar over the butter (use 1/4 cup for cookie butter or 1/2 cup for sunflower butter). Fully combine the ingredients using a rubber spatula.
Roll the butter into tablespoon-sized balls for large cups or teaspoon-sized balls for small cups. Flatten the balls gently between your palms.
Take out the baking sheet with the chocolate layer from the freezer. Place the flattened butter patties on top of the chocolate, pressing down lightly. Tap the tray on the counter a few times to help flatten the layers. Refrigerate
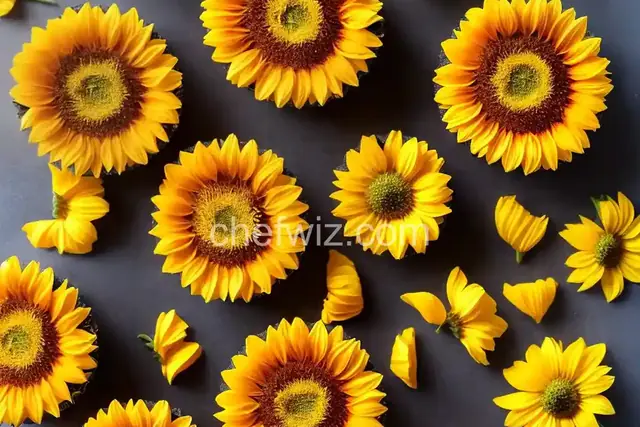
Who doesn't love chocolate? And when it's combined with a creamy and nutty filling, it's even better. If you're a fan of the classic peanut butter cups, then you're in for a treat with homemade sunflower butter cups. They are a healthier alternative that is just as delicious and satisfying. In this article, we'll explore the wonders of homemade sunflower butter cups and how you can make them yourself.
Sunflower butter, made from crushed sunflower seeds, is a wonderful substitute for peanut butter. It is rich in nutrients like vitamin E, magnesium, and selenium, which are essential for a healthy body. Sunflower butter is also a great option for those with peanut allergies or sensitivities. Its creamy and slightly sweet taste makes it a perfect filling for homemade sunflower butter cups.
While store-bought peanut butter cups may be convenient, making your own at home has its advantages. When you make homemade sunflower butter cups, you have control over the quality of ingredients used. You can choose organic, preservative-free chocolate and use natural sweeteners. Plus, you can customize the flavor by adding a sprinkle of sea salt or a touch of vanilla extract.
Creating your own homemade sunflower butter cups is easier than you might think. The first step is to gather all the necessary ingredients and tools, including high-quality chocolate, sunflower butter, and cupcake liners. Then, follow these simple steps:
Absolutely! You can use dark chocolate, milk chocolate, or even white chocolate, depending on your preference. Just make sure it is of good quality and melts smoothly.
Yes, you can use almond butter, cashew butter, or any other nut or seed butter as a substitute. The choice is yours!
If stored in an airtight container in the refrigerator, homemade sunflower butter cups can last up to two weeks. However, they are so delicious that they rarely last that long!
Absolutely! You can sprinkle chopped nuts, shredded coconut, or even a dash of sea salt on top of the melted chocolate before it sets to add extra flavor and texture.
Yes! By using dairy-free chocolate and ensuring all the ingredients are vegan-friendly, you can make homemade sunflower butter cups that are perfect for vegans.
Definitely! To make mini sunflower butter cups, use a mini muffin tin and adjust the amount of chocolate and sunflower butter accordingly.
Yes, you can freeze homemade sunflower butter cups for longer storage. Just make sure to place them in an airtight container or freezer bag to prevent freezer burn.
You can drizzle melted chocolate in a contrasting color on top of the hardened chocolate shell or sprinkle edible glitter for a touch of sparkle.
In conclusion, homemade sunflower butter cups are a delicious and nutritious treat that you can easily make at home. With just a few simple steps, you can enjoy the satisfaction of biting into a decadent chocolate shell filled with creamy sunflower butter. Whether you have dietary restrictions or simply want to indulge in a healthier version of a classic favorite, homemade sunflower butter cups are the way to go. So why not give them a try and experience the joy of making and savoring this delightful treat?
AprilCook, recipe developer and the heart of Chefwiz. More about April