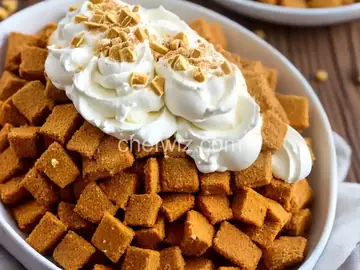
Homemade Kit Kat Bars Recipe
Rate this recipeBe the first to rate
 By AprilPublished
 Are you a fan of Kit Kat bars? Do you love the crunchy layers of wafer and smooth milk chocolate?
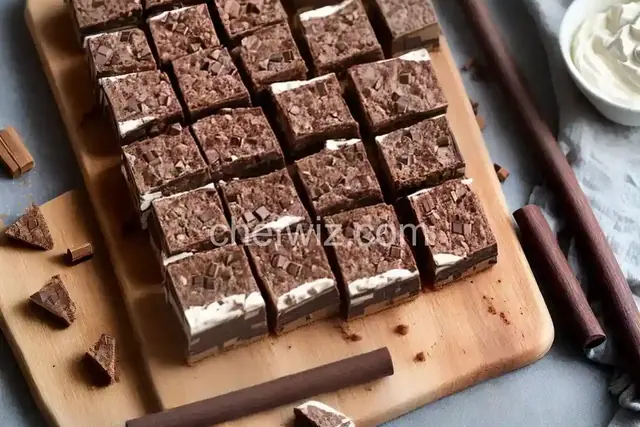 By AprilPublished
 Are you a fan of Kit Kat bars? Do you love the crunchy layers of wafer and smooth milk chocolate?
Prepare a 9x13-inch rectangular baking pan by lining it with a single layer of Club crackers. Break some crackers if necessary to fit.
In a large saucepan, melt butter over medium heat.
Add graham cracker crumbs, dark brown sugar, milk, and granulated sugar to the melted butter.
Bring the mixture to a boil and let it boil for five minutes, stirring constantly.
Remove the saucepan from the heat.
Pour half of the butter mixture over the layer of crackers in the pan and smooth the surface with a spatula.
Arrange another layer of Club crackers over the butter mixture.
Pour the remaining butter mixture over the surface and smooth it with a spatula.
Arrange a third layer of crackers over the top.
In a small saucepan, combine peanut butter, chocolate chips, and butterscotch chips.
Melt the mixture over medium-low heat, stirring constantly.
Spread the melted mixture evenly over the crackers.
Allow the mixture to cool to room temperature, then cover the pan and refrigerate it for two hours.
After refrigeration, cut the bars into 2-inch pieces.
The bars can be stored in an airtight container in the refrigerator for up to two weeks.
Are you a fan of Kit Kat bars? Do you love the crunchy layers of wafer and smooth milk chocolate? Wouldn't it be amazing if you could make your own homemade Kit Kat bars? Well, you're in luck! In this article, we will guide you through the process of creating these delicious treats in the comfort of your own kitchen.
Have you ever wondered what goes into making a Kit Kat bar? By making your own at home, you have complete control over the ingredients. You can choose high-quality chocolate, organic wafers, and even experiment with different flavors. Plus, making Kit Kat bars at home allows you to customize the size and shape of the bars. Whether you prefer the classic rectangular bars or want to get creative with fun shapes, the choice is yours!
Before you begin, gather all the necessary ingredients and equipment. You'll need wafer sheets, chocolate, a sharp knife, a baking tray, and parchment paper. It's also helpful to have a double boiler or microwave for melting the chocolate.
Start by melting the chocolate in a double boiler or microwave. Make sure to melt it slowly and stir frequently to avoid burning. Once the chocolate is smooth and melted, remove it from the heat source and let it cool slightly.
While the chocolate is cooling, cut the wafer sheets into the desired shape and size. You can use a sharp knife to cut them into rectangular bars or get creative with different shapes. Place the cut wafers onto a parchment-lined baking tray.
Dip each wafer into the melted chocolate, making sure to coat it completely. Use a fork or chocolate dipping tool to remove any excess chocolate and place the coated wafer back onto the baking tray. Repeat this process for all the wafers.
Once all the wafers are coated, place the baking tray in the refrigerator to allow the chocolate to set. This usually takes about an hour, but you can check by gently touching the chocolate to see if it's firm.
After the chocolate has fully set, your homemade Kit Kat bars are ready to be devoured! Take a bite and savor the delicious combination of crunchy wafer and creamy chocolate. Share them with friends and family or keep them all to yourself - the choice is yours!
Making homemade Kit Kat bars is a fun and rewarding experience. You have the freedom to customize the flavors, sizes, and shapes to your liking. So why not give it a try? Gather your ingredients, follow the steps, and indulge in your very own homemade Kit Kat bars. Enjoy!
Absolutely! Feel free to experiment with different types of chocolate to suit your taste preferences.
Of course! Get creative and add your favorite toppings to the melted chocolate before coating the wafers.
If stored in an airtight container, they can last up to two weeks. But let's be honest, they probably won't last that long!
Yes, there are gluten-free wafer options available that you can use to make these bars safe for those with gluten sensitivities.
Absolutely! Simply cut the wafers into smaller pieces before coating them with chocolate.
Not at all! This recipe is beginner-friendly and requires minimal ingredients and equipment.
Yes, white chocolate can be a delicious alternative to milk chocolate for a different flavor profile.
Absolutely! Wrap them tightly in plastic wrap and place them in an airtight container before freezing.
AprilCook, recipe developer and the heart of Chefwiz. More about April