Guide
How to Freeze Food? (Step-By-Step Guide)
Discover my step-by-step guide on how to freeze your food, helping you preserve freshness for longer! Dive in and maximize your food's lifespan today.
 By April20 min read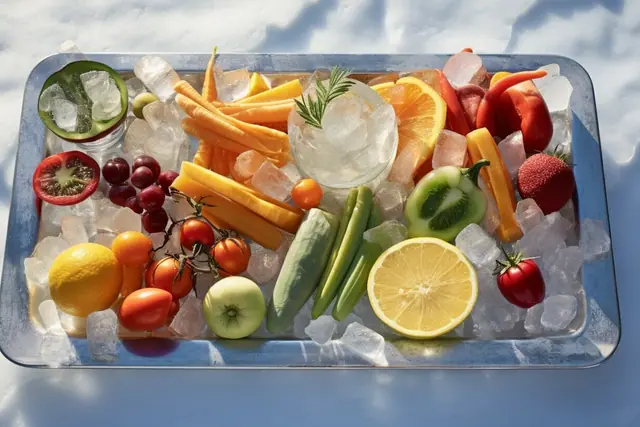
If you want to learn how to freeze food effectively and maximize its lifespan, you've come to the right place! In this comprehensive guide, I will walk you through the step-by-step process of freezing food, sharing valuable tips and tricks for proper freezer organization along the way.
- Freezing cooked or partially cooked potatoes is best as raw potatoes can become mushy when thawed.
- Blanch whole or cubed potatoes in salted water before freezing.
- Cool and dry potatoes before flash-freezing them on a lined cookie sheet.
- Transfer frozen potatoes to freezer-safe storage bags labeled with the date.
- Blanch French-fried and shredded potatoes before freezing.
Freezer Temperature and Shelf Life
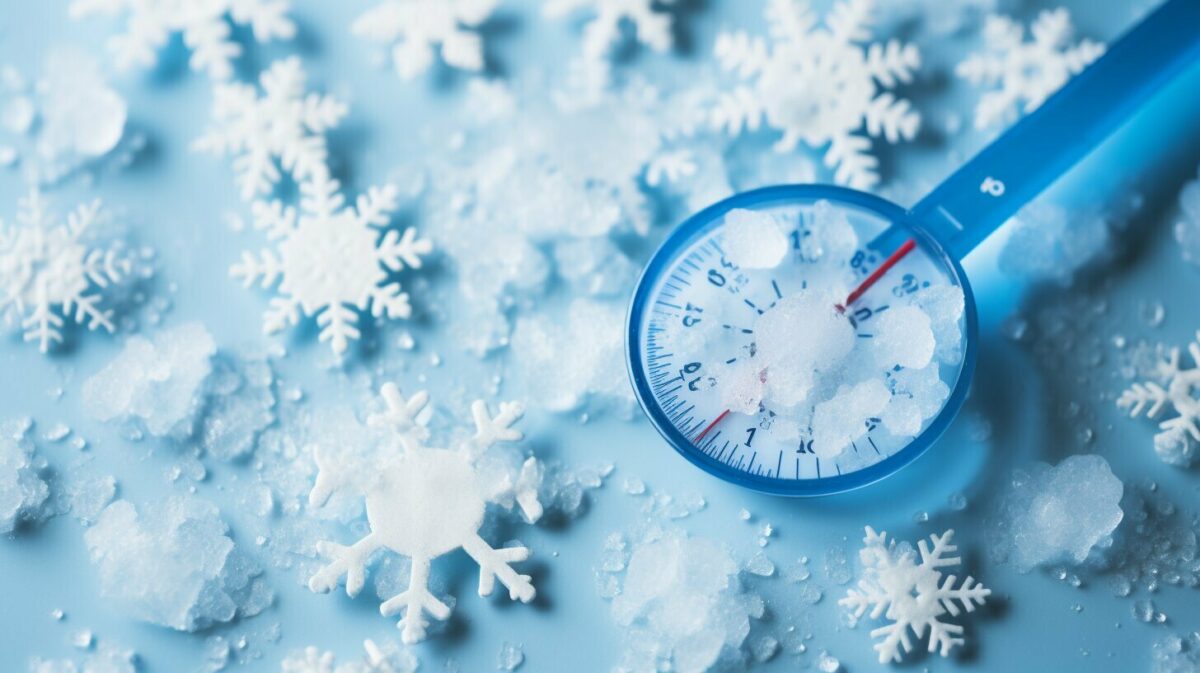
Before we delve into the freezing process, let's talk about the optimal freezer temperature and how long you can safely store different foods in your freezer. Maintaining the correct freezer temperature is crucial for preserving the quality and safety of frozen food. Your freezer should run at -18°C to ensure optimal freezing conditions.
When it comes to the shelf life of frozen foods, it can vary depending on the type of food. To help you navigate this, I've compiled a table below with some general guidelines:
| Food Item | Shelf Life in Freezer (months) |
|---|---|
| Meat (raw) | 6-12 |
| Poultry (raw) | 9-12 |
| Fish (raw) | 3-6 |
| Fruits (whole) | 8-12 |
| Vegetables (cooked) | 6-12 |
| Baked Goods | 3-6 |
Remember, these are general guidelines, and the shelf life may vary depending on factors such as the quality of the food before freezing and how well it is packaged. It's always a good idea to label your frozen foods with the date of freezing for easy reference.
Now that we've covered the freezer temperature and shelf life, let's move on to the next section and explore the different containers and bags you can use for freezing your food.
Table: Freezer Shelf Life Guidelines
| Food Item | Shelf Life in Freezer (months) |
|---|---|
| Meat (raw) | 6-12 |
| Poultry (raw) | 9-12 |
| Fish (raw) | 3-6 |
| Fruits (whole) | 8-12 |
| Vegetables (cooked) | 6-12 |
| Baked Goods | 3-6 |
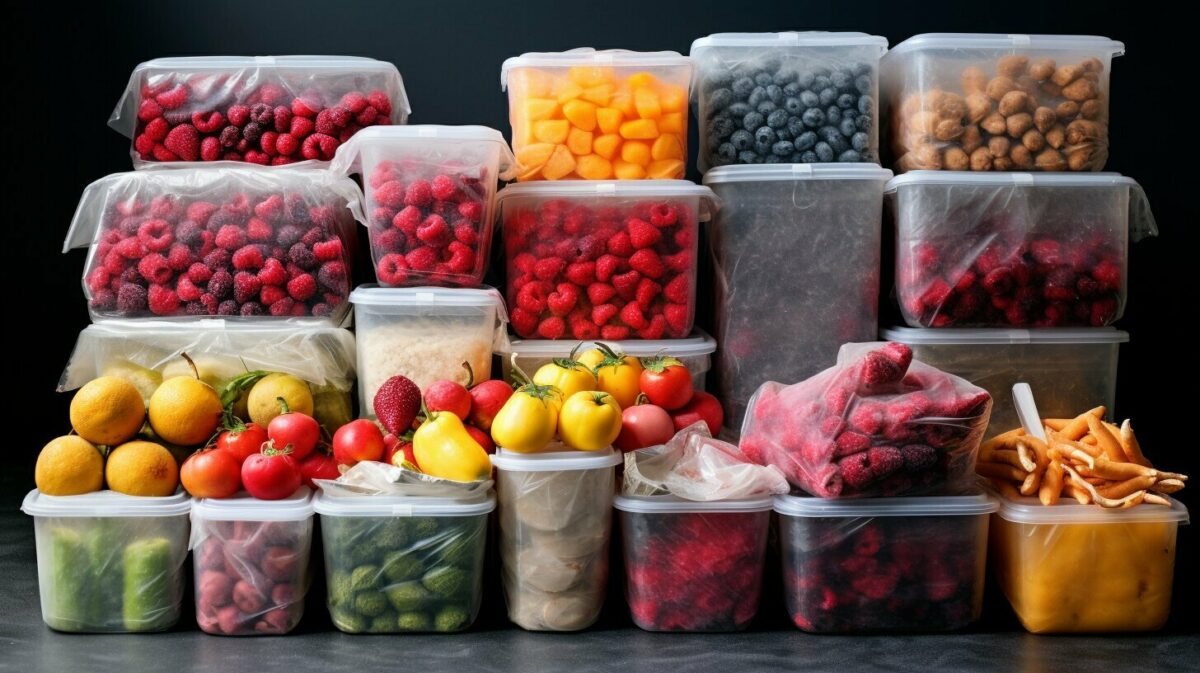
Discover the best freezer containers and bags to ensure your food stays fresh and protected during freezing. Proper storage is key to maintaining the quality and taste of your frozen food. Whether you're freezing leftovers, meal prepping, or stocking up on ingredients, using the right containers and bags can make a world of difference.
Freezer Containers
When it comes to freezer containers, opt for airtight, leak-proof options that are specifically designed for freezing. Glass containers with locking lids are an excellent choice as they are safe for both the freezer and the microwave. They also allow you to see the contents easily, making meal planning a breeze. Plastic containers with tight-sealing lids are another great option, ensuring that no air enters and freezer burn is prevented. Remember to choose containers that are freezer-safe and durable enough to withstand freezing temperatures.
Freezer Bags
Freezer bags are a versatile and space-saving solution for freezing a variety of food items. Look for thick, heavy-duty bags that are made specifically for freezing. These bags are designed to resist punctures and tears, providing an extra layer of protection for your food. Zip-top bags are convenient for storing single servings or portioned food items, allowing you to easily retrieve what you need without thawing the entire bag. It's also a good idea to label the bags with the contents and freezing date for easy identification later.
| Container Type | Best for |
|---|---|
| Glass containers with locking lids | Meal prepping, leftovers, and freezer-to-microwave convenience |
| Plastic containers with tight-sealing lids | Long-term freezer storage, preventing freezer burn |
| Thick, heavy-duty freezer bags | Space-saving storage, portion control |
Remember, regardless of the type of container or bag you choose, it's important to cool your food before freezing and seal it tightly to prevent freezer burn. Additionally, it's a good practice to remove as much air as possible from containers and bags to minimize moisture and ice crystal formation. This will help maintain the quality and freshness of your frozen food.
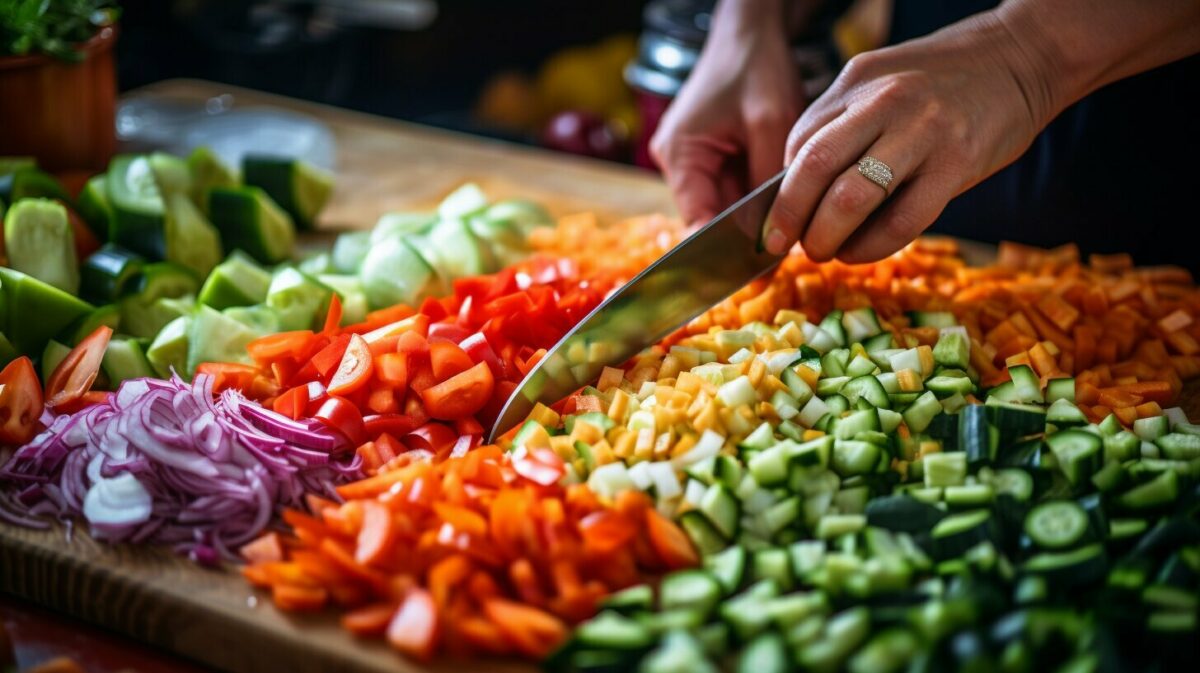
Before placing your food in the freezer, it's important to prepare it correctly to maintain its texture, color, and flavor when thawed. Different types of food require specific preparation methods to ensure the best results. Here are some tips on how to prepare commonly frozen foods:
Freezing Leftovers
Leftovers are a convenient option for quick and easy meals. To freeze leftovers, allow them to cool completely before transferring them to freezer-safe containers or bags. Label the containers with the contents and freezing date to keep track of freshness. Consider portioning the leftovers into individual servings for convenient defrosting.
Freezing Produce
When freezing fresh produce, it's important to blanch them first to preserve their texture and color. Blanching involves briefly boiling the produce in salted water and then immediately transferring it to an ice bath to stop the cooking process. Once blanched, drain the produce and pat dry before freezing. Consider flash-freezing fruits and vegetables on a lined cookie sheet before transferring them to freezer-safe containers or bags.
Freezing Meat
To freeze meat, it's best to package it in airtight freezer-safe bags or containers. Remove excess air from the packaging to prevent freezer burn. For whole cuts of meat, it's recommended to wrap them in plastic wrap or aluminum foil before placing them in the freezer-safe packaging. For ground meat, consider shaping it into patties or portioning it into meal-sized portions before freezing.
Freezing Vegetables
Vegetables can be blanched, just like produce, to preserve their texture and color. After blanching, cool and dry the vegetables before transferring them to freezer-safe containers or bags. Alternatively, you can also freeze vegetables in a single layer on a lined cookie sheet before transferring them to the freezer-safe packaging.
| Type of Food | Preparation Method |
|---|---|
| Leftovers | Cool completely before freezing. Package in freezer-safe containers or bags. |
| Produce | Blanch, cool, and dry before freezing. Consider flash-freezing on a lined cookie sheet. |
| Meat | Package in airtight freezer-safe bags or containers. Remove excess air and consider wrapping whole cuts in plastic wrap or foil. |
| Vegetables | Blanch, cool, and dry before freezing. Alternatively, freeze in a single layer on a lined cookie sheet. |
Remember to cool your food before freezing and wrap or seal it tightly to prevent freezer burn. Freezers should run at -18°C (0°F) or below to ensure food safety and quality. The storage time for frozen foods varies depending on the type of food, so it's important to label your packages with the freezing date for reference.
Discover the most effective freezing techniques to preserve the quality and taste of various types of food. Whether you're looking to freeze fruit, dairy, bread, grains, legumes, herbs, or spices, these methods will ensure your frozen foods retain their freshness and flavor.
Freezing Fruit
When freezing fruit, it's essential to choose ripe, unblemished specimens. Wash and dry the fruit thoroughly, then remove any pits, cores, or stems. You can either freeze the fruit whole or slice it into smaller pieces. To prevent browning, you can dip light-colored fruits like apples and pears in a mixture of lemon juice and water before freezing. For berries, spread them on a lined cookie sheet and freeze until solid, then transfer to freezer-safe bags or containers. With these techniques, you can enjoy the natural sweetness of your favorite fruits all year round.
Freezing Dairy
To freeze dairy products like milk, yogurt, or cheese, consider their texture and consistency. Milk and yogurt can be frozen in their original containers, but make sure to leave some headspace for expansion. When it comes to cheese, hard cheeses like cheddar or Swiss freeze well, but soft cheeses like brie or camembert may become crumbly after freezing. It's best to grate or slice the cheese before freezing, as it will be easier to portion and use. By properly freezing dairy products, you can extend their shelf life and avoid wastage.
Freezing Bread, Grains, Legumes, Herbs, and Spices
For bread and grains, it's essential to keep them moisture-free as excess moisture can lead to sogginess. Slice the bread or portion the grains into manageable servings. Wrap the bread tightly in plastic wrap or place it in a freezer-safe bag, while grains can be stored in airtight containers. Legumes like beans and lentils should be cooked before freezing. Allow them to cool completely, then transfer them to freezer-safe bags. Fresh herbs and spices can be frozen in ice cube trays filled with water or oil. Once frozen, transfer them to labeled freezer bags. With these methods, you can easily incorporate the flavors of bread, grains, legumes, herbs, and spices into your dishes whenever needed.
| Type of Food | Freezing Method |
|---|---|
| Fruit | Wash, dry, and freeze whole or sliced |
| Dairy | Portion and freeze in original containers |
| Bread | Slice and wrap tightly in plastic wrap or freezer-safe bags |
| Grains | Portion and store in airtight containers |
| Legumes | Cook, cool, and transfer to freezer-safe bags |
| Herbs and Spices | Freeze in ice cube trays with water or oil |
By following these freezing techniques, you can enjoy the convenience of having a variety of foods readily available in your freezer. Experiment with different flavors and textures to create delicious meals whenever you desire.
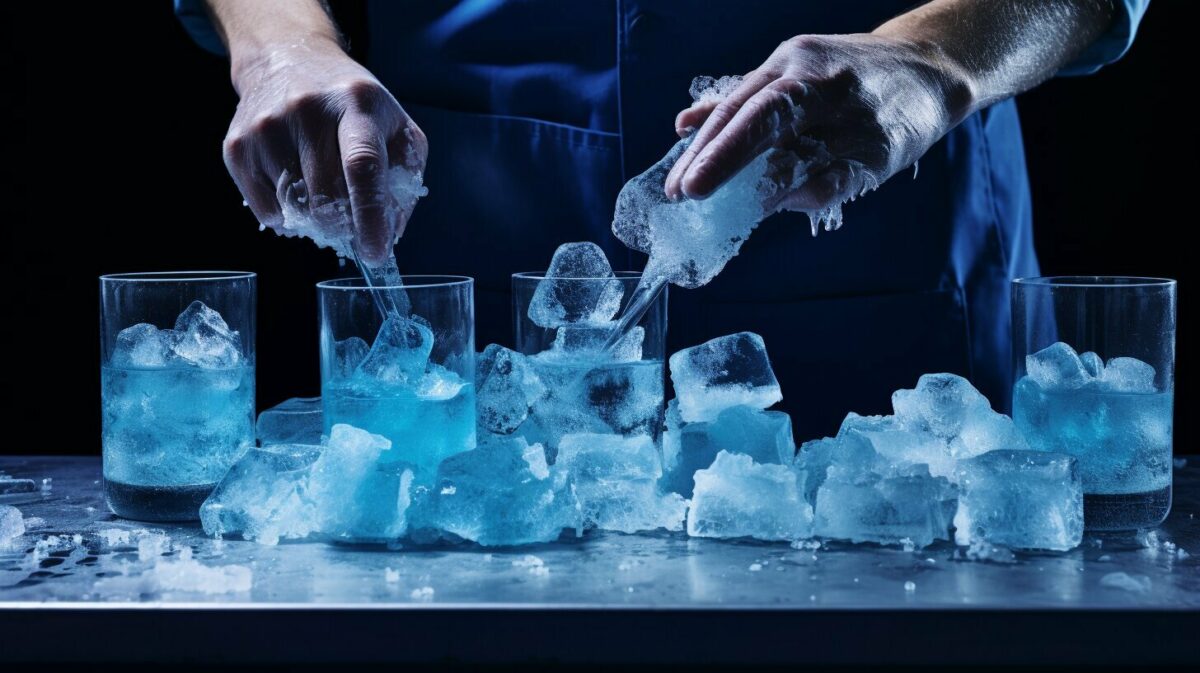
Don't let freezer burn ruin your frozen delights! Follow these important tips to keep freezer burn at bay.
First and foremost, it's crucial to cool the food before freezing and wrap or seal it tightly. This helps to create a barrier against air, which is the main culprit behind freezer burn. Whether you're freezing cooked potatoes, French fries, or mashed potatoes, make sure they are completely cooled before packaging them for the freezer. Properly sealed containers or storage bags will help maintain the quality and freshness of your food.
Another key factor in preventing freezer burn is maintaining the correct freezer temperature. Your freezer should run at a steady temperature of -18°C. Fluctuations in temperature can lead to ice crystals forming on the food's surface, resulting in freezer burn. Regularly check and monitor your freezer's temperature to ensure optimal preservation of your frozen goods. A well-maintained freezer will be your ally in the fight against freezer burn.
| Freezing Best Practices | Freezing Hacks |
|---|---|
|
|
Remember, different types of food have varying storage times in the freezer. While cooked potatoes can be stored for up to 12 months, other foods may have shorter freezer shelf lives. Be sure to check guidelines for specific foods to ensure they are consumed within their recommended storage periods.
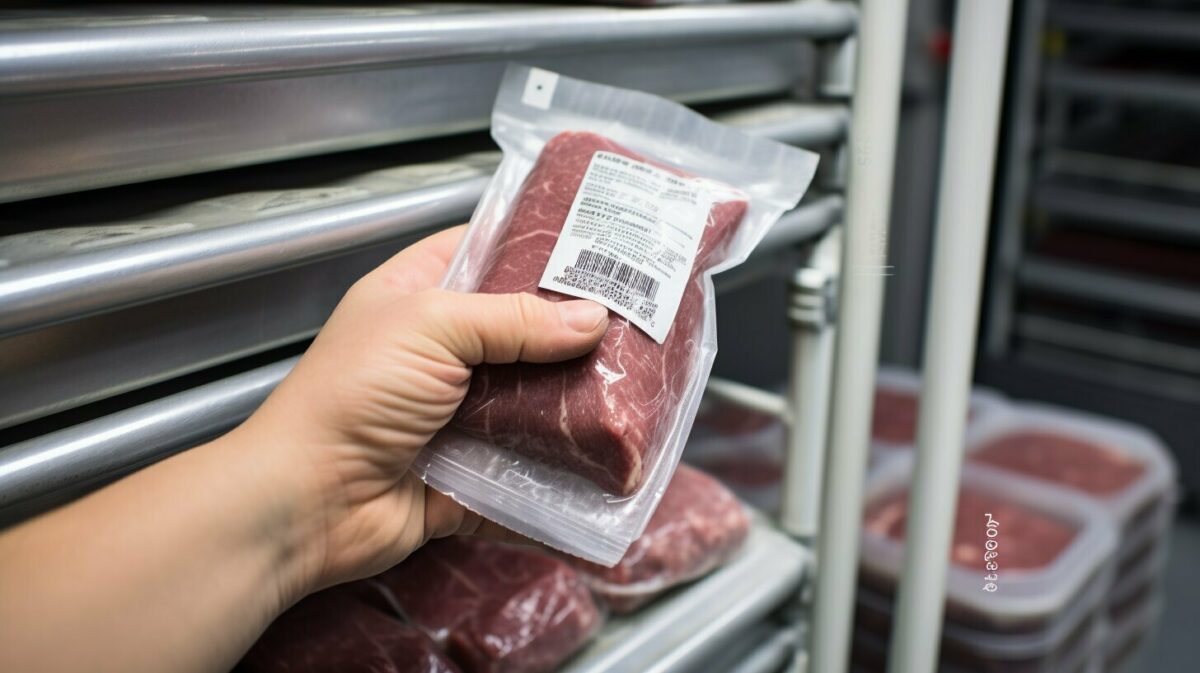
By following these freezing best practices and hacks, including cooling food before freezing, tightly wrapping or sealing it, maintaining the correct freezer temperature, and utilizing freezer-safe containers, you can successfully prevent freezer burn. With careful attention to detail and proper storage techniques, your frozen delights will stay fresh, flavorful, and free from the unpleasant effects of freezer burn.
Freezing Soups, Stews, and Casseroles
Learn how to freeze your favorite soups, stews, and casseroles without sacrificing their deliciousness. Freezing these hearty dishes is a great way to save time and ensure a comforting meal is always just a thaw away. Whether you're meal prepping, accommodating a busy schedule, or looking to reduce food waste, freezing soups, stews, and casseroles can be a game-changer.
When it comes to freezing sauces, soups, stews, and casseroles, proper preparation is key. Before freezing, ensure that your dish has cooled completely. This helps maintain its flavors and textures. Additionally, it's important to choose the right containers for freezing. Freezer-safe storage bags or airtight, freezer-safe containers are ideal for preserving the quality of your frozen dishes.
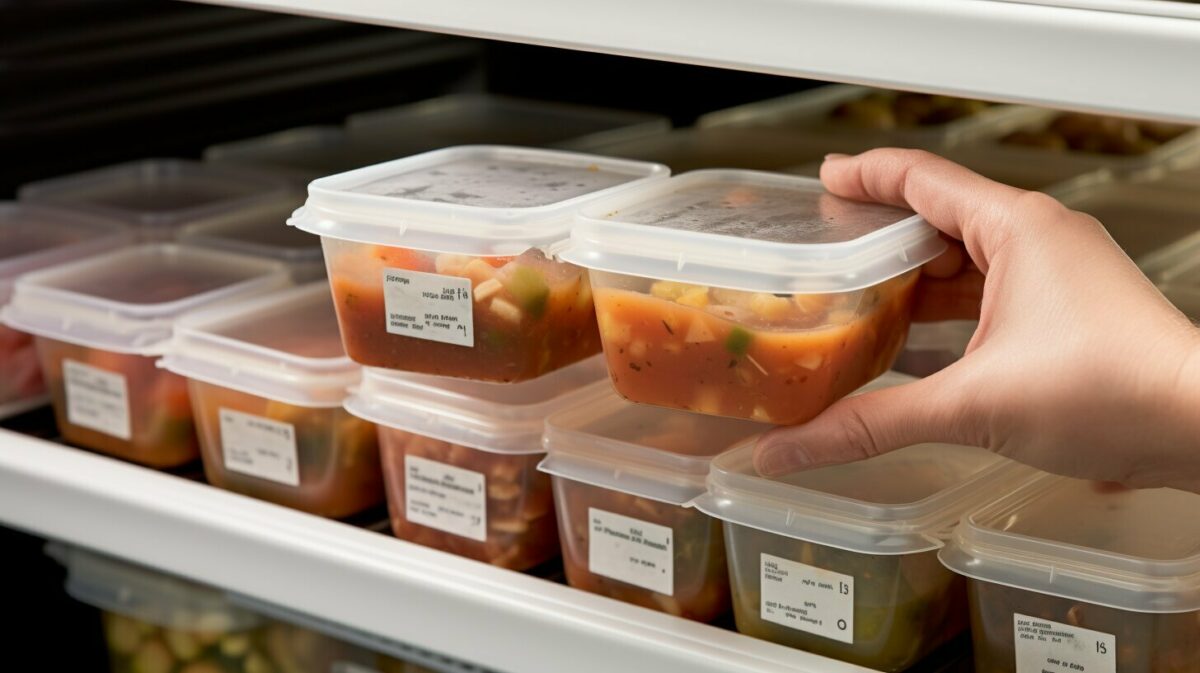
For optimal results, consider portioning your soups, stews, and casseroles before freezing. This allows for easier thawing and reheating, as you can simply defrost the desired amount. To prevent freezer burn and maintain freshness, remove as much air as possible from the storage containers or bags before sealing. Don't forget to label your frozen meals with the contents and freezing date for easy reference later on.
Freezing Soups, Stews, and Casseroles: Tips and Tricks
- Make-ahead meals: Take advantage of your cooking sessions by doubling or tripling your favorite soup, stew, or casserole recipes. Freeze individual portions or larger family-sized containers for quick and easy meals on busy days.
- Flash freezing: If you'd like to freeze individual portions of your soups or stews, try flash freezing. Ladle the cooled dish into muffin tins or silicone ice cube trays, then transfer the frozen portions to airtight containers or bags. This method allows you to easily grab small servings to thaw and enjoy later.
- Thawing and reheating: To thaw your frozen soups, stews, or casseroles, transfer them from the freezer to the refrigerator and allow them to thaw overnight. When reheating, ensure that the dish reaches a safe internal temperature. Stir occasionally to distribute heat evenly.
| Type of Dish | Storage Time |
|---|---|
| Soups and Stews | 2-3 months |
| Casseroles | 2-3 months |
Now that you're equipped with the knowledge to freeze soups, stews, and casseroles, start batch cooking and stocking your freezer with these comforting meals. With a little planning and proper freezing techniques, you'll have delicious, homemade dishes ready to enjoy whenever you need them.
Freezing Desserts and Snacks
Indulge in frozen delights anytime with these tips on freezing desserts and snacks for later enjoyment. Whether you have leftover cake, cookies, or homemade ice cream, freezing can help extend their shelf life without sacrificing taste or texture.
When it comes to freezing desserts, it's important to use proper storage techniques to maintain their freshness. For cakes and cupcakes, wrap them tightly in plastic wrap or place them in an airtight container before freezing. This will prevent freezer burn and keep them moist.
For cookies, it's best to freeze them individually before transferring them to a freezer-safe bag or container. This allows you to grab a few cookies at a time, without them sticking together. To freeze ice cream or other frozen treats, transfer them to an airtight container, ensuring there are no air pockets.
| Dessert/ Snack | Freezing Method | Storage Time |
|---|---|---|
| Cake/ Cupcakes | Tightly wrap in plastic wrap or use an airtight container | 3-4 months |
| Cookies | Freeze individually, then transfer to a freezer-safe bag or container | 2-3 months |
| Ice Cream/ Frozen Treats | Transfer to an airtight container | 2-3 months |
Remember to label your frozen desserts and snacks with the freezing date to keep track of their freshness. Additionally, it's important to cool food before freezing and wrap or seal it tightly to prevent freezer burn. Ensure that your freezer runs at a temperature of -18°C (-0.4°F) for optimal food preservation.
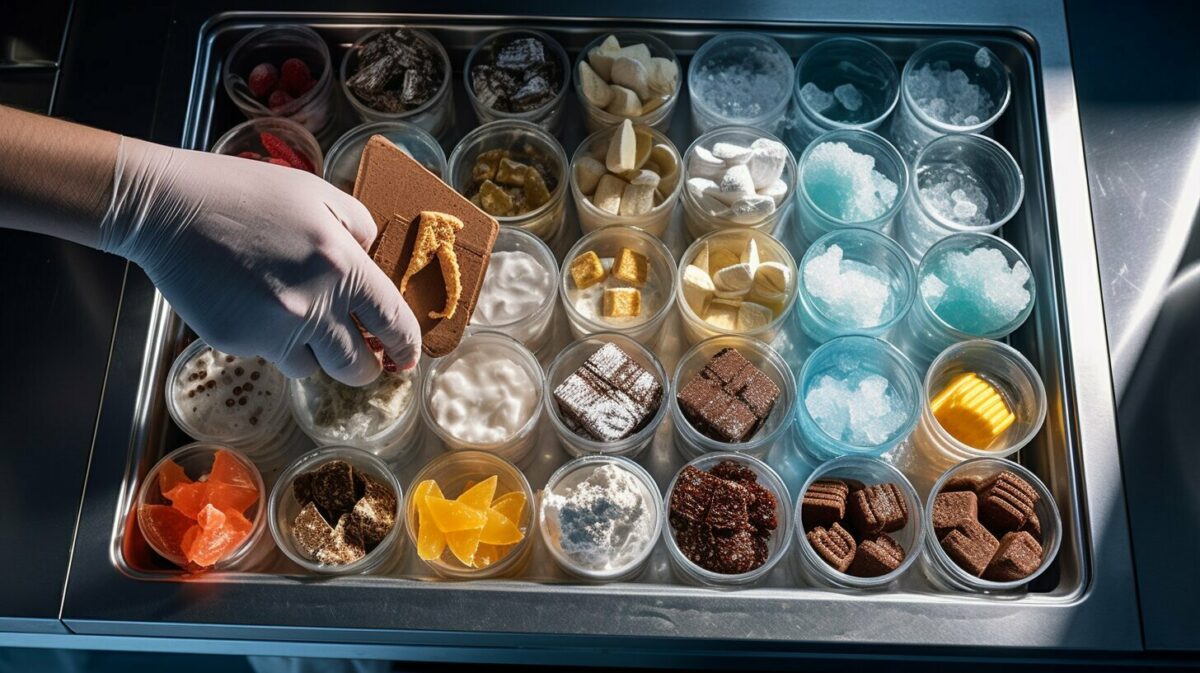
Freezing Tricks
- To avoid a solid block of ice cream, place a piece of plastic wrap directly on the surface of the ice cream before sealing the container. This helps prevent ice crystals from forming.
- Frozen fruit can be a delicious and healthy snack option. Spread berries or sliced fruit on a baking sheet and freeze before transferring them to a freezer-safe bag. They can be enjoyed straight from the freezer or added to smoothies and yogurt.
- If you're freezing leftover cheesecake or pie, cut them into individual slices and wrap each slice tightly in plastic wrap. This allows you to thaw only what you need, without worrying about the rest going to waste.
“Freezing desserts and snacks not only extends their shelf life but also gives you the flexibility to enjoy a sweet treat whenever you crave one.”
With these freezing tips and tricks, you can enjoy your favorite desserts and snacks whenever you desire. Don't let anything go to waste—freeze it for later enjoyment!
Maximizing Freezing Benefits and Nutrition
Delve into the amazing benefits of freezing food and discover how it can preserve both taste and nutrition. Freezing is a valuable preservation technique that allows you to extend the shelf life of various foods while maintaining their freshness and nutritional value. By understanding the best practices and utilizing proper freezing techniques, you can enjoy delicious meals even after weeks or months of storage.
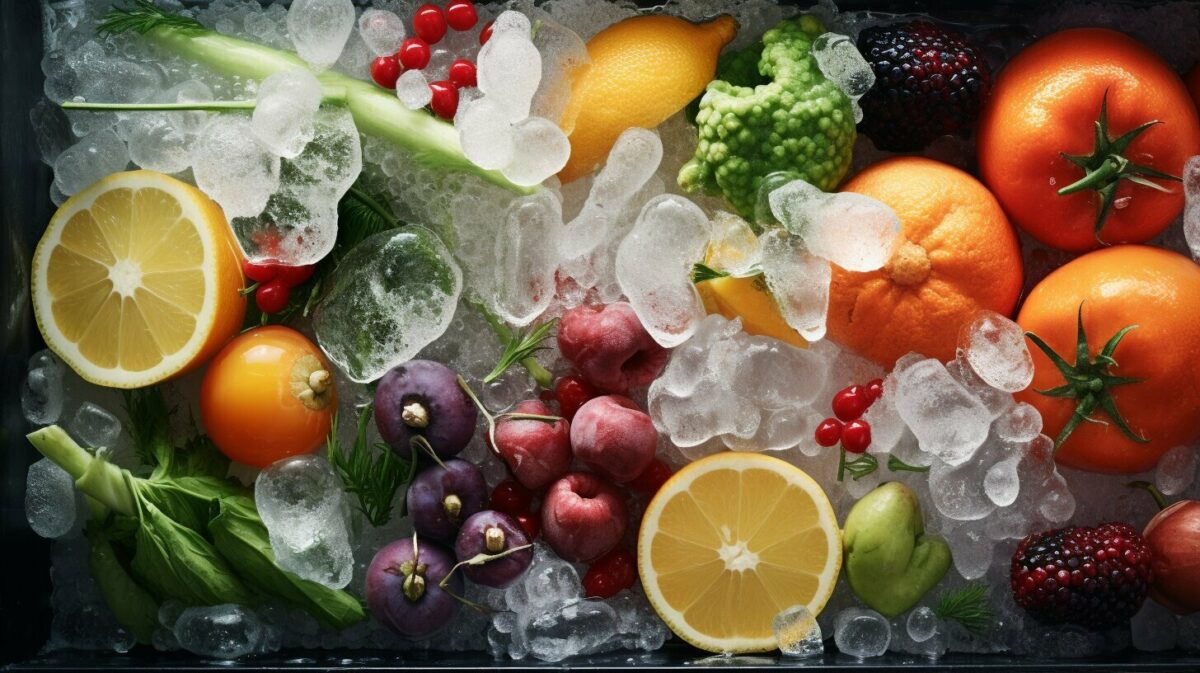
One of the key advantages of freezing food is its ability to lock in essential nutrients. When food is frozen, the cold temperatures slow down the degradation process, preserving important vitamins and minerals that are susceptible to loss during other forms of food preparation. By freezing food at its peak freshness, you can ensure that these valuable nutrients are retained and enjoyed when the food is thawed and consumed.
Another benefit of freezing is the reduction in food waste. By freezing leftovers or excess produce, you can prevent them from spoiling and ultimately being thrown away. This not only saves money but also helps to minimize your carbon footprint. With a well-organized freezer and proper labeling, you can easily keep track of what you have stored, allowing you to plan meals and utilize ingredients efficiently.
Table: Recommended Storage Times for Common Frozen Foods
| Food Item | Storage Time (in months) |
|---|---|
| Meat (beef, pork, chicken) | 6-12 |
| Fish and seafood | 3-6 |
| Fruits and vegetables | 8-12 |
| Dairy products | 3-6 |
| Bread and baked goods | 2-3 |
"Freezing not only helps preserve food but also retains its nutritional value."
To make the most out of your frozen food, it is important to maintain optimal freezer conditions. Set your freezer temperature to -18°C to ensure proper preservation. Additionally, it is crucial to cool food before freezing and wrap or seal it tightly to prevent freezer burn. Proper labeling with the contents and freezing date is essential for easy identification and rotation of stored items.
While there are various methods and containers for freezing, Mason jars can be a great option for certain foods. However, it is important to choose jars with the appropriate headspace, allowing room for expansion as the food freezes. Always label the jars with the contents and freezing date to avoid confusion in the future.
Freezing food is a game-changer when it comes to preserving taste and nutrition. By taking advantage of the benefits of freezing, you can minimize waste, save money, and enjoy delicious meals packed with essential nutrients. Invest some time in proper freezing techniques and organization, and you'll reap the rewards every time you open your freezer.
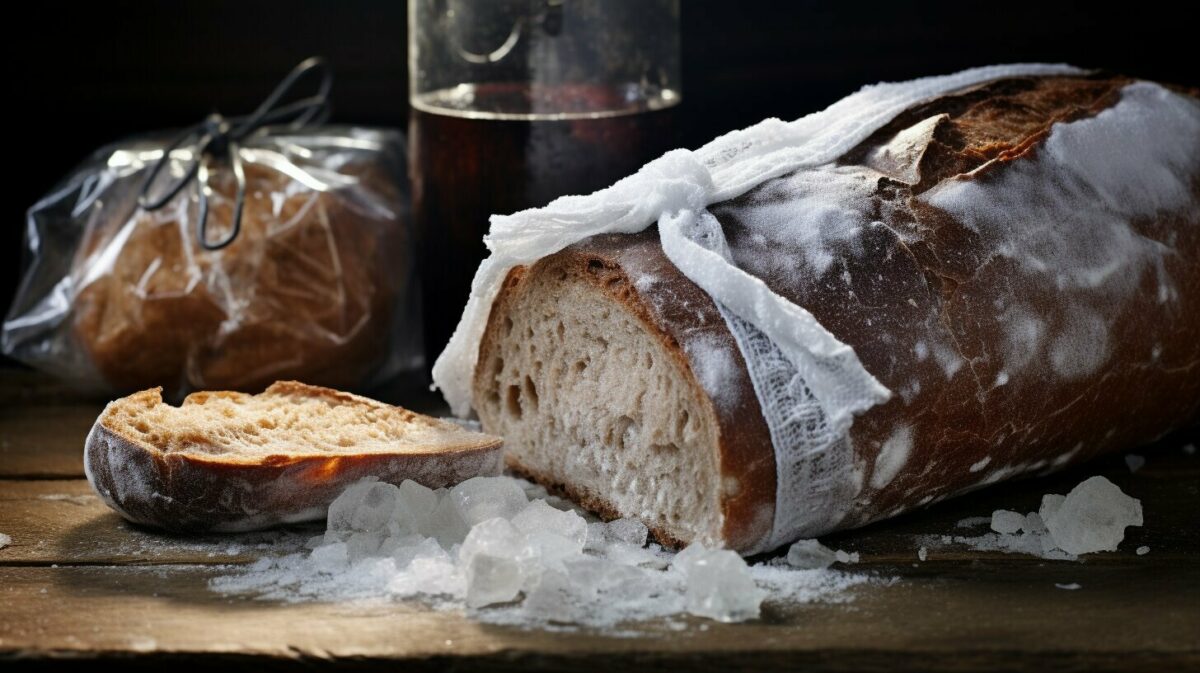
Freezing Bread and Grains
Discover the secrets to freezing bread and grains effectively, ensuring they stay delicious and retain their desired texture. Freezing bread and grains can be a convenient way to prolong their shelf life and reduce waste. Whether you have leftover bread or excess grains, proper freezing techniques will help you preserve their flavor and quality.
When it comes to freezing bread, it is best to slice it before freezing. This allows you to easily thaw only the amount you need, instead of defrosting the whole loaf. After slicing, wrap each piece tightly in plastic wrap or aluminum foil to prevent freezer burn. Then, place the wrapped slices in a freezer-safe bag or container, labeled with the date. This will keep the bread fresh for up to three months.
Grains like rice, quinoa, and oats can also be frozen to extend their shelf life. Cooked grains should be cooled completely before freezing. Portion them into individual servings, place them in labeled freezer bags, and remove any excess air before sealing. Raw grains, such as uncooked rice or uncooked quinoa, can be frozen directly in their original packaging or transferred to freezer bags for better organization. Frozen grains can be stored for up to six months.
Table: Freezing Bread and Grains Guidelines
| Food | Preparation | Freezer Storage | Storage Time |
|---|---|---|---|
| Bread | Slice and wrap each piece | Freezer-safe bag or container | Up to 3 months |
| Grains | Cooked: portion and cool completely; Raw: transfer to freezer bags | Freezer bags with excess air removed | Up to 6 months |
To thaw frozen bread, simply remove the desired number of slices from the freezer and let them thaw at room temperature. Alternatively, you can lightly toast the slices for a quick and crispy result. When reheating frozen grains, place them in a microwave-safe dish, cover with a damp paper towel, and heat in short intervals, fluffing with a fork between each interval until heated through.
By mastering the art of freezing bread and grains, you can minimize food waste and enjoy fresh-tasting bread and grains whenever you need them. Experiment with different freezing techniques and find what works best for you. So go ahead, stock up on your favorite bread and grains, and freeze away for future delicious meals!
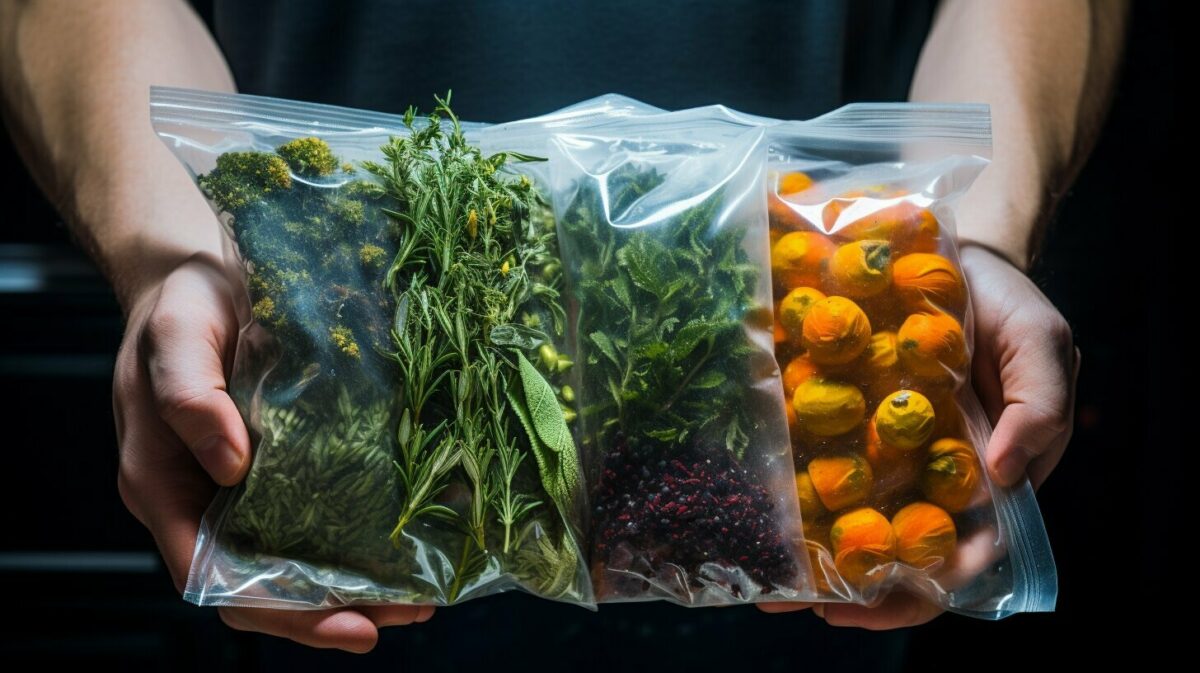
Don't let your herbs and spices lose their potency! Follow these simple steps to freeze them and enjoy their flavors all year long.
When it comes to freezing herbs and spices, the key is to preserve their fresh flavors and aromas. Here's how you can do it:
- Start by gathering your favorite herbs and spices. Whether it's basil, thyme, cinnamon, or cumin, make sure they are fresh and in their prime.
- Rinse the herbs under cold water and gently pat them dry with a clean kitchen towel. Remove any wilted or discolored leaves.
- Next, chop the herbs into small pieces or leave them whole, depending on your preference. Keep in mind that some herbs, like rosemary or sage, can be too woody to enjoy in large pieces.
- Prepare an ice cube tray and place the chopped herbs into each compartment. You can mix different herbs or keep them separate, depending on your future cooking needs.
- Fill the tray with water or olive oil, covering the herbs completely. This will help protect their flavors and prevent freezer burn.
- Place the ice cube tray in the freezer and let it freeze for a few hours or until the cubes are solid.
- Once frozen, transfer the herb cubes into a labeled freezer bag or airtight container. Be sure to include the name of the herb and the freezing date.
Now, whenever you're cooking a dish that calls for fresh herbs or spices, simply grab a herb cube from the freezer and add it to your recipe. The frozen herbs will quickly infuse your dish with their vibrant flavors and aromas, giving it a fresh and delicious taste.
| Herb/Spice | Freezing Method | Storage Time |
|---|---|---|
| Basil | Freeze in water or olive oil | Up to 6 months |
| Parsley | Freeze in water or olive oil | Up to 6 months |
| Thyme | Freeze in water or olive oil | Up to 6 months |
| Oregano | Freeze in water or olive oil | Up to 6 months |
| Cinnamon | Freeze as whole sticks | Up to 1 year |
Remember, freezing herbs and spices is a great way to make the most of your fresh ingredients. By following these steps and utilizing the freezing methods that work best for each herb or spice, you can ensure their flavors and aromas are preserved for future culinary creations.
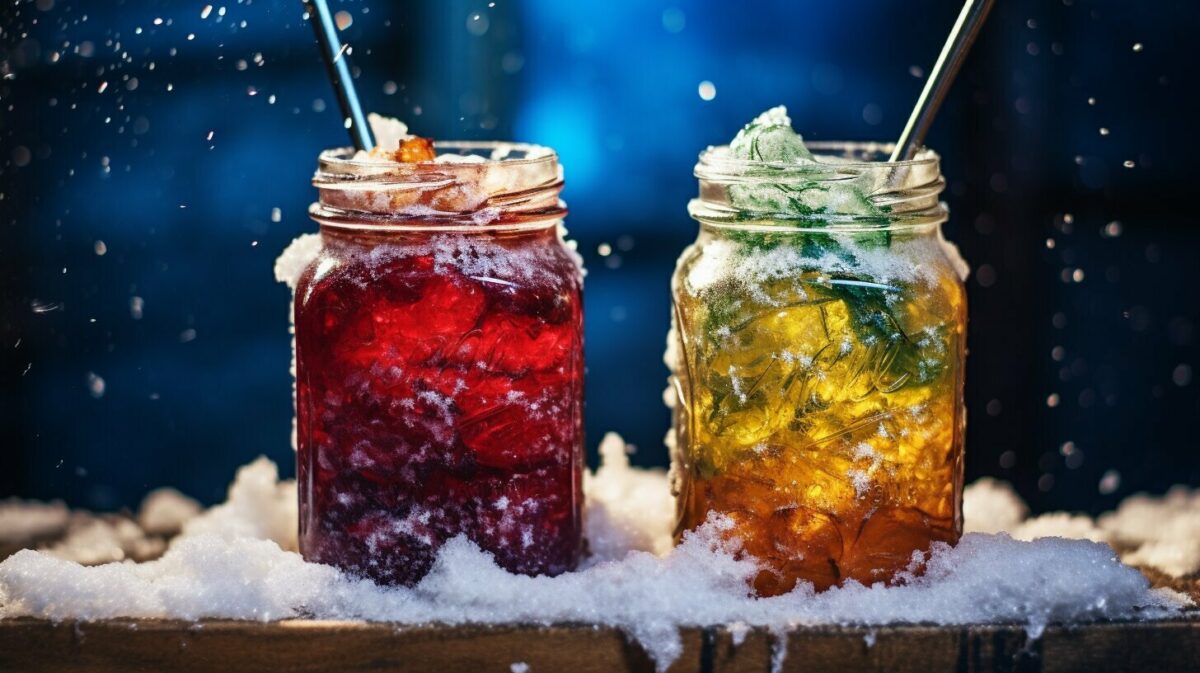
Uncover the secrets of freezing sauces and other foods using mason jars with these helpful instructions and tips. Mason jars can be a convenient option for freezing a variety of foods, from homemade sauces to leftovers and even soups. However, it's important to choose the right jars and follow proper freezing methods to ensure your food stays fresh and freezer burn-free.
When using mason jars for freezing, opt for wide-mouth jars as they allow for easier filling and retrieval of frozen contents. Before filling the jars, make sure to leave enough headspace to accommodate expansion during freezing. This is crucial to prevent any jars from cracking or breaking in the freezer.
Once your food is prepared and ready to be frozen, allow it to cool completely before transferring it to the jars. This helps maintain the texture and quality of the food. It's also important to tightly seal the jars to prevent any air or moisture from entering, which could lead to freezer burn. Consider using plastic lids instead of metal ones, as they are more freezer-friendly.
| Freezing Instructions | Benefits |
|---|---|
| 1. Label each jar with the contents and freezing date. | - Keeps track of what's in each jar |
| 2. Leave enough headspace for expansion. | - Prevents jars from cracking |
| 3. Cool food completely before sealing jars. | - Maintains food texture and quality |
| 4. Use plastic lids instead of metal lids. | - More freezer-friendly |
When it comes to freezing sauces, follow these additional tips to ensure optimal results. Consider portioning the sauce into smaller jars or using ice cube trays to freeze individual servings. This way, you can easily thaw only the amount you need, reducing waste. Additionally, remember to leave some headspace as the sauce may expand slightly during freezing.
With these instructions and tips, you can confidently use mason jars to freeze sauces and other foods. Enjoy the convenience of having homemade meals ready to enjoy whenever you need them!
Congratulations on mastering the art of freezing! With these techniques and guidelines, you'll be able to store your favorite foods with confidence and maintain their quality for months to come.
Freezing food is a valuable skill that allows you to preserve freshness, maximize quality, and reduce waste. By following the step-by-step guide and utilizing proper techniques, you can enjoy delicious meals all year round.
Remember, when freezing potatoes, it's best to freeze them cooked or partially cooked to avoid mushiness. Blanching whole or cubed potatoes in salted water before freezing will help preserve their texture. French-fried and shredded potatoes should also be blanched for optimal results. Mashed potatoes freeze well, just make sure to cool, portion, and freeze them properly for easy reheating later.
Proper freezer temperature is key to maintaining the quality and safety of your frozen food. Keep your freezer running at -18°C and be mindful of the recommended storage times for different types of food. Additionally, when using mason jars for freezing, make sure to choose the right size and leave enough headspace for expansion. Label the jars with the contents and freezing date to keep track of what's inside.
Lastly, remember to cool your food before freezing and wrap or seal it tightly to prevent freezer burn. Freezing is a great way to preserve the freshness and nutritional value of your meals, so make the most out of your freezer space and enjoy delicious homemade food whenever you want.
FAQ
Q: Can I freeze raw potatoes?
A: It is not recommended to freeze raw potatoes as they can become mushy when thawed. It is best to freeze cooked or partially cooked potatoes.
Q: How do I freeze whole or cubed potatoes?
A: Whole or cubed potatoes should be blanched in salted water, cooled, dried, flash-frozen on a lined cookie sheet, and then transferred to freezer-safe storage bags labeled with the date.
Q: What about French-fried and shredded potatoes?
A: French-fried and shredded potatoes should also be blanched before freezing to preserve their texture and quality.
Q: Can I freeze mashed potatoes?
A: Yes, mashed potatoes freeze well. Simply cool the mashed potatoes, portion them onto a baking sheet, freeze, and then transfer to storage bags.
Q: Why is it important to cool food before freezing?
A: Cooling food before freezing helps maintain its quality and prevents the growth of harmful bacteria. It is essential for food safety.
Q: What temperature should my freezer run at?
A: Freezers should run at -18°C to ensure food stays frozen and safe to eat.
Q: How long can frozen food be stored?
A: The storage time for frozen foods varies depending on the type of food. It is best to refer to individual freezing guidelines for specific recommendations.
Q: Can I use mason jars to freeze food?
A: Yes, mason jars can be used to freeze food, but you must choose the right size jar and leave enough headspace for the food to expand. Remember to label the jars with the contents and freezing date.
Source Links
AprilCook, recipe developer and the heart of Chefwiz. More about April