Watermelon Shark
Rate this recipeBe the first to rate
 By AprilPublished
 Watermelon is a refreshing and delicious fruit that is perfect for summer gatherings and parties.
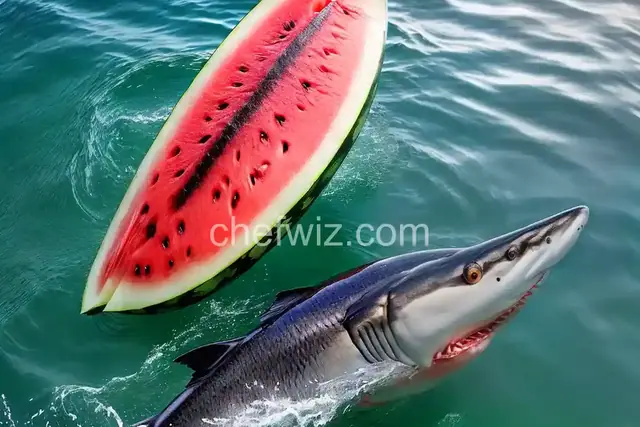 By AprilPublished
 Watermelon is a refreshing and delicious fruit that is perfect for summer gatherings and parties.
Begin by cutting off the stem end of the watermelon at an angle slightly less than 45 degrees. Keep the cut piece aside and place the watermelon cut-side down on a work surface.
To create the shark's jaws and teeth, locate the brown dot that grows at the top center of the watermelon. Measure about 1 inch down from the dot and cut a large wedge from the side to form the gaping jaws of the shark. Keep the wedge aside.
Take a 1-inch-wide strip of paper and use it as a guide to lightly draw a 1-inch line at the top and bottom of the shark's jaws using a pen or marker. Using a Y-shaped vegetable peeler and a paring knife, carefully trim away the green part of the watermelon to create 2 bands of white, making sure not to cut all the way through. Remove the watermelon flesh, trying to keep the pieces as large as possible. Leave about an inch of flesh in the bottom of the mouth to act as a bowl for holding the fruit. Use a paring knife to cut triangular shapes out of the white bands along the jaw to form teeth.
To make the fin, cut out a 3 1/2-inch-high fin from the reserved bottom piece of watermelon. Trim the flesh so that one side is white and the other side is green. Attach the fin to the shark using 2 toothpicks, placing them about
Watermelon is a refreshing and delicious fruit that is perfect for summer gatherings and parties. It's juicy, sweet, and can be enjoyed in many different ways. One fun and creative way to serve watermelon is by turning it into a shark! Not only does it make a stunning centerpiece, but it also adds a touch of whimsy to your table. In this article, we will explore the art of creating a watermelon shark and share some tips and tricks to help you achieve the perfect result.
When it comes to making a watermelon shark, it's important to start with the right fruit. Look for a watermelon that is firm, symmetrical, and has a smooth rind. You don't want one that is too soft or overripe, as it may not hold its shape well. Additionally, make sure the watermelon is large enough to accommodate your shark design. A medium-sized watermelon is usually sufficient.
Creating a watermelon shark requires a few basic tools that you probably already have in your kitchen. You'll need a sharp knife for carving, a spoon for scooping out the flesh, and a melon baller for creating decorative shapes. If you want to add extra details to your shark, such as teeth or fins, you can use smaller knives or cookie cutters. It's always a good idea to have a cutting board and a clean workspace to make the process easier and safer.
Before you start carving, wash the watermelon thoroughly to remove any dirt or bacteria from the surface. Place the watermelon on a stable surface and cut off a small portion from the bottom to create a stable base. This will ensure that your watermelon shark stands upright without toppling over. Next, carefully slice off the top third of the watermelon to create the shark's mouth. The angle of the cut will determine the shape and size of the mouth, so take your time and make it as wide or narrow as you like.
Now it's time to give your watermelon shark some personality! Use a spoon or a melon baller to scoop out the flesh from the mouth area, creating a cavity for the fruit salad or other treats you plan to serve. Be sure to save the scooped-out flesh for later use. If you want to add teeth to your shark, carefully carve small triangular shapes along the edge of the mouth. For the eyes, you can use round melon balls or cut out circles from the watermelon rind. Get creative and experiment with different shapes and sizes to make your shark truly unique.
Once you've carved the watermelon and added all the desired features, it's time to decorate and serve your watermelon shark. You can use toothpicks to attach additional fruits, such as grapes or berries, to the shark's body. This will add color and make your creation even more enticing. You can also place the shark on a bed of lettuce or other leafy greens to create an oceanic scene. To serve, simply fill the shark's mouth with your favorite fruit salad or other snacks and watch as your guests marvel at your creativity!
The watermelon shark is a fantastic way to elevate your summer gatherings and impress your guests. With a little bit of creativity and some basic carving skills, you can transform an ordinary watermelon into a jaw-dropping centerpiece. Don't be afraid to experiment with different shapes, sizes, and decorations to make your shark truly one-of-a-kind. So why not give it a try and dive into the world of watermelon art?
While you can technically use any type of watermelon, it's best to choose one that is firm, symmetrical, and has a smooth rind. This will ensure that your shark holds its shape well.
The time it takes to carve a watermelon shark depends on your carving skills and the level of detail you want to achieve. On average, it can take anywhere from 30 minutes to an hour.
Absolutely! The leftover watermelon flesh can be used to make refreshing drinks, fruit salads, or even frozen treats. Don't let it go to waste!
Yes, it is safe to use toothpicks as long as you remove them before serving. Be sure to inform your guests about the toothpicks to avoid any accidents.
Yes, you can carve the watermelon shark in advance and store it in the refrigerator. However, it's best to add the decorative fruits and fillings just before serving to prevent them from becoming soggy.
If you prefer not to carve the watermelon, you can still create a shark-inspired fruit platter by arranging watermelon slices in the shape of a shark. Use small cookie cutters to create shark-themed fruit shapes for added fun.
Absolutely! Once you've carved the watermelon shark, you can fill it with a variety of fruits to create a stunning fruit bowl. It will not only look impressive but also make it easier for guests to serve themselves.
While the watermelon shark is primarily used as a food display, you can also repurpose it as a decorative item. Fill it with flowers or small plants to create a unique centerpiece for your table.
AprilCook, recipe developer and the heart of Chefwiz. More about April