Tri-Tip Rub
Rate this recipeBe the first to rate
 By AprilPublished
Are you tired of the same old flavors on your tri-tip? Look no further!
 By AprilPublished
Are you tired of the same old flavors on your tri-tip? Look no further!
Preheat an outdoor grill to high heat and lightly grease the grates.
In a medium bowl, combine garlic powder, salt, and pepper. Mix well.
Rub the garlic powder mixture over both sides of the tri-tip roast.
Sear the roast on both sides on the preheated grill.
Continue cooking until the center of the roast is light pink, which usually takes about 20 to 25 minutes.
To ensure the roast is cooked to medium doneness, use an instant-read thermometer inserted into the center, which should read 140 degrees F (60 degrees C).
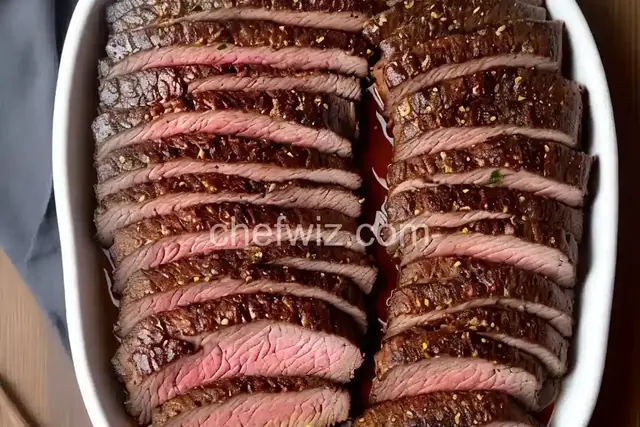
Allow the roast to rest for a few minutes, and then slice it at an angle before serving.
Are you tired of the same old flavors on your tri-tip? Look no further! In this article, we will explore the world of tri-tip rubs and discover how they can elevate your grilling game. Whether you're a seasoned grill master or just starting out, this guide will provide you with all the information you need to create a mouthwatering tri-tip rub that will impress your family and friends.
Before we dive into the specifics of creating a tri-tip rub, let's first understand why it's worth using one. Just like a good marinade, a rub adds flavor and enhances the taste of your meat. It forms a delicious crust on the outside while keeping the inside juicy and tender. Think of it as the secret sauce that takes your tri-tip to the next level.
When it comes to creating a tri-tip rub, the possibilities are endless. You can experiment with different herbs, spices, and seasonings to create a flavor profile that suits your taste buds. From smoky and spicy to sweet and tangy, the choice is yours. Just make sure to use high-quality ingredients for the best results.
Creating a great tri-tip rub is all about finding the perfect balance of flavors. Just like a symphony, each ingredient should harmonize with the others, creating a delicious melody on your taste buds. Too much of one spice can overpower the rest, while too little can leave your rub lacking in flavor. It's all about finding that sweet spot.
Once you've created your tri-tip rub, it's time to apply it to the meat. Make sure to generously coat all sides of the tri-tip, pressing the rub into the meat to ensure it adheres well. Let the meat sit for at least 30 minutes to allow the flavors to penetrate. This will result in a more flavorful and tender tri-tip.
Now that your tri-tip is ready to be grilled, here are a few tips to ensure you achieve the perfect cook:
Creating a delicious tri-tip rub doesn't have to be complicated. With a little creativity and the right combination of flavors, you can take your tri-tip to new heights. So, the next time you fire up the grill, don't forget to give your tri-tip the love it deserves with a flavorful rub. Your taste buds will thank you!
Yes, you can definitely use a tri-tip rub on other cuts of meat. Experiment and see which combinations work best for you!
It's recommended to let the tri-tip sit with the rub for at least 30 minutes. This allows the flavors to penetrate the meat.
Absolutely! You can prepare the tri-tip rub in advance and store it in an airtight container until you're ready to use it.
It's not necessary to season the tri-tip before applying the rub. The rub itself contains all the necessary flavors.
Yes, if you don't have time to make your own tri-tip rub, you can certainly use a store-bought one. Just make sure to choose a high-quality brand.
While tri-tip is traditionally grilled, you can still use a tri-tip rub for oven cooking. The flavors will still infuse into the meat, resulting in a delicious dish.
The grilling time can vary depending on the thickness of the tri-tip and your desired level of doneness. As a general guideline, aim for about 4-5 minutes per side for medium-rare.
Absolutely! If you prefer a milder or spicier rub, feel free to adjust the amount of spices accordingly. It's all about personal preference.
AprilCook, recipe developer and the heart of Chefwiz. More about April