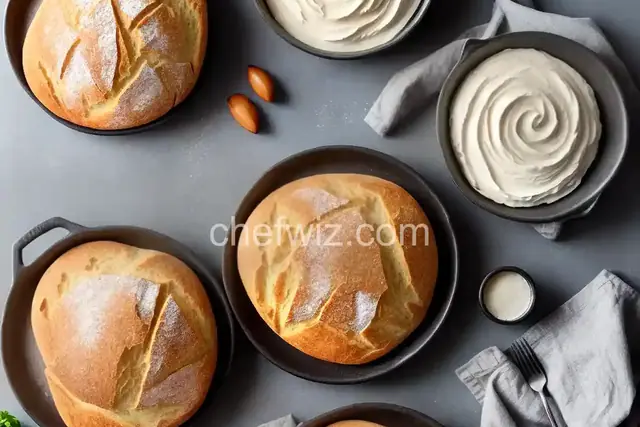
Creating a Sourdough Starter: A Guide for Beginners
Are you ready to embark on your sourdough journey? Whether you're a seasoned baker or a beginner in the world of bread making, creating your own sourdough starter is a rewarding and fulfilling process. In this article, we will walk you through the steps of creating a sourdough starter from scratch, providing you with all the information you need to get started.
What is a Sourdough Starter?
Before we dive into the process of making a sourdough starter, let's first understand what it is. A sourdough starter is a mixture of flour and water that captures wild yeast and bacteria from the environment. This natural leavening agent is what gives sourdough bread its unique flavor, texture, and rise.
The Science Behind Sourdough Starters
Creating a sourdough starter is like cultivating a mini ecosystem in your kitchen. When you mix flour and water together, you create an environment that encourages the growth of wild yeast and bacteria. These microorganisms feed on the carbohydrates present in the flour, producing carbon dioxide gas, which helps the bread rise.
As the wild yeast and bacteria consume carbohydrates, they also produce lactic acid and acetic acid. These acids give sourdough bread its signature tangy flavor. The longer you maintain and feed your starter, the more complex and developed the flavors become.
Getting Started: Step-by-Step Guide
Now that you understand the basics, let's get started on creating your own sourdough starter. Follow these steps:
1Step 1Gather Your Ingredients
For your sourdough starter, you'll need just two simple ingredients: flour and water. Use a good quality unbleached all-purpose flour or whole wheat flour. Make sure your water is chlorine-free, as chlorine can inhibit the growth of wild yeast.
2Step 2Mix Flour and Water
In a clean glass jar or container, mix equal parts flour and water. Stir well until there are no lumps. The consistency should be similar to pancake batter. Cover the jar loosely with a clean cloth or plastic wrap.
3Step 3Let it Ferment
Place the jar in a warm spot in your kitchen, away from direct sunlight. The ideal temperature for fermentation is around 70°F (21°C). Let the mixture sit for 24 hours, allowing the wild yeast and bacteria to begin their magic.
4Step 4Feed Your Starter
After 24 hours, you'll start to see some activity in your starter. It may have bubbles and a slightly sour smell. This means it's time to feed your starter. Discard half of the mixture and add equal parts flour and water to the remaining half. Stir well and cover again. Repeat this feeding process every 24 hours for the next few days.
5Step 5Maintain and Use Your Starter
As you continue to feed your starter, you'll notice it becoming more active. It will rise and fall predictably, indicating that the wild yeast and bacteria are thriving. After about a week of regular feedings, your starter should be ready to use. You can now use it in your favorite sourdough bread recipes or store it in the refrigerator for later use.
Conclusion
Creating a sourdough starter is an exciting and fulfilling process. It's a journey that connects you with the ancient art of bread making and allows you to explore the world of natural fermentation. With a little patience and care, you'll soon have your very own sourdough starter, ready to create delicious breads with a unique flavor and character.
Frequently asked questions
- Q1: How long does it take to create a sourdough starter?
A1: It usually takes around a week to create a fully active and mature sourdough starter.
- Q2: Can I use whole wheat flour to create a sourdough starter?
A2: Yes, you can use whole wheat flour or a combination of whole wheat and all-purpose flour to create your starter.
- Q3: How often should I feed my sourdough starter?
A3: Regular feedings every 24 hours for the first few days, and then once every week if stored in the refrigerator.
- Q4: Can I use tap water for my sourdough starter?
A4: It's best to use chlorine-free water, as chlorine can inhibit the growth of wild yeast and bacteria. If your tap water has chlorine, you can let it sit out overnight to allow the chlorine to dissipate.
- Q5: How do I know if my sourdough starter is ready to use?
A5: Your sourdough starter should be active, with visible bubbles and a slightly sour smell. It should rise and fall predictably after feedings.
- Q6: Can I use a sourdough starter immediately after creating it?
A6: It's best to give your sourdough starter at least a week of regular feedings before using it to ensure it is fully developed and active.
- Q7: Can I use my sourdough starter straight from the refrigerator?
A7: Yes, you can use your refrigerated sourdough starter, but make sure to feed it and let it come to room temperature before using it in your bread recipe.
- Q8: How do I store my sourdough starter?
A8: You can store your sourdough starter in the refrigerator, feeding it once a week to keep it active. If you won't be using it for an extended period, you can also freeze a portion of it as a backup.
 By AprilPublished