Snow Cone Syrup
Rate this recipeBe the first to rate
 By AprilPublished
 Are you tired of the scorching heat of summer? Do you long for something refreshing to cool you down?
 By AprilPublished
 Are you tired of the scorching heat of summer? Do you long for something refreshing to cool you down?
Combine sugar and water in a medium-sized saucepan and mix well.
Heat the mixture until it reaches a boiling point, then reduce the heat and let it simmer for approximately 1 minute.
Take the saucepan off the heat and add the drink mix, stirring until well combined.
Allow the mixture to cool down completely.
Transfer the cooled mixture into a clean container for easy pouring and storage.
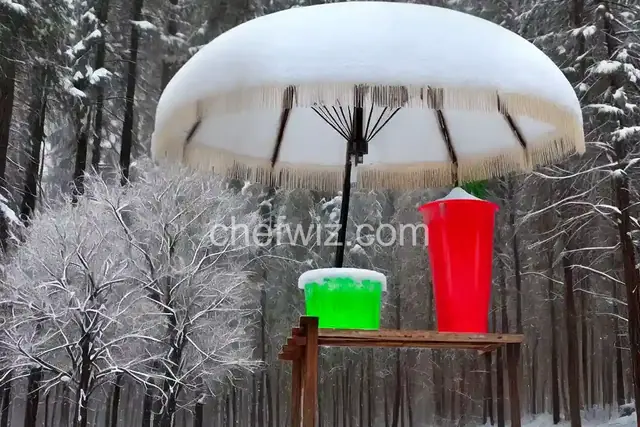
To enjoy, pour the flavored mixture over shaved ice, adding desired amount for taste.
Are you tired of the scorching heat of summer? Do you long for something refreshing to cool you down? Look no further than snow cones! And what's a snow cone without the perfect syrup to top it off? In this article, we'll explore the wonderful world of snow cone syrups and how you can make your own delicious flavors right at home.
Imagine a hot summer day, the sun beating down on you, and all you want is something icy and sweet to quench your thirst. That's where snow cone syrups come in. They are the secret ingredient that turns a plain ice cone into a delightful treat. With just a drizzle of syrup, you can transform a mound of shaved ice into a burst of flavor that will transport you to a tropical paradise.
One of the best things about snow cone syrups is that you can let your creativity run wild. There are countless flavors to choose from, ranging from classic favorites like cherry and blue raspberry to more exotic options like mango and watermelon. You can even mix and match flavors to create your own unique concoctions!
So how do you go about making your own snow cone syrup? It's simpler than you might think. All you need are a few basic ingredients like sugar, water, and flavor extracts. Mix them together, heat them up, and voila! You have your very own homemade syrup ready to elevate your snow cones to the next level.
When it comes to making snow cone syrups, the key lies in finding the right balance of sweetness. Too little sugar, and your syrup will be bland and tasteless. Too much sugar, and it will overpower the delicate flavors. It's all about finding that sweet spot (pun intended) where the sweetness enhances the flavor without overwhelming it.
Think of it like a symphony. Each ingredient plays a different role, and together they create a harmonious blend of flavors. The sugar acts as the conductor, bringing all the other ingredients together to create a beautiful melody in your mouth.
Snow cone syrups are the secret ingredient that takes a simple snow cone to a whole new level. With a variety of flavors to choose from and the option to create your own, the possibilities are endless. So, the next time you're looking to beat the summer heat, grab a snow cone, drizzle it with your favorite syrup, and let the flavors take you on a refreshing and delicious journey.
Absolutely! You can experiment with alternative sweeteners like honey or agave syrup to create a healthier version of snow cone syrup.
When stored properly in a cool, dry place, homemade snow cone syrup can last for several weeks.
Of course! Using fresh fruit is a great way to add a burst of natural flavor to your snow cone syrup.
Yes, there are sugar-free snow cone syrups available in the market for those who prefer a healthier alternative.
While heating the syrup helps dissolve the sugar and infuse the flavors, you can make a simple syrup by mixing sugar and water without heating it.
Absolutely! Food coloring is a fun way to add vibrant hues to your snow cone syrups and make them visually appealing.
Yes, storing the syrup in the refrigerator can help prolong its shelf life.
Definitely! Snow cone syrups can be used to enhance the flavor of various desserts like ice cream, yogurt, and even cocktails.
AprilCook, recipe developer and the heart of Chefwiz. More about April