Self-Filled Cupcakes II
Rate this recipeBe the first to rate
 By AprilPublished
 Do you love cupcakes? Do you love surprises? Well, what if I told you there's a way to combine both?
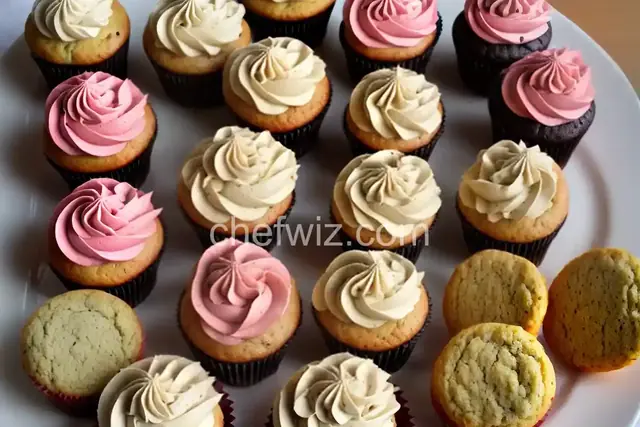 By AprilPublished
 Do you love cupcakes? Do you love surprises? Well, what if I told you there's a way to combine both?
Preheat the oven to 350 degrees F (175 degrees C).
Lightly grease the muffin pans.
Follow the instructions on the cake mix package to prepare the cake batter.
In a separate bowl, combine the cream cheese and sugar, and cream them together until light and fluffy.
Add the egg and salt to the cream cheese mixture, and beat well.
Spoon the cake batter into the greased muffin pans, filling them about 2/3 full.
Drop a few semisweet chocolate morsels into the center of each muffin cup.
Spoon 1 teaspoon of the cream cheese mixture on top of the chocolate morsels in each muffin cup.
Bake the cupcakes at 350 degrees F (175 degrees C) for 25 minutes.
Allow the cupcakes to cool before serving.
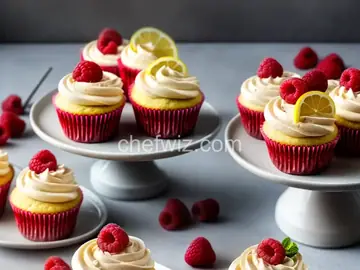
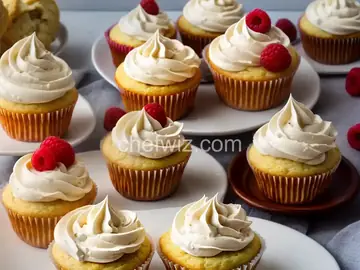
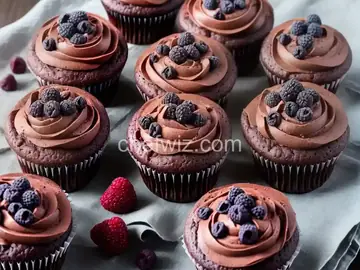
Do you love cupcakes? Do you love surprises? Well, what if I told you there's a way to combine both? That's right, with self-filled cupcakes, you can enjoy a delicious treat with a hidden surprise waiting inside. In this article, we will explore the wonderful world of self-filled cupcakes and discover how you can create your own mouthwatering masterpieces. So, grab your apron and let's get baking!
Imagine biting into a fluffy cupcake only to discover a burst of gooey chocolate, luscious cream, or tangy fruit filling. It's like a delightful surprise party for your taste buds! Self-filled cupcakes take your ordinary cupcake to the next level, adding an element of surprise and excitement to every bite.
Creating self-filled cupcakes is easier than you might think. Instead of adding the filling on top of the cupcake, you'll inject it directly into the center. It's like a secret treasure hidden beneath the frosting. The best part? You can experiment with different fillings to create a variety of flavors and textures.
To inject the filling, you'll need a cupcake corer or a piping bag with a long, narrow tip. Simply insert the corer or tip into the center of the cupcake and gently squeeze in the filling. Be careful not to overfill, as it may cause the cupcake to burst.
Now that you know the basics, let's dive into some tips and tricks to ensure your self-filled cupcakes turn out perfectly every time:
When it comes to self-filled cupcakes, the filling is the star of the show. Whether you prefer classic flavors like chocolate or vanilla, or want to get adventurous with fruity or nutty fillings, make sure to choose a filling that complements the cupcake flavor.
As mentioned earlier, it's important not to overfill the cupcakes. A small amount of filling is enough to create that delightful surprise without overpowering the cupcake. Remember, you can always add more filling if needed, but you can't take it out once it's inside!
After injecting the filling, frost the cupcakes with your favorite icing. Be gentle when spreading the frosting, as you don't want to accidentally squeeze out the filling. Take your time and enjoy the process.
Self-filled cupcakes are a delightful treat that brings joy to every bite. With a little creativity and some delicious fillings, you can create your own surprise-filled cupcakes that will impress your friends and family. So, why settle for ordinary cupcakes when you can have a sweet surprise hidden inside? Get creative, have fun, and enjoy the magic of self-filled cupcakes!
Absolutely! Self-filled cupcakes can be made with any cupcake recipe you like. Just make sure the cupcakes are baked and cooled before injecting the filling.
Yes, you can definitely use store-bought filling if you're short on time. However, homemade fillings often have a fresher and more vibrant flavor.
Self-filled cupcakes should be stored in an airtight container in the refrigerator. They are best enjoyed within 2-3 days.
Yes, you can freeze self-filled cupcakes. Just make sure to wrap them tightly in plastic wrap or place them in an airtight container before freezing.
Absolutely! Self-filled cupcakes are perfect for birthdays, weddings, baby showers, or any other celebration. You can even customize the filling and frosting to match the theme of your event.
Yes, if you don't have a cupcake corer, you can use a small spoon or a melon baller to remove a portion of the cupcake center and then fill it with your desired filling.
Absolutely! Experiment with different cupcake flavors and fillings to create unique combinations. The possibilities are endless!
Yes, self-filled cupcakes can be adapted to accommodate various dietary restrictions. You can find recipes for gluten-free, vegan, and dairy-free self-filled cupcakes to suit your needs.
AprilCook, recipe developer and the heart of Chefwiz. More about April