Puff Pastry Shells
Rate this recipeBe the first to rate
 By AprilPublished
 Have you ever marveled at the delicate layers of a perfectly baked puff pastry shell?
 By AprilPublished
 Have you ever marveled at the delicate layers of a perfectly baked puff pastry shell?
In a small bowl, combine the egg and water, and beat them together.
Using a 3-inch round cutter, cut two rounds from each sheet of puff pastry, resulting in 8 circles.
Take a 2 1/2-inch round cutter and cut through 4 of the rounds.
Place one uncut round on top of each cut round.
Brush each pastry with the egg mixture.
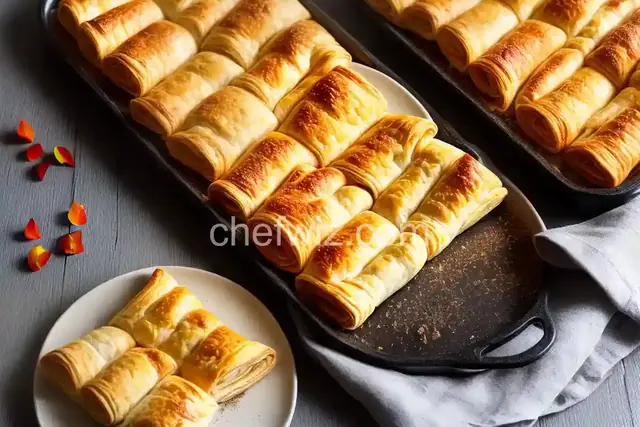
Preheat the oven and bake the pastries until they are puffed and golden, typically for 20 to 25 minutes.
Have you ever marveled at the delicate layers of a perfectly baked puff pastry shell? The crispness that shatters under the gentlest touch, revealing a buttery, flaky interior? Puff pastry shells are a versatile and delightful addition to any chef's repertoire, bringing a touch of elegance and sophistication to both sweet and savory dishes. In this article, we will explore the art of making puff pastry shells and discover the endless culinary possibilities they offer.
Creating puff pastry shells is like performing a culinary magic trick. The secret lies in the unique lamination process. Layers of butter are meticulously encased within the dough, creating a barrier that prevents the steam generated during baking from escaping. As the pastry bakes, the trapped steam causes the layers to expand dramatically, resulting in the classic puff pastry's signature flaky texture.
Making puff pastry shells from scratch requires patience and precision. The process involves rolling out the dough, folding it, and chilling it repeatedly to create distinct layers. The more layers, the more impressive the final result. It's like building a culinary skyscraper, with each layer contributing to the overall structure and texture of the pastry.
Once you have mastered the art of making puff pastry shells, the culinary world is your oyster. These versatile shells can be filled with an array of delightful ingredients, both sweet and savory. Picture a luscious lemon curd nestled within a delicate pastry shell or a rich and savory mushroom and cheese filling. The possibilities are endless, limited only by your imagination.
Puff pastry shells are a true culinary delight, offering endless possibilities for both sweet and savory creations. Whether you choose to make your own or opt for store-bought, the crisp, flaky layers will no doubt impress your taste buds and leave your guests in awe. So go ahead, unleash your creativity and embark on a puff pastry adventure!
Absolutely! While making homemade puff pastry shells can be a rewarding experience, store-bought pastry can be a time-saving alternative. Look for high-quality, all-butter puff pastry for the best results.
To achieve a crisp and flaky texture, it is important to preheat your oven properly and avoid overcrowding the baking sheet. The hot oven and adequate space allow the pastry to puff and brown evenly.
Yes, you can freeze baked puff pastry shells for future use. Simply allow them to cool completely, then store them in an airtight container or freezer bag. When needed, defrost them at room temperature and reheat in a low oven to restore their crispness.
While puff pastry shells are best filled just before serving to maintain their crispness, you can prepare the filling in advance and store it separately. Fill the shells just before serving to ensure they stay at their best.
Absolutely! Puff pastry shells are incredibly versatile and can be filled with both sweet and savory fillings. From fruit compotes and pastry creams to chicken and mushroom fillings, the choice is yours!
To prevent the bottoms of your puff pastry shells from becoming soggy, consider baking them on a preheated baking stone or placing them on a wire rack after baking to allow air circulation.
Yes, you can create mini puff pastry shells by using smaller molds or cutting the dough into smaller rounds. These bite-sized delights are perfect for appetizers or elegant canapés.
While making puff pastry shells requires some practice and patience, even beginners can achieve impressive results with a little determination. Start with smaller projects and gradually work your way up to more complex creations.
AprilCook, recipe developer and the heart of Chefwiz. More about April