Pressure Cooker Apple Cider
Rate this recipeBe the first to rate
 By AprilPublished
 Are you a fan of warm, comforting drinks that bring a touch of fall to your taste buds?
 By AprilPublished
 Are you a fan of warm, comforting drinks that bring a touch of fall to your taste buds?
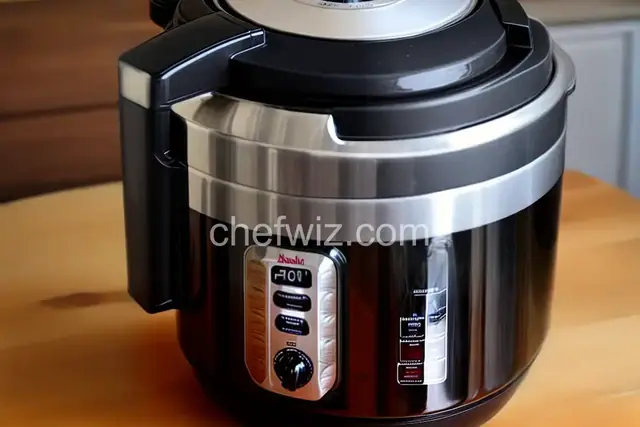
Place the apples into a multi-functional pressure cooker, such as an Instant Pot®.
Sprinkle brown sugar, cinnamon sticks, nutmeg, and cloves on top of the apples.
Fill the pot with water, making sure not to exceed the maximum line.
Close and lock the lid of the pressure cooker.
Follow the manufacturer's instructions to select the high-pressure setting and set the timer for 60 minutes.
Allow the pressure to build for 10 to 15 minutes.
Carefully release the pressure using the quick-release method recommended by the manufacturer, which usually takes about 5 minutes.
Unlock and remove the lid, then take out the cinnamon sticks.
Use a potato masher or spoon to mash the apples.
Return the cinnamon sticks to the pot.
Cook on high pressure for another 60 minutes, allowing the pressure to build for 10 to 15 minutes.
Repeat the quick-release process for about 5 minutes.
Strain the cider using either a strainer or cheesecloth, discarding any solids.
Serve the cider hot or cold.
Consider using a mixture of Honey Crisp, Granny Smith, Pink Lady, and Gala apples for added flavor.
Are you a fan of warm, comforting drinks that bring a touch of fall to your taste buds? Look no further than pressure cooker apple cider! This delicious beverage is not only easy to make, but it also fills your home with the sweet aroma of apples and spices. In this article, we'll explore the process of making pressure cooker apple cider and uncover the secrets to creating a flavorful and aromatic drink that will leave you wanting more.
Pressure cooking is like a wizard's cauldron, where ingredients come together to create culinary magic. Just like a magic potion takes time to brew, pressure cooking allows all the flavors to meld together perfectly. The high pressure and heat release the essence of the apples and spices, resulting in a rich and robust apple cider that will warm your soul.
Before you embark on your pressure cooker apple cider adventure, make sure you have all the necessary ingredients at hand. Fresh apples, cinnamon sticks, cloves, and a touch of sweetness are the building blocks of this delightful drink. Don't be afraid to experiment with different apple varieties to find the perfect balance of sweetness and tartness.
Preparing your apples is a crucial step in the apple cider-making process. Wash and chop the apples into quarters, leaving the skin intact. This not only adds flavor but also imparts a beautiful amber color to your cider. Remember, imperfections in the apples add character to your beverage, just like the quirks that make us human.
Now that you have your ingredients ready, let's dive into the pressure cooking process. Place the apples, spices, and water into your pressure cooker and let the magic begin. As the pressure builds, the flavors infuse and transform into a delicious elixir. The result? A fragrant and flavorful apple cider that will transport you to an orchard on a crisp autumn day.
Once the pressure cooking time is up, it's time to release the pressure and unveil your masterpiece. Carefully follow the manufacturer's instructions for releasing the pressure, whether it's through natural release or quick release. The anticipation builds as the lid is lifted, revealing a pot of golden goodness that is ready to be enjoyed.
Now that your pressure cooker apple cider is ready, it's time to serve and savor. Pour the cider into mugs, garnish with a cinnamon stick, and let the warmth envelop you. The aroma alone is enough to transport you to a cozy cabin in the woods. If you have leftovers, store them in airtight containers in the refrigerator for up to a week. Reheat the cider whenever you need a comforting sip.
Pressure cooker apple cider is more than just a beverage; it's a sensory experience that brings the flavors of fall to life. From the moment you gather your ingredients to the first sip of warm cider, the process is one of anticipation and delight. So, grab your pressure cooker and embark on a journey to create your very own apple cider masterpiece. Cheers to the magic of pressure cooking!
While fresh apples are recommended for the best flavor, you can use store-bought apple juice as a substitute. Just be aware that the taste may not be as rich and nuanced as using fresh apples.
The time it takes to release the pressure in a pressure cooker depends on the method you choose. Natural release can take anywhere from 10 to 20 minutes, while quick release is almost instantaneous.
Absolutely! Feel free to experiment with spices like nutmeg, allspice, or even a hint of ginger to add a unique twist to your apple cider.
Yes, you can easily scale up the recipe to make a larger batch of apple cider. Just make sure not to overfill your pressure cooker and follow the cooking times accordingly.
Of course! Adding a splash of rum or bourbon can elevate your apple cider to a whole new level. Just remember to add the alcohol after the pressure cooking process.
Absolutely! The process remains the same, regardless of whether you're using an electric or stovetop pressure cooker. Just make sure to follow the manufacturer's instructions for your specific model.
Yes, you can make apple cider without a pressure cooker. Simply simmer the apples, spices, and water on the stovetop for a longer period of time to extract the flavors.
While apple cider is traditionally served warm, you can certainly enjoy it cold if you prefer. Just refrigerate the cider until chilled and serve over ice for a refreshing twist.
AprilCook, recipe developer and the heart of Chefwiz. More about April