Plain Caramel Apples
Rate this recipeBe the first to rate
 By AprilPublished
 Who doesn't love the classic combination of juicy apples and sweet caramel?
 By AprilPublished
 Who doesn't love the classic combination of juicy apples and sweet caramel?
Insert wooden sticks about 3/4 of the way into the stem end of each apple.
Place the apples on a cookie sheet that is covered with lightly greased aluminum foil.
In a saucepan, combine the caramels and water, and cook over low heat.
Stir the mixture often until the caramel melts and becomes smooth.
Stir in the vanilla extract.
Dip each apple into the caramel mixture, ensuring it is evenly coated.
Gently run the dipped apples around the inside of the saucepan to scrape off excess caramel.
Use the side of the saucepan to remove any excess caramel from the bottom of the apples.
Place the caramel-coated apples on the aluminum foil-covered cookie sheet.
Chill the apples until they are ready to be served.
Who doesn't love the classic combination of juicy apples and sweet caramel? Plain caramel apples are a timeless treat that never fails to delight both kids and adults alike. In this article, we will explore the joy and simplicity of making plain caramel apples.
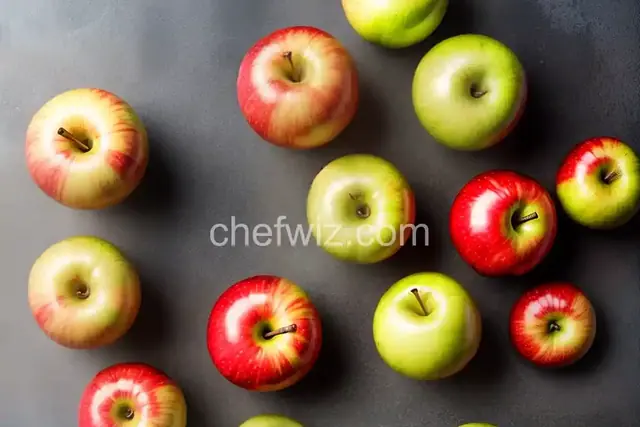
When it comes to making caramel apples, choosing the right apples is crucial. You want apples that are firm and crisp, as they will hold up better when coated with caramel. Granny Smith apples are a popular choice due to their tartness, but feel free to experiment with other varieties like Honeycrisp or Fuji.
Before you start dipping your apples in caramel, make sure to wash and dry them thoroughly. This step ensures that any dirt or wax coating is removed, allowing the caramel to adhere properly to the apple's surface.
The caramel is the star of the show when it comes to plain caramel apples. Making your own caramel from scratch is easier than you might think. All you need are a few simple ingredients and a bit of patience.
To make homemade caramel, you will need sugar, butter, heavy cream, and a pinch of salt. These basic ingredients come together to create a rich and creamy caramel sauce that coats the apples beautifully.
Start by melting the butter in a saucepan over medium heat. Then, add the sugar and stir until it dissolves completely. Next, slowly pour in the heavy cream while stirring continuously. Finally, add a pinch of salt to enhance the flavor. Continue cooking the caramel until it thickens slightly, then remove it from the heat and let it cool for a few minutes.
Now that your caramel is ready, it's time to dip the apples! Insert a wooden stick into each apple, making sure it is firmly in place. Then, carefully dip each apple into the caramel, swirling it around to coat it evenly. Allow any excess caramel to drip off before placing the coated apple on a parchment-lined baking sheet.
For an extra touch of creativity, you can decorate your caramel apples with chopped nuts, sprinkles, or even drizzle them with melted chocolate. The options are endless, so let your imagination run wild!
Once you have dipped and decorated all your plain caramel apples, it's time to let them chill. Place the baking sheet in the refrigerator for about 30 minutes or until the caramel has set. This step ensures that the caramel stays firm and doesn't slide off the apples.
When it's time to serve, you can either enjoy the caramel apples as they are or slice them into smaller pieces for easier consumption. Plain caramel apples are a delightful treat for parties, holidays, or simply as a sweet indulgence on any given day.
Plain caramel apples are a timeless treat that brings joy and sweetness to any occasion. With just a few simple steps, you can create these delectable delights at home. Whether you're making them for a party or simply indulging in a sweet treat, plain caramel apples are sure to satisfy your cravings. So go ahead, grab some crisp apples, melt some caramel, and let the dipping and decorating begin!
Absolutely! Using pre-made caramel is a convenient option if you're short on time. Simply follow the instructions on the package to melt the caramel and proceed with dipping and decorating your apples.
Caramel apples can be stored in the refrigerator for up to one week. However, for the best flavor and texture, it's recommended to enjoy them within the first few days.
Yes, you can use caramel sauce instead of caramel candies. However, keep in mind that caramel sauce tends to be thinner, so the coating might not be as thick as when using caramel candies.
Yes, you can make caramel apples without sticks. Simply cut the apples into wedges or bite-sized pieces, dip them in caramel, and serve them on a platter. It's a fun and delicious alternative!
While apples are the traditional choice for caramel apples, you can experiment with other fruits like pears or even bananas. Just make sure the fruit is firm enough to hold the caramel coating.
Yes, you can freeze caramel apples. Wrap each apple tightly in plastic wrap or place them in an airtight container before freezing. Thaw them in the refrigerator before serving.
To prevent the caramel from sliding off, make sure the apples are completely dry and free from any moisture or residue. Additionally, letting the caramel cool for a few minutes before dipping the apples helps it adhere better.
Yes, you can make caramel apples in advance. However, it's best to add any decorative toppings or drizzles just before serving to maintain their freshness and appearance.
AprilCook, recipe developer and the heart of Chefwiz. More about April