Oil Pie Crust
Rate this recipeBe the first to rate
 By AprilPublished
 Have you ever wanted to make a delicious pie crust but found yourself without butter or shortening?
 By AprilPublished
 Have you ever wanted to make a delicious pie crust but found yourself without butter or shortening?
Combine flour and salt in a bowl.
In a measuring cup, add milk and oil without stirring, then pour the mixture into the bowl with the flour.
Stir the ingredients together until well combined, forming a dough.
Divide the dough into two portions and shape each into a flat ball.
Wrap the dough balls in plastic wrap.
Place the wrapped dough in the refrigerator and let it chill for at least 15 minutes.
After chilling, take out the dough and place it on a lightly floured surface.
Roll out the dough using a rolling pin until desired thickness is achieved.
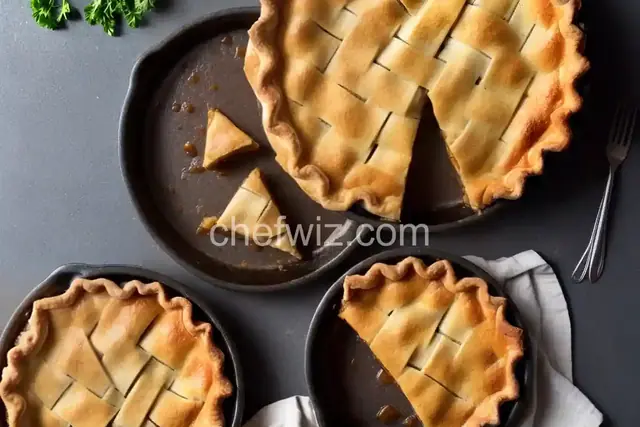
Have you ever wanted to make a delicious pie crust but found yourself without butter or shortening? No worries! With this oil pie crust recipe, you can still achieve a flaky and tender crust without the need for traditional fats. Let's dive into the wonderful world of oil pie crusts!
Oil pie crusts offer a unique alternative to traditional crusts. They are not only easy to make but also provide a lighter and healthier option. If you're looking to reduce the amount of saturated fats in your diet, oil pie crusts are a fantastic choice. Plus, they have a deliciously delicate flavor that pairs well with both sweet and savory fillings!
Creating a flaky crust is all about the distribution of fat within the dough. In traditional crusts, butter or shortening coats the flour particles, creating layers when baked. With oil pie crusts, the fat is evenly dispersed throughout the dough, resulting in a tender and delicate texture. The secret lies in the chemistry of oil and flour!
Making an oil pie crust is a breeze. Simply mix flour, salt, and a liquid fat of your choice (such as vegetable oil or olive oil) until combined. The dough should come together easily and be slightly crumbly. Once you have your dough, roll it out and use it as a base for your favorite pie recipes!
While oil pie crusts are relatively foolproof, here are a few tips to ensure your crust turns out perfectly:
Both oil pie crusts and traditional crusts have their merits. While oil crusts offer a lighter and healthier option, traditional crusts have a rich and buttery flavor. It ultimately comes down to personal preference and dietary needs. Why not try both and see which one you prefer?
Oil pie crusts are a fantastic alternative to traditional crusts. They are easy to make, healthier, and still deliver a deliciously flaky texture. So next time you're planning to bake a pie, give oil pie crusts a try. Your taste buds will thank you!
Yes, you can use various types of oil, but it's best to choose a neutral-flavored oil like vegetable or canola. These oils won't overpower the flavors of your filling.
Absolutely! You can substitute gluten-free flour for regular flour to make a gluten-free oil pie crust. Just ensure that all other ingredients used are also gluten-free.
To prevent a soggy crust, consider blind baking your crust before adding your filling. Blind baking involves pre-baking the crust without any filling to ensure it stays crisp.
Yes! Oil pie crusts freeze well. After making the crust, wrap it tightly in plastic wrap or place it in an airtight container. It can be stored in the freezer for up to 3 months.
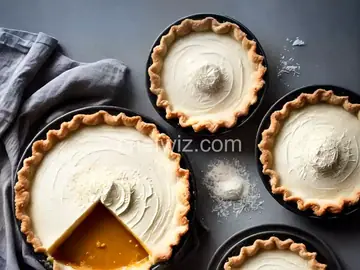
Yes, you can use an oil pie crust to make mini pies. Simply adjust the size of the dough circles to fit your mini pie pans, and follow the same baking instructions.
Absolutely! Oil pie crusts work well for both sweet and savory recipes. They provide a light and delicate base for your quiches or savory tarts.
An oil pie crust comes together quickly, typically within 10-15 minutes. The dough does not require chilling like traditional crusts, so you can start using it right away!
While oil pie crusts are usually not sweet, you can add a small amount of sugar if desired. Keep in mind that the crust may turn out slightly different in texture and flavor.
AprilCook, recipe developer and the heart of Chefwiz. More about April