Ice Pops Base Formula
Rate this recipeBe the first to rate
 By AprilPublished
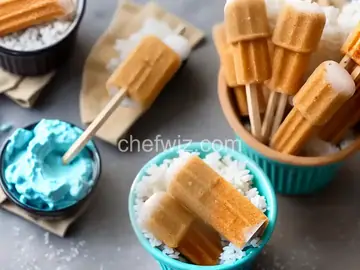
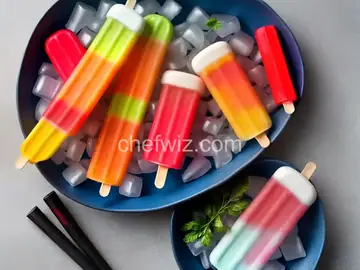
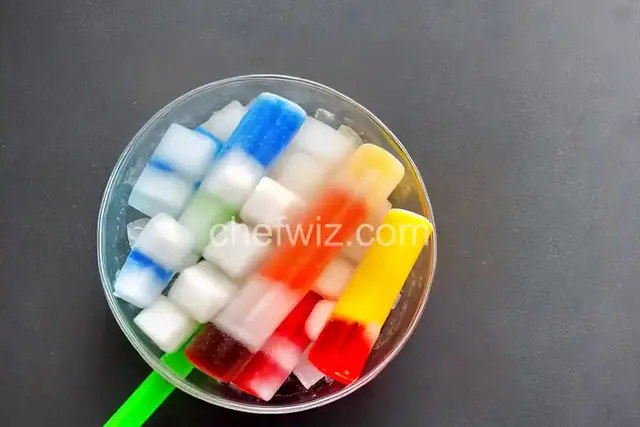
 Ice Pops Base Formula Ice pops, those colorful frozen treats that bring back childhood memories of hot summer days.
 By AprilPublished
 Ice Pops Base Formula Ice pops, those colorful frozen treats that bring back childhood memories of hot summer days.
Start by combining blueberries, water, honey, and lemon juice in a blender until the mixture becomes smooth. If needed, add more water to achieve the desired consistency.
Strain the mixture through a fine-mesh sieve to remove any skins and seeds.
Pour the strained mixture into eight 3-ounce ice pop molds or paper cups.
Place sticks into the molds or cups.
Freeze the mixture for at least 8 hours or overnight.
If using paper cups, cover each cup with foil. Make a small slit in the foil and insert a wooden stick into each pop.
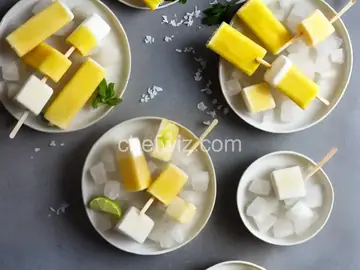
For a watermelon-lime version, substitute the blueberries with 3 cups of chopped watermelon and add 1 tablespoon of lime juice.
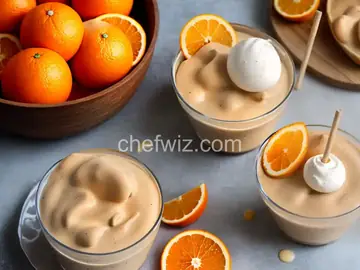
For a peach-orange version, substitute the blueberries with 3 cups of chopped peaches and add 1 tablespoon of orange juice.
Ice Pops Base Formula
Ice pops, those colorful frozen treats that bring back childhood memories of hot summer days. Whether you prefer fruity flavors or creamy concoctions, ice pops are a delightful treat for people of all ages. But have you ever wondered how these icy delights are made? In this article, we'll explore the base formula for creating delicious ice pops that will have you craving for more. So, let's dive in!
Heading 1: The Magic Behind Ice Pops
Ice pops are like a blank canvas, waiting to be transformed into a frozen masterpiece. Just like an artist needs a canvas, ice pops need a base formula to bring them to life. This base formula is the foundation of every ice pop, giving it structure and flavor. It's like the secret sauce that makes your ice pops stand out from the rest.
Heading 2: The Importance of a Good Base
A good base formula is crucial for creating ice pops that are not only tasty but also have the perfect texture. It's the backbone of your frozen creation. Without a well-balanced base formula, your ice pops might turn out too icy or too soft. Finding the right balance is the key to creating ice pops that will have your taste buds dancing with joy.
Heading 3: The Components of a Base Formula
A base formula for ice pops typically consists of three main components - liquid, sweetener, and flavoring. The liquid serves as the main ingredient and can be anything from fruit juice to milk or even yogurt. The sweetener adds a touch of sweetness to counterbalance the tartness of the liquid, and the flavoring gives your ice pops their unique taste.
Heading 4: Experimenting with Flavors
Now that you know the basic components of a base formula, it's time to get creative with flavors. The possibilities are endless! You can use fresh fruits, extracts, or even spices to infuse your ice pops with delicious flavors. Why not try a refreshing watermelon and mint combination or a creamy vanilla and raspberry swirl? Let your imagination run wild!
Heading 5: The Freezing Process
Once you have your base formula and flavors ready, it's time to freeze your ice pops. Pour the mixture into molds, insert the sticks, and let them chill in the freezer for a few hours. It's the waiting game that will test your patience, but trust me, the end result will be worth it.
Heading 6: Serving and Enjoying
Finally, the moment you've been waiting for - it's time to enjoy your homemade ice pops! Gently remove the molds from the freezer and run them under warm water for a few seconds to loosen the ice pops. Now, sit back, relax, and savor the flavors of your creation. Share them with friends and family or keep them all to yourself. The choice is yours!
Concluding Paragraph:
Ice pops are a delightful treat that brings joy to both young and old. With a good base formula and a sprinkle of creativity, you can create frozen wonders that will cool you down on a hot summer day. So, why not take a leap into the world of ice pop making? Experiment with flavors, try new combinations, and discover your own signature ice pop. The possibilities are endless, and the satisfaction of enjoying your homemade creation is priceless.
FAQs:
1. Can I use any type of liquid for my ice pop base?
Yes, you can use a variety of liquids such as fruit juice, milk, or yogurt to create your ice pop base. It all depends on the flavor and texture you want to achieve.
2. What is the best sweetener to use for ice pops?
There are many options for sweeteners, including sugar, honey, or even natural sweeteners like stevia. Choose the one that suits your taste preferences and dietary needs.
3. Can I make ice pops without a mold?
Yes, you can use small paper cups or even ice cube trays as makeshift molds for your ice pops. Just insert a popsicle stick into the mixture and freeze.
4. How long does it take for ice pops to freeze?
The freezing time depends on the size of your ice pops and the temperature of your freezer. On average, it takes about 4-6 hours for ice pops to freeze completely.
5. Can I add chunks of fruit to my ice pops?
Absolutely! Adding chunks of fruit can add a delightful texture and burst of flavor to your ice pops. Just make sure the fruit is cut into small pieces to fit into the molds.
6. Are there any vegan options for making ice pops?
Yes, you can use plant-based milk or yogurt substitutes to create vegan ice pops. There are also many fruit-based options that are naturally vegan-friendly.
7. Can I add alcohol to my ice pops?
Yes, you can add a splash of your favorite alcoholic beverage to your ice pops for a grown-up twist. Just remember to enjoy them responsibly!
8. How long can I store homemade ice pops?
Homemade ice pops can be stored in the freezer for up to 2-3 months. Just make sure to store them in an airtight container to prevent freezer burn.
Now, go forth and embark on your ice pop making adventure. Let your creativity flow and enjoy the sweet rewards of your frozen creations. Happy ice popping!
AprilCook, recipe developer and the heart of Chefwiz. More about April