How To Neatly Line a Cake Pan with Parchment Paper
Rate this recipeBe the first to rate
 By AprilPublished
 Have you ever struggled with getting your cakes out of the pan without them sticking?
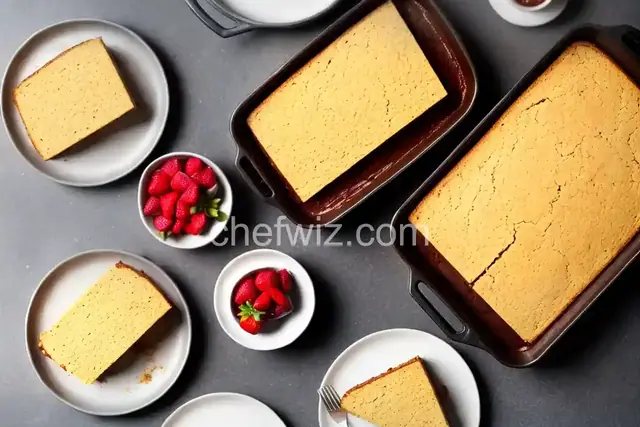 By AprilPublished
 Have you ever struggled with getting your cakes out of the pan without them sticking?
Invert the baking pan and cover the bottom with a piece of parchment paper. Gently fold the edges to fit around the pan.
Remove the parchment paper from the pan and tightly fold it along the creases created earlier.
Use scissors to trim the edges of the folded parchment paper, ensuring it will serve as the base of the pan.
Place the prepared parchment paper back into the pan, ensuring there are no wrinkles or creases.
Pour your desired cake batter into the pan.
Bake according to the recipe instructions.
Apple Cake.
Microwave and Mash! Simple Sweet Potato Cake.
Banana Pound Cake.
Extravagant Fruit Pound Cake with Aromatic Brandy.
Flavored Black Tea Pound Cake.
Have you ever struggled with getting your cakes out of the pan without them sticking? If so, you're not alone. Many bakers face this challenge, but luckily, there's a simple solution: lining your cake pan with parchment paper. In this article, we'll show you step-by-step how to neatly line a cake pan with parchment paper to ensure easy removal and beautiful presentation.
Before we jump into the process, let's discuss why parchment paper is a baker's best friend. Parchment paper is a non-stick, heat-resistant paper that creates a barrier between your baked goods and the pan. It prevents your cakes from sticking to the pan, making it a breeze to remove them without any damage or frustration.
Properly lining your cake pan not only ensures easy removal but also enhances the overall appearance of your baked creation. A neatly lined pan creates clean edges and a professional finish, making your cakes look like they came straight from a bakery.
Now, let's dive into the step-by-step process of neatly lining a cake pan with parchment paper:
Start by selecting the appropriate cake pan size for your recipe. Different recipes call for different pan sizes, so be sure to check your recipe or baking instructions.
Before you begin lining your pan, gather all the necessary materials: a cake pan, parchment paper, a pencil or pen, scissors, and a ruler (optional).
Place the cake pan on top of the parchment paper and trace around it with a pencil or pen. Carefully cut along the traced line to create a parchment paper circle that fits perfectly inside the pan.
Before placing the parchment paper in the pan, lightly grease the sides and bottom of the pan with butter or cooking spray. This additional layer of grease will further prevent any potential sticking.
Place the parchment paper circle inside the greased pan, ensuring that it sits flat and covers the entire bottom. Gently press the paper against the sides of the pan, allowing the excess paper to hang over the edges.
To keep the parchment paper in place while pouring in the batter, you can secure the excess paper by clipping it with binder clips or using small dabs of butter.
Now that your pan is neatly lined with parchment paper, you can proceed with your recipe as directed. Pour in the batter and bake according to the recommended time and temperature.
Once your cake is baked to perfection, carefully remove it from the oven and let it cool in the pan for a few minutes. Then, gently lift the parchment paper tabs to easily remove the cake from the pan. Voila! Your cake is now ready to be decorated and enjoyed.
By following these simple steps, you can easily and neatly line a cake pan with parchment paper. This technique not only prevents your cakes from sticking but also adds a professional touch to your baked creations. So, next time you're baking a cake, don't forget to reach for the parchment paper and give your cakes the royal treatment they deserve!
Yes, you can reuse parchment paper as long as it's not too greasy or damaged. Simply wipe it clean and store it for future use.
While parchment paper is the best option for lining cake pans, you can use alternatives like wax paper or silicone baking mats in a pinch.
To prevent parchment paper from curling up or blowing around in the oven, you can lightly grease the pan before placing the parchment paper inside.
Absolutely! Parchment paper is versatile and can be used for various baking tasks, such as lining cookie sheets, rolling out dough, and wrapping delicate pastries.
Yes, parchment paper is oven-safe and can withstand high temperatures without releasing harmful chemicals or affecting the taste of your baked goods.
Yes, parchment paper can also be used for non-baking purposes, such as wrapping sandwiches, steaming vegetables, or creating makeshift piping bags.
Parchment paper is widely available in supermarkets, baking supply stores, and online retailers. Look for it in the baking aisle or search for it on your favorite online marketplace.
Yes, parchment paper is microwave-safe and can be used to cook or reheat food in the microwave without any issues.
AprilCook, recipe developer and the heart of Chefwiz. More about April