Homemade Milk Duds Recipe
Rate this recipeBe the first to rate
 By AprilPublished
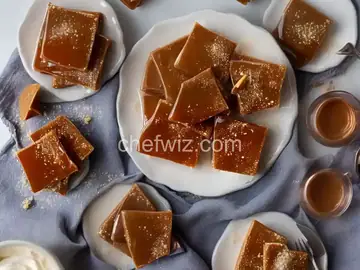
 Are you a fan of those chewy, chocolate-covered caramel candies known as Milk Duds?
 By AprilPublished
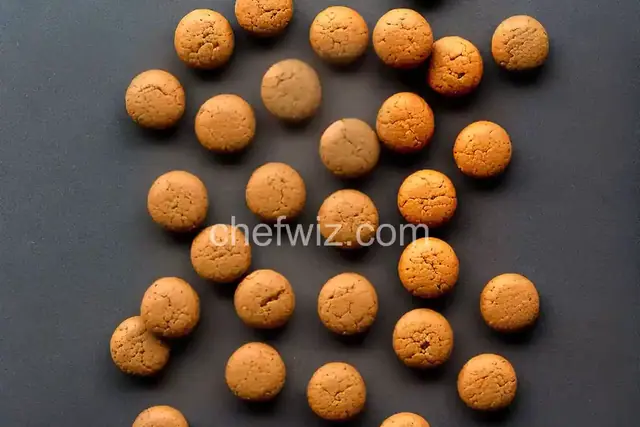
 Are you a fan of those chewy, chocolate-covered caramel candies known as Milk Duds?
Prepare an 8-inch cake pan by lining it with a large sheet of parchment paper, covering the bottom and sides.
In a 2-quart stainless steel saucier, combine water, sugar, and salt. Heat over medium heat and stir with a fork until the sugar is completely dissolved and the mixture comes to a rolling boil (approximately 4 minutes).
Continue to simmer the mixture without stirring until it turns into a honey-gold syrup (approximately 7 minutes).
Immediately add cream to the mixture and reduce the heat to medium-low, adjusting if necessary to prevent the caramel from foaming too much.
Stir constantly with a heat-resistant spatula and simmer until the caramel reaches a temperature of 260°F (127°C) on a digital thermometer (approximately 7 minutes).
Pour the caramel into the prepared pan, cover it tightly with foil, and let it cool to room temperature (approximately 2 hours).
Peel the caramel from the parchment and transfer it to a cutting board. Cut it into approximately 50 pieces, aiming for each piece to weigh around 1/4 ounce or 7g. The shape and size of the pieces don't have to be exact.
If desired, use your fingers to shape the caramel pieces into an oval, resembling a Milk Dud candy.
Line a baking sheet with parchment paper.
Temper the chocolate using one of the described methods.
Fold all the
Are you a fan of those chewy, chocolate-covered caramel candies known as Milk Duds? Well, how about making your own homemade version? In this article, we will explore the wonderful world of DIY Milk Duds and discover how you can create these delectable treats in the comfort of your own kitchen. So, put on your apron and let's get started!
Just in case you're not familiar with them, Milk Duds are bite-sized candies that consist of a chewy caramel center covered in a rich chocolate coating. These delightful treats have been satisfying sweet cravings since their creation in 1926. They are known for their unique texture and addictive flavor, making them a favorite among candy lovers.
While you can easily purchase Milk Duds from the store, there's something special about making them from scratch. Not only do homemade Milk Duds allow you to control the quality of ingredients, but they also give you the freedom to experiment with flavors and textures. Plus, the satisfaction of enjoying a treat that you made with your own hands is truly unmatched!
The key to achieving the perfect chewy caramel in your homemade Milk Duds lies in the cooking process. By slowly heating a mixture of sugar, butter, and cream, you can create a smooth and gooey caramel that will melt in your mouth. Just be sure to keep a close eye on the temperature as caramel can quickly go from perfect to burnt if left unattended!
Once you have your caramel mixture ready, it's time to coat your Milk Duds with chocolate. You can use either milk chocolate or dark chocolate, depending on your personal preference. Melt the chocolate in a microwave or using a double boiler, and then dip each caramel piece into the melted chocolate. Allow them to cool and harden on a parchment-lined baking sheet before indulging in their lusciousness.
While the classic Milk Duds recipe is delicious on its own, why not add a personal touch to make them even more unique? You can sprinkle sea salt on top of the chocolate coating for a sweet and salty combination, or mix in some chopped nuts for added crunch. The possibilities are endless, so don't be afraid to get creative!
Once your homemade Milk Duds have cooled and hardened, it's time to store them properly. Keep them in an airtight container at room temperature to maintain their freshness and prevent them from getting sticky. When serving, you can present them in a candy dish or wrap them individually in colorful foils for a charming homemade gift.
Making your own homemade Milk Duds is a delightful and rewarding experience. From the moment you mix the caramel ingredients to the satisfying bite of the chocolate-coated treat, every step is filled with joy and anticipation. So, why not give it a try and impress your friends and family with these delectable candies that are made with love?
While homemade Milk Duds may allow you to control the quality of ingredients, they are still a sweet treat and should be enjoyed in moderation.
Absolutely! Feel free to experiment with different types of chocolate to create your own unique variations of Milk Duds.
When stored properly in an airtight container, homemade Milk Duds can stay fresh for up to two weeks.
Freezing may alter the texture of the caramel, so it's best to enjoy your homemade Milk Duds within the recommended storage time.
Yes, you can! Simply substitute the butter and cream with vegan alternatives, such as coconut oil and coconut cream.
While a candy thermometer can help ensure the perfect consistency, you can still make homemade Milk Duds without one. Just keep a close eye on the caramel and adjust the cooking time accordingly.
Absolutely! Adding a splash of vanilla or almond extract to the caramel mixture can enhance the flavor profile of your homemade Milk Duds.
Making your own Milk Duds can be a cost-effective option, especially if you already have the necessary ingredients in your pantry. Plus, the satisfaction of creating something from scratch is priceless!
AprilCook, recipe developer and the heart of Chefwiz. More about April