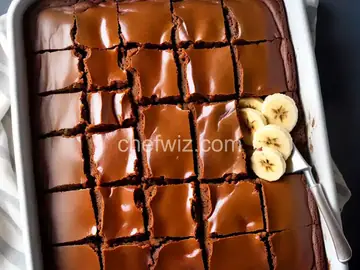
Easy Banana Loaf Cake
Rate this recipeBe the first to rate
 By AprilPublished
 Do you love the sweet aroma of freshly baked goods wafting through your home?
 By AprilPublished
 Do you love the sweet aroma of freshly baked goods wafting through your home?
Preheat the oven to 350 degrees F (175 degrees C).
Grease and flour a 9x5-inch loaf pan.
In a large bowl, mash the bananas.
Add flour, sugar, butter, egg, vanilla, baking soda, and baking powder to the mashed bananas.
Mix the ingredients until well combined.
Pour the mixture into the prepared loaf pan.
Bake in the preheated oven for 50 to 60 minutes.
Insert a toothpick into the center of the loaf to check if it comes out clean.
Remove the loaf from the oven and let it cool before serving.
If you have overripe bananas, place them in the freezer until you are ready to use them.
Do you love the sweet aroma of freshly baked goods wafting through your home? Does the thought of a moist and flavorful banana cake make your mouth water? Look no further! In this article, we will explore the joy of baking an easy and delicious banana loaf cake. Whether you're a seasoned baker or just starting out, this recipe is sure to satisfy your cravings.
Banana loaf cake is a timeless classic that combines the natural sweetness of ripe bananas with the indulgence of a soft and moist cake. It's the perfect treat for breakfast, afternoon tea, or dessert. Not only is it incredibly easy to make, but it also allows you to use up those overripe bananas that would otherwise go to waste. Plus, who can resist the comforting flavors of banana and warm spices dancing on their taste buds?
Have you ever wondered why ripe bananas are preferred in baking? As bananas ripen, their starches convert into natural sugars, intensifying their flavor and sweetness. This makes them the ideal ingredient for a cake that not only tastes amazing but also stays moist and tender. So don't throw those overripe bananas away – embrace their natural magic and turn them into a delightful loaf cake!
Creating a delicious banana loaf cake requires a careful balance of ingredients. The star of the show, of course, is the ripe bananas. Their sweet and fragrant taste sets the foundation for the cake. Combined with the richness of butter, the sweetness of sugar, the tang of buttermilk, and the warmth of cinnamon, nutmeg, and vanilla, you have a winning combination that will leave you wanting more.
Now that we've discussed the wonders of a banana loaf cake, let's dive into the step-by-step process of making one. Follow these instructions carefully, and you'll have a delectable cake in no time:
Before you begin, make sure you have all the necessary ingredients at hand. This includes ripe bananas, butter, sugar, eggs, flour, buttermilk, baking powder, baking soda, salt, cinnamon, nutmeg, and vanilla extract. Having everything ready will make the baking process smoother and more enjoyable.
Preheat your oven to 350°F (175°C). Grease and flour a loaf pan, ensuring that all sides are coated to prevent sticking. This will ensure your cake bakes evenly and releases easily from the pan.
In a bowl, mash the ripe bananas with a fork until they turn into a smooth puree. The riper the bananas, the easier they will be to mash. This step is crucial as it ensures that the banana flavor is evenly distributed throughout the cake.
In a separate bowl, cream together the softened butter and sugar until light and fluffy. This can be done using a mixer or by hand with a whisk. The creaming process incorporates air into the mixture, resulting in a lighter and tender cake.
Once the butter and sugar are creamed, add the eggs one at a time, beating well after each addition. Then, alternate adding the dry ingredients (flour, baking powder, baking soda, salt, cinnamon, and nutmeg) and the buttermilk to the butter mixture. Begin and end with the dry ingredients, mixing until just combined. Overmixing can result in a dense and tough cake, so be gentle.
Stir in the mashed bananas and vanilla extract until evenly incorporated. The batter should have a smooth and creamy consistency, with no streaks of flour remaining.
Pour the batter into the prepared loaf pan and smooth the top with a spatula. Place the pan in the preheated oven and bake for approximately 60-70 minutes, or until a toothpick inserted into the center comes out clean. Once baked, remove the cake from the oven and let it cool in the pan for 10 minutes before transferring it to a wire rack to cool completely.
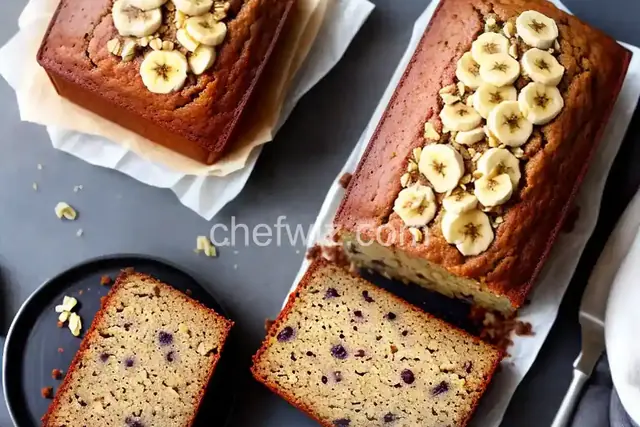
Once the cake is completely cooled, slice it into thick, luscious pieces. The aroma of ripe bananas and warm spices will fill your kitchen as you savor each bite. Serve it plain or with a dollop of whipped cream or a drizzle of caramel sauce, and enjoy the simple pleasure of a homemade banana loaf cake.
Baking a delicious banana loaf cake is a delightful experience that brings joy to both the baker and those lucky enough to taste it. The combination of ripe bananas, warm spices, and a moist texture creates a treat that is hard to resist. So why not gather your ingredients, preheat your oven, and embark on a baking adventure? Your taste buds will thank you.
Using ripe bananas is essential for the flavor and texture of the cake. Regular bananas may not have the same sweetness and can result in a less flavorful cake.
While you can use regular milk as a substitute, buttermilk adds a tangy flavor and tenderizes the cake. If using regular milk, consider adding a teaspoon of lemon juice or vinegar to mimic the acidity of buttermilk.
Absolutely! Once the cake has cooled completely, wrap it tightly in plastic wrap or aluminum foil and place it in the freezer. It can be stored for up to three months. Thaw it at room temperature before enjoying.
Of course! Adding chopped nuts or chocolate chips
AprilCook, recipe developer and the heart of Chefwiz. More about April