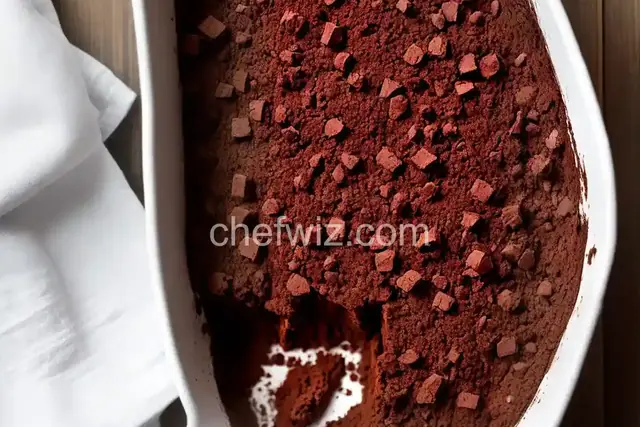
Do you love the warm and fudgy goodness of brownies? Imagine being able to share that joy with your friends and family by giving them a homemade brownie mix as a gift. Not only is it a thoughtful present, but it also allows your loved ones to experience the joy of baking their own delicious brownies whenever they want. In this article, we will guide you through the process of creating a dry brownie mix that is perfect for gifting.
The Gift of Homemade Goodness
There's something special about giving a homemade gift. It shows that you've put thought and effort into creating something unique and meaningful. By giving a dry brownie mix, you're not only gifting a delicious treat but also the joy of baking. It's like giving someone a little package of happiness.
Imagine your loved ones receiving your beautifully packaged brownie mix. The excitement they'll feel as they read the instructions and anticipate the mouthwatering aroma that will fill their kitchen. It's a gift that keeps on giving, as they can enjoy the process of baking and then savor the warm, gooey brownies.
Creating the Perfect Dry Brownie Mix
Now, let's get down to the nitty-gritty of creating the perfect dry brownie mix. To start, you'll need a few key ingredients that can be easily layered in a jar or bag. Think of it as creating a delicious, edible work of art.
First, you'll need a good-quality cocoa powder. This will give your brownies that rich, chocolatey flavor that everyone loves. Next, you'll want to include some all-purpose flour, baking powder, and a pinch of salt. These ingredients will ensure that your brownies have the perfect texture and rise.
Don't forget to include some sugar in your mix. Brown sugar is a great choice as it adds a hint of caramel flavor to the brownies. Finally, you can add some chocolate chips or nuts for an extra indulgent touch. The possibilities are endless!
Layering and Packaging
Now that you have all your dry ingredients ready, it's time to layer them in a jar or bag. Start by placing the cocoa powder at the bottom, followed by the flour, baking powder, salt, and sugar. Finally, add the chocolate chips or nuts as the top layer.
You can get creative with the packaging by adding a ribbon or a personalized tag. Include a small note with the instructions on how to turn the dry mix into delicious brownies. It's a simple yet thoughtful touch that will make your gift even more special.
Enjoying the Fruits of Your Labor
Once you've packaged your dry brownie mix, it's time to share the joy with your loved ones. You can give it as a standalone gift or include it as part of a gift basket filled with other baking goodies.
When your loved ones are ready to enjoy their homemade brownies, all they need to do is add a few wet ingredients, such as eggs, oil, and vanilla extract, to the dry mix. The result? A batch of freshly baked brownies that are sure to impress.
In Conclusion
Creating a dry brownie mix for gifting is a wonderful way to share your love for baking with others. By providing all the dry ingredients in a beautifully packaged jar, you're giving the gift of homemade goodness. Whether it's for a birthday, holiday, or just because, this thoughtful present will surely bring a smile to anyone's face. So, go ahead and spread the joy of baking by creating your own dry brownie mix for gifting!
Frequently asked questions
- . Can I customize the dry brownie mix?
Yes, absolutely! The beauty of creating a dry brownie mix is that you can customize it to suit your preferences. You can add different types of chocolate chips, nuts, or even a sprinkle of sea salt for a savory-sweet twist.
- . How long does the dry brownie mix stay fresh?
If stored in an airtight container, the dry brownie mix can stay fresh for up to three months. Just make sure to advise the recipient to use it within this timeframe for the best results.
- . Can I use the dry brownie mix to make other desserts?
While the dry brownie mix is specifically designed for brownies, you can certainly experiment and use it as a base for other desserts. Try adding it to cookie dough or even as a topping for ice cream.
- . Can I make a gluten-free version of the dry brownie mix?
Absolutely! You can easily substitute the all-purpose flour with a gluten-free flour blend to create a gluten-free version of the dry brownie mix. Just make sure all other ingredients are also gluten-free.
- . Can I make the dry brownie mix ahead of time?
Yes, you can prepare the dry brownie mix well in advance. Just ensure that you store it in an airtight container in a cool, dry place until you're ready to gift it.
- . Can I add different flavors to the dry brownie mix?
Absolutely! You can add various flavors to the dry brownie mix to create unique and delicious combinations. Consider adding a hint of espresso powder for a mocha twist or some peppermint extract for a refreshing flavor.
- . Can I use a different type of sugar in the dry brownie mix?
Yes, you can experiment with different types of sugar in the dry brownie mix. For example, you can use coconut sugar for a slightly caramelized flavor or even substitute some of the sugar with maple syrup for a natural sweetness.
- . Can I use the dry brownie mix to make vegan brownies?
Yes, you can easily adapt the dry brownie mix to make vegan brownies. Simply replace the eggs with a flaxseed or chia seed egg substitute and use a plant-based oil instead of butter. Don't forget to check the chocolate chips for any dairy or animal-based ingredients.
 By AprilPublished