DIY Coconut Rum Recipe
Rate this recipeBe the first to rate
 By AprilPublished
 Are you a fan of tropical flavors and refreshing drinks? If so, you're in for a treat!
 By AprilPublished
 Are you a fan of tropical flavors and refreshing drinks? If so, you're in for a treat!
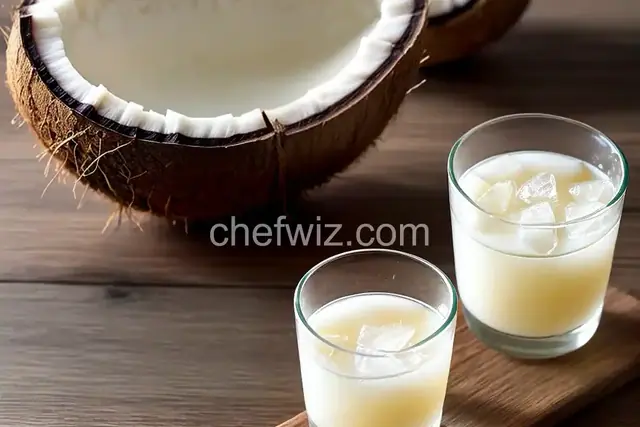
Find the three black dots, or eyes, on the coconut.
Hold the coconut securely and use a screwdriver and hammer to pierce a hole through one of the eyes.
Drain the coconut water and save it for later.
Firmly hold the coconut with one hand and use the other hand to tap forcefully around the center equator of the coconut with the hammer.
Rotate the coconut and continue tapping along the equator until a crack forms (some stores may have already started a crack for you).
Once the crack has gone across most of the coconut, pry it apart with your hands or with the screwdriver.
Use a sharp knife to separate the white coconut meat from the shell, discarding the shell.
Chop the coconut meat into chunks, resulting in approximately 10 ounces.
Place the coconut chunks in a sealable glass jar and pour in rum.
Seal the jar and shake it.
Let the coconut and rum mixture steep for a minimum of two weeks and up to three weeks, shaking it often.
Taste the mixture periodically to check the flavor progression.
Once the desired flavor is achieved, remove the coconut chunks.
Strain the mixture through cheesecloth or a coffee filter.
Store the strained liquid in a glass bottle or jar at room temperature for up to a year.
Are you a fan of tropical flavors and refreshing drinks? If so, you're in for a treat! In this article, we'll explore the world of DIY coconut rum and how you can create your own delicious concoction at home. So, grab your favorite glass and let's dive in!
Now, you might be wondering, why bother making coconut rum at home when you can easily buy it from the store? Well, the answer is simple - customization. By making your own coconut rum, you have the freedom to experiment with different flavors and create a unique blend that suits your taste buds perfectly.
Imagine the satisfaction of crafting a drink that not only tastes amazing but also fills the room with a sweet, tropical aroma. That's the beauty of DIY coconut rum. It's not just about the final product; it's about the process and the joy of creating something special.
Before we dive into the step-by-step process, let's gather the essential ingredients and tools you'll need:
No surprises here - the star of the show is coconut. Opt for fresh, grated coconut for the best flavor, but if that's not available, you can also use coconut milk or cream.
Rum forms the base of your coconut rum. Choose a high-quality rum that complements the flavor of coconut. Dark rum or spiced rum works best, but feel free to experiment with different varieties.
To balance the flavors, you'll need a sweetener. Traditional options include simple syrup or honey, but you can also explore alternative sweeteners like agave nectar or maple syrup.
Now comes the fun part - adding additional flavors to enhance the taste of your coconut rum. You can experiment with ingredients like vanilla extract, cinnamon, or even a hint of lime juice. Let your creativity run wild!
Now that we have everything we need, let's dive into the step-by-step process of creating your very own DIY coconut rum:
Start by infusing the coconut flavor into your rum. You can do this by adding the grated coconut or coconut milk/cream to a jar of rum. Let it sit for at least 24 hours to allow the flavors to meld together.
After the infusion period, it's time to sweeten your coconut rum. Add your chosen sweetener gradually, tasting as you go. Remember, you can always add more sweetness, but you can't take it away, so go easy at first.
Now, it's time to get creative! Add your chosen additional flavors to the mix. Start with a small amount and taste as you go. Remember, you want the flavors to complement each other, not overpower the coconut and rum.
Once you're satisfied with the flavors, strain the mixture to remove any coconut residue. Use a fine-mesh strainer or cheesecloth for best results. Finally, pour your homemade coconut rum into a bottle and seal it tightly.
Creating your own DIY coconut rum is a rewarding experience that allows you to tailor the flavors to your liking. With just a few simple steps, you can enjoy a tropical getaway right at home. So, why settle for store-bought when you can create a personalized coconut rum that embodies your unique taste?
Absolutely! While fresh coconut adds a more authentic flavor, canned coconut milk works just as well in creating DIY coconut rum.
Homemade coconut rum can last for several months if stored properly in a cool, dark place. However, it's best to consume it within a few weeks for optimal freshness.
Yes, you can certainly use white rum if that's your preference. Dark rum tends to have a richer flavor profile, but the choice is ultimately up to you.
While coconut flakes may add texture to your coconut rum, they can also make the drink gritty. It's best to stick with grated coconut or coconut milk/cream for a smoother consistency.
Of course! Simply replace the rum with a non-alcoholic base like pineapple or apple juice, and you'll have a delicious non-alcoholic coconut mocktail.
Yes, you can use artificial sweeteners if you prefer. Just keep in mind that the taste may differ slightly from using natural sweeteners.
Your homemade coconut rum can be enjoyed on its own over ice or used as a base for tropical cocktails like piña coladas or coconut mojitos.
Absolutely! Bottling your homemade coconut rum makes for a thoughtful and personalized gift that will surely impress your loved ones.
AprilCook, recipe developer and the heart of Chefwiz. More about April