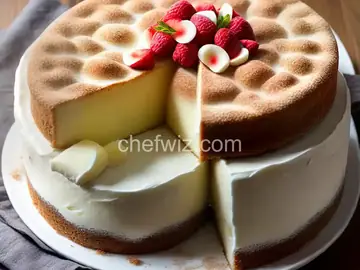
Danish Dream Cake (Drømmekage)
Rate this recipeBe the first to rate
 By AprilPublished
 Have you ever tasted a slice of heaven? If not, then you must try Danish Dream Cake, also known as Drømmekage.
 By AprilPublished
 Have you ever tasted a slice of heaven? If not, then you must try Danish Dream Cake, also known as Drømmekage.
Preheat the oven to 375°F.
Grease and line a 9-inch springform or round cake pan with baking parchment.
In the bowl of a stand mixer, combine the eggs, granulated sugar, and vanilla sugar. Whisk on high speed until the mixture becomes white and light.
In a separate bowl, sift together the flour and baking powder.
Carefully fold the sifted flour into the egg mixture.
In a jug or pitcher, mix the milk with the melted butter.
Gradually pour the milk and butter mixture into the batter, folding it in until fully incorporated.
Pour the batter into the prepared cake pan.
Bake in the preheated oven for 35–40 minutes or until the cake is almost done. Avoid opening the oven door for the first 20 minutes of baking.
To make the topping, combine all the topping ingredients in a saucepan and gently melt them together.
Remove the cake from the oven and evenly spread the topping all over it.
Return the cake to the oven and increase the heat to 400°F. Bake for an additional 5 minutes.
Allow the cake to cool before serving, if possible, although we understand that it can be hard to resist.
Have you ever tasted a slice of heaven? If not, then you must try Danish Dream Cake, also known as Drømmekage. This scrumptious dessert is a true delight for your taste buds. With its moist texture, rich caramel topping, and a hint of coconut, this cake will transport you to a dreamy wonderland. Join me as we explore the magical world of Danish Dream Cake and uncover the secrets behind its irresistible charm.
Every dish has a story to tell, and Danish Dream Cake is no exception. This luscious cake hails from Denmark, a country known for its culinary prowess. Legend has it that a Danish housewife created this heavenly creation while daydreaming about the perfect cake. She envisioned a cake that would bring joy and happiness to everyone who tasted it. And thus, Danish Dream Cake was born, captivating the hearts and palates of people worldwide.
Imagine sinking your teeth into a velvety cake that melts in your mouth. The light, fluffy sponge cake is infused with the delicate flavor of vanilla, making each bite a moment of bliss. The true magic lies in the caramelized coconut topping, which adds a deliciously sweet and slightly crunchy layer to the cake. The combination of flavors and textures is like a symphony on your taste buds, leaving you craving for more.
If you're tempted to try your hand at creating this divine dessert, let me share some baking tips and tricks to ensure success. First and foremost, make sure to use high-quality ingredients. The freshness of the eggs, the richness of the butter, and the purity of the vanilla extract will elevate the taste of your cake. Secondly, follow the recipe precisely, paying attention to measurements and baking times. This will guarantee a perfectly baked cake that is moist and tender.
To add a personal touch to your Danish Dream Cake, you can experiment with different flavor variations. How about incorporating a hint of lemon zest to give it a refreshing twist? Or maybe you'd like to sprinkle some crushed almonds on top for an added crunch? The possibilities are endless, and you have the power to create your own dreamy masterpiece.
In conclusion, Danish Dream Cake is a heavenly delight that will transport you to a world of pure indulgence. Its moist sponge cake, caramelized coconut topping, and endless flavor possibilities make it an irresistible treat for any occasion. So go ahead, unleash your creativity in the kitchen, and create your own dreamy masterpiece. Let Danish Dream Cake be your sweet escape, where every bite is pure bliss.
Yes, you can substitute margarine for butter in Danish Dream Cake. However, keep in mind that butter adds a rich and creamy flavor that margarine might lack.
Absolutely! You can use gluten-free flour instead of regular flour to make a gluten-free version of Danish Dream Cake. Just ensure that all other ingredients you use are also gluten-free.
When stored in an airtight container, Danish Dream Cake can stay fresh for up to 3 days at room temperature. You can also refrigerate it for up to a week.
Yes, you can freeze Danish Dream Cake. Wrap it tightly in plastic wrap or foil and place it in the freezer. When you're ready to enjoy it, let it thaw in the refrigerator overnight.
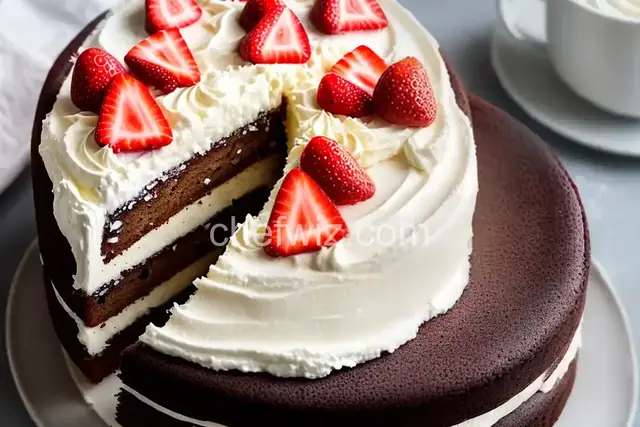
Certainly! You can add sliced strawberries, blueberries, or even caramelized apples to your Danish Dream Cake. The added fruit will bring a burst of freshness and a delightful contrast of flavors.
If you're not a fan of coconut, you can omit it from the topping. The cake will still be delicious, with its caramelized glaze providing all the sweetness you need.
While the traditional recipe calls for regular granulated sugar, you can experiment with other types of sugar, such as brown sugar or coconut sugar, to create a unique twist on the classic Danish Dream Cake.
Absolutely! Danish Dream Cake pairs beautifully with a variety of sauces. Try drizzling it with warm caramel sauce, chocolate ganache, or a tangy raspberry coulis. The sauce will elevate the flavors and add an extra touch of decadence to your dessert.
AprilCook, recipe developer and the heart of Chefwiz. More about April