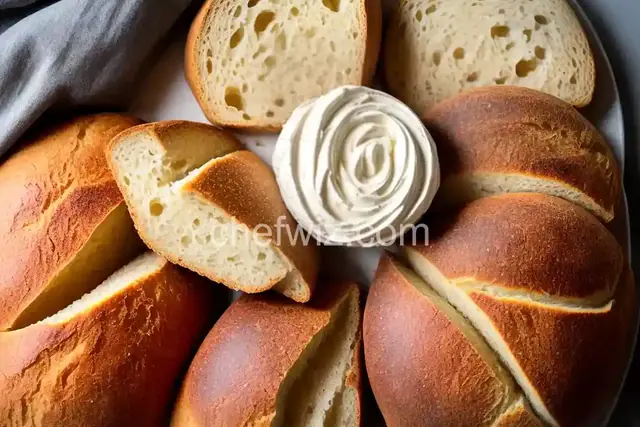
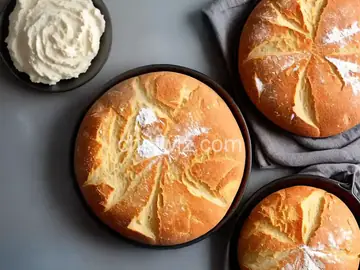
Are you ready to embark on a journey of sourdough baking? One of the essential elements of making delicious sourdough bread is having a healthy and active sourdough starter. In this article, we will dive into the world of sourdough starters and learn how to create and maintain one like a pro.
What is a sourdough starter?
Imagine a lively community of wild yeast and beneficial bacteria, all working together to create a magical alchemy that gives sourdough bread its unique flavor and texture. That's exactly what a sourdough starter is - a living organism made up of wild yeast and lactobacilli.
When flour and water are combined and left at room temperature, naturally occurring yeast and bacteria present in the environment start to colonize and ferment the mixture. This creates a bubbling and active culture, which we call a sourdough starter.
Why make your own sourdough starter?
While you can easily purchase a sourdough starter online or from a local bakery, making your own starter from scratch is a rewarding experience. It allows you to develop a deeper connection with your bread and truly understand the fermentation process.
Making your own sourdough starter also gives you the freedom to experiment with different flours and hydration levels, resulting in a starter that is uniquely suited to your baking preferences.
Creating your sourdough starter
Creating a sourdough starter is a straightforward process, but it requires patience and consistency. Here's a step-by-step guide to help you get started:
1Step 1Mixing the initial ingredients
In a clean glass jar, combine equal parts of flour and water. For example, you can use 100 grams of flour and 100 grams of water. Mix well until there are no dry pockets of flour left. Cover the jar loosely with a clean cloth or plastic wrap.
2Step 2Feeding your starter
Every day, discard half of the starter and feed it with fresh flour and water. For example, if you have 100 grams of starter, discard 50 grams and add 50 grams of flour and 50 grams of water. Mix well and cover again. Repeat this process for about a week, or until your starter becomes bubbly and doubles in size within a few hours of feeding.
3Step 3Maintaining your starter
Once your starter is active, you can reduce the feeding frequency to once every few days. Keep it at room temperature if you plan to bake regularly, or store it in the refrigerator and feed it once a week if you only bake occasionally.
Troubleshooting common issues
Creating a sourdough starter can be a delicate process, and sometimes things don't go as planned. Here are some common issues you may encounter and how to troubleshoot them:
Issue 1: No activity or slow fermentation
If your starter is not showing any signs of activity or is fermenting very slowly, try adjusting the temperature. Yeast and bacteria thrive in a warm environment, so find a cozy spot for your starter.
Issue 2: Foul smell
If your starter smells unpleasant or rotten, it may be contaminated with harmful bacteria. Discard the starter and start over with fresh ingredients.
Hooch is a dark liquid that sometimes forms on top of a neglected or hungry starter. Simply pour off the hooch, discard half of the starter, and feed it as usual. Your starter should recover.
Conclusion
A sourdough starter is the heart and soul of sourdough baking. With a little time and care, you can create a vibrant and active starter that will give your bread that unmistakable tang and chewy texture. So grab your flour and water, and let the magic begin!
Frequently asked questions
- Q1: Can I use whole wheat flour to make my sourdough starter?
A1: Absolutely! Whole wheat flour can actually provide more nutrients to your starter, resulting in a healthier and more robust culture.
- Q2: How long does it take for a sourdough starter to become active?
A2: It usually takes around 5 to 7 days for a sourdough starter to become active, but this can vary depending on factors like temperature and hydration.
- Q3: Can I use tap water to feed my sourdough starter?
A3: Tap water can contain chlorine or other chemicals that may inhibit fermentation. It's best to use filtered or bottled water, or simply let tap water sit out overnight to allow the chlorine to evaporate.
- Q4: How often should I feed my sourdough starter?
A4: In the beginning, you'll need to feed your starter daily. Once it becomes active, you can reduce the feeding frequency to once every few days.
- Q5: Can I use my sourdough starter straight from the refrigerator?
A5: It's best to let your refrigerated starter come to room temperature and feed it before using it in a recipe. This ensures that the yeast and bacteria are active and ready to leaven your dough.
- Q6: Can I use a sourdough starter in recipes other than bread?
A6: Absolutely! Sourdough starters can be used to make pancakes, waffles, muffins, and even pizza dough. The possibilities are endless!
- Q7: How do I know if my sourdough starter is ready to bake with?
A7: A mature and active sourdough starter should have a pleasant, slightly tangy smell and should double in size within a few hours of feeding.
- Q8: Can I share my sourdough starter with others?
A8: Definitely! Sharing your sourdough starter with friends and family is a wonderful way to spread the love of sourdough baking. Just make sure to provide them with clear instructions on how to feed and care for the starter.
 By AprilPublished